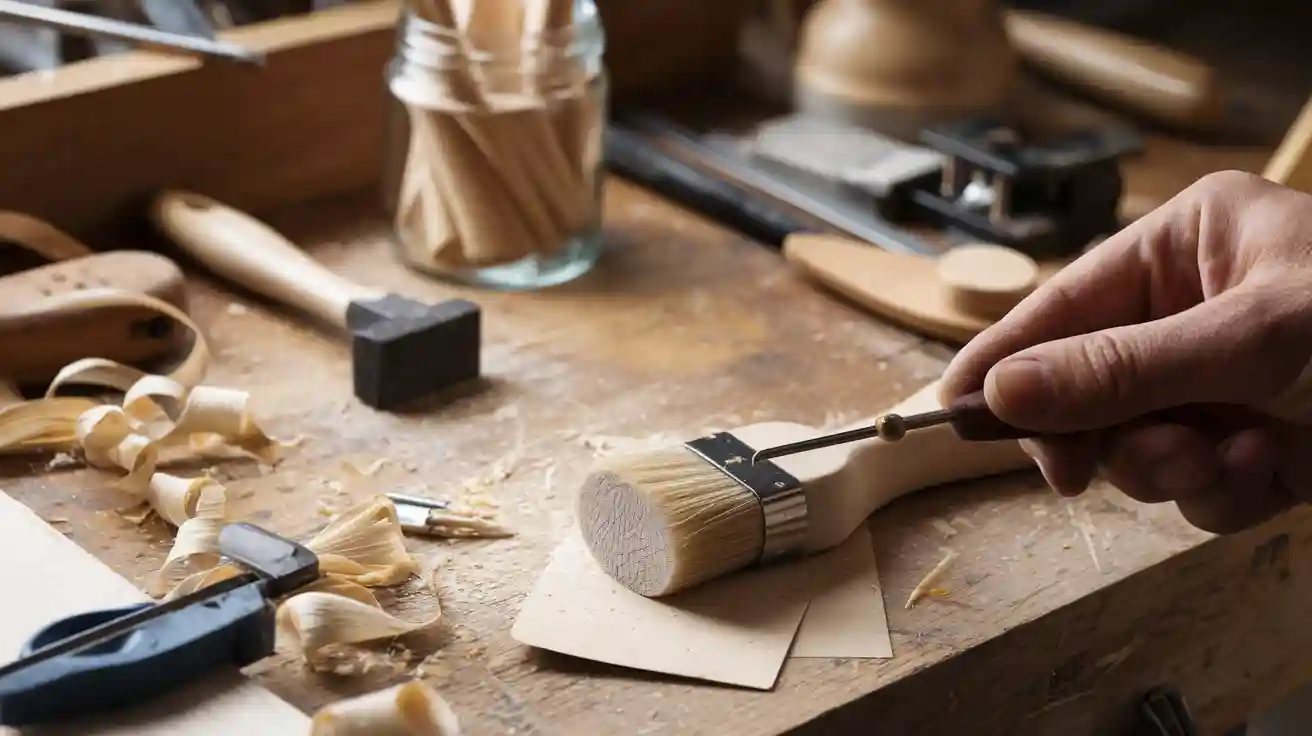
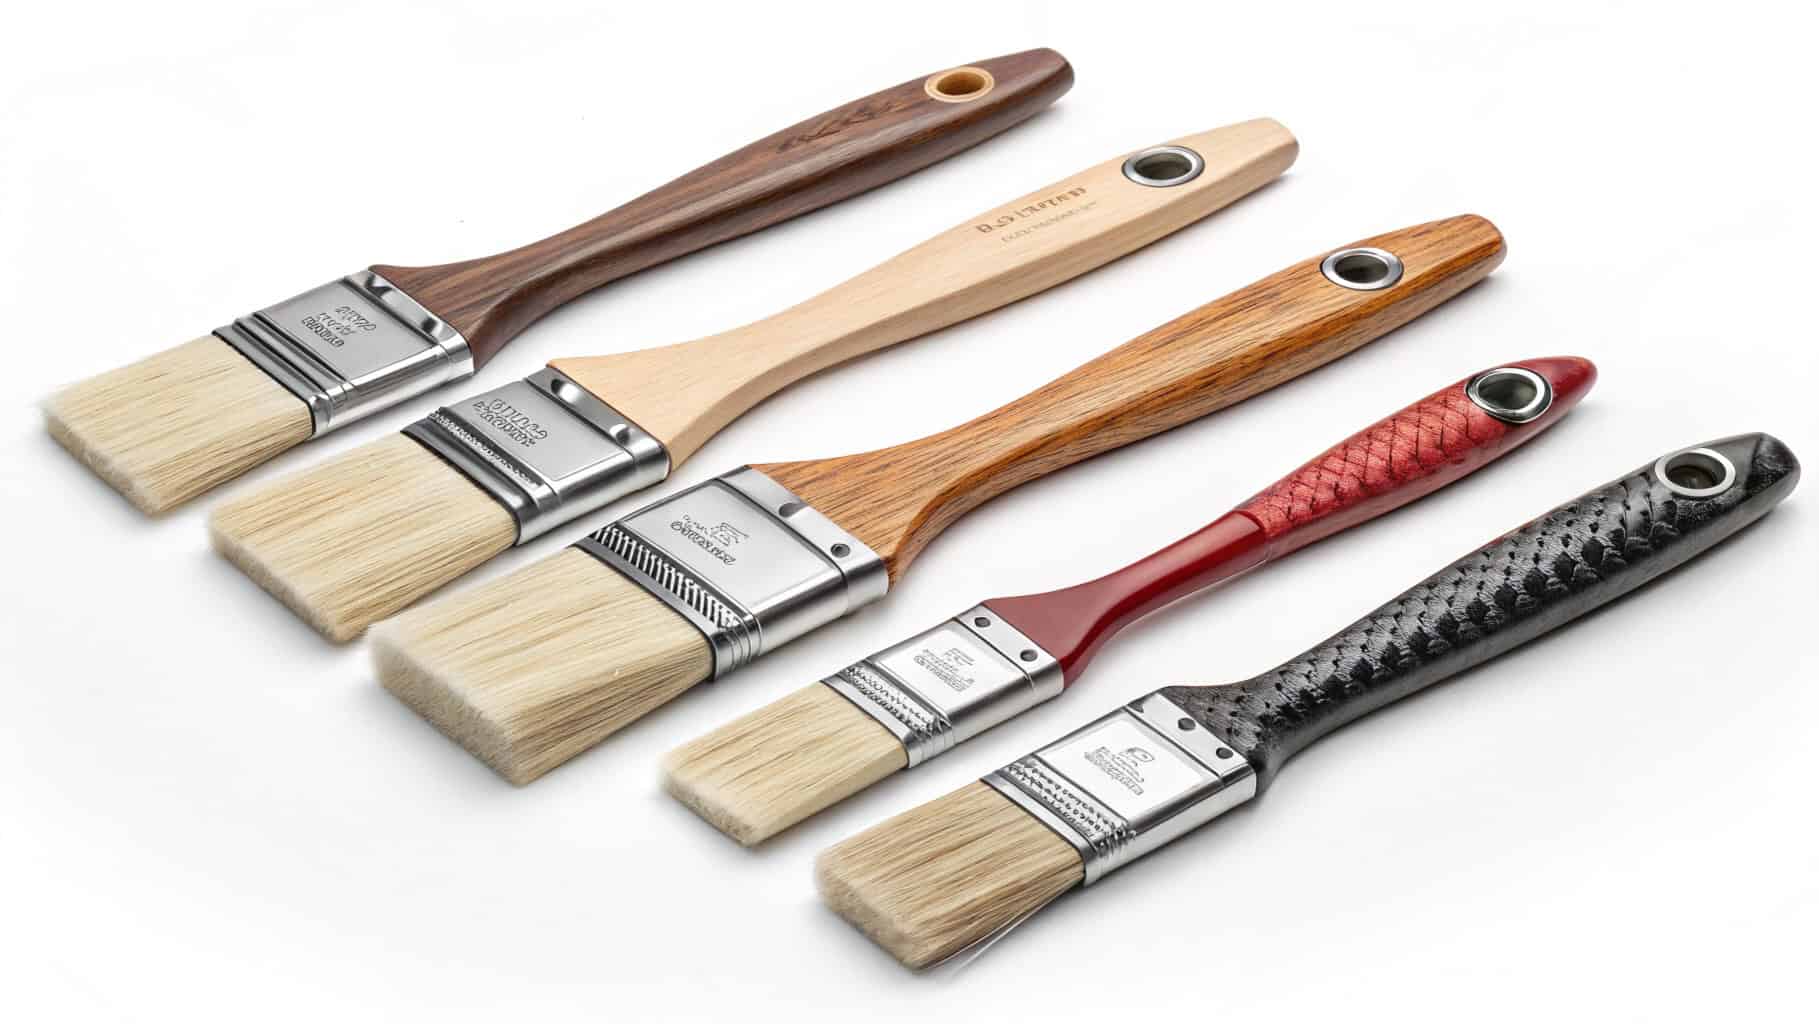
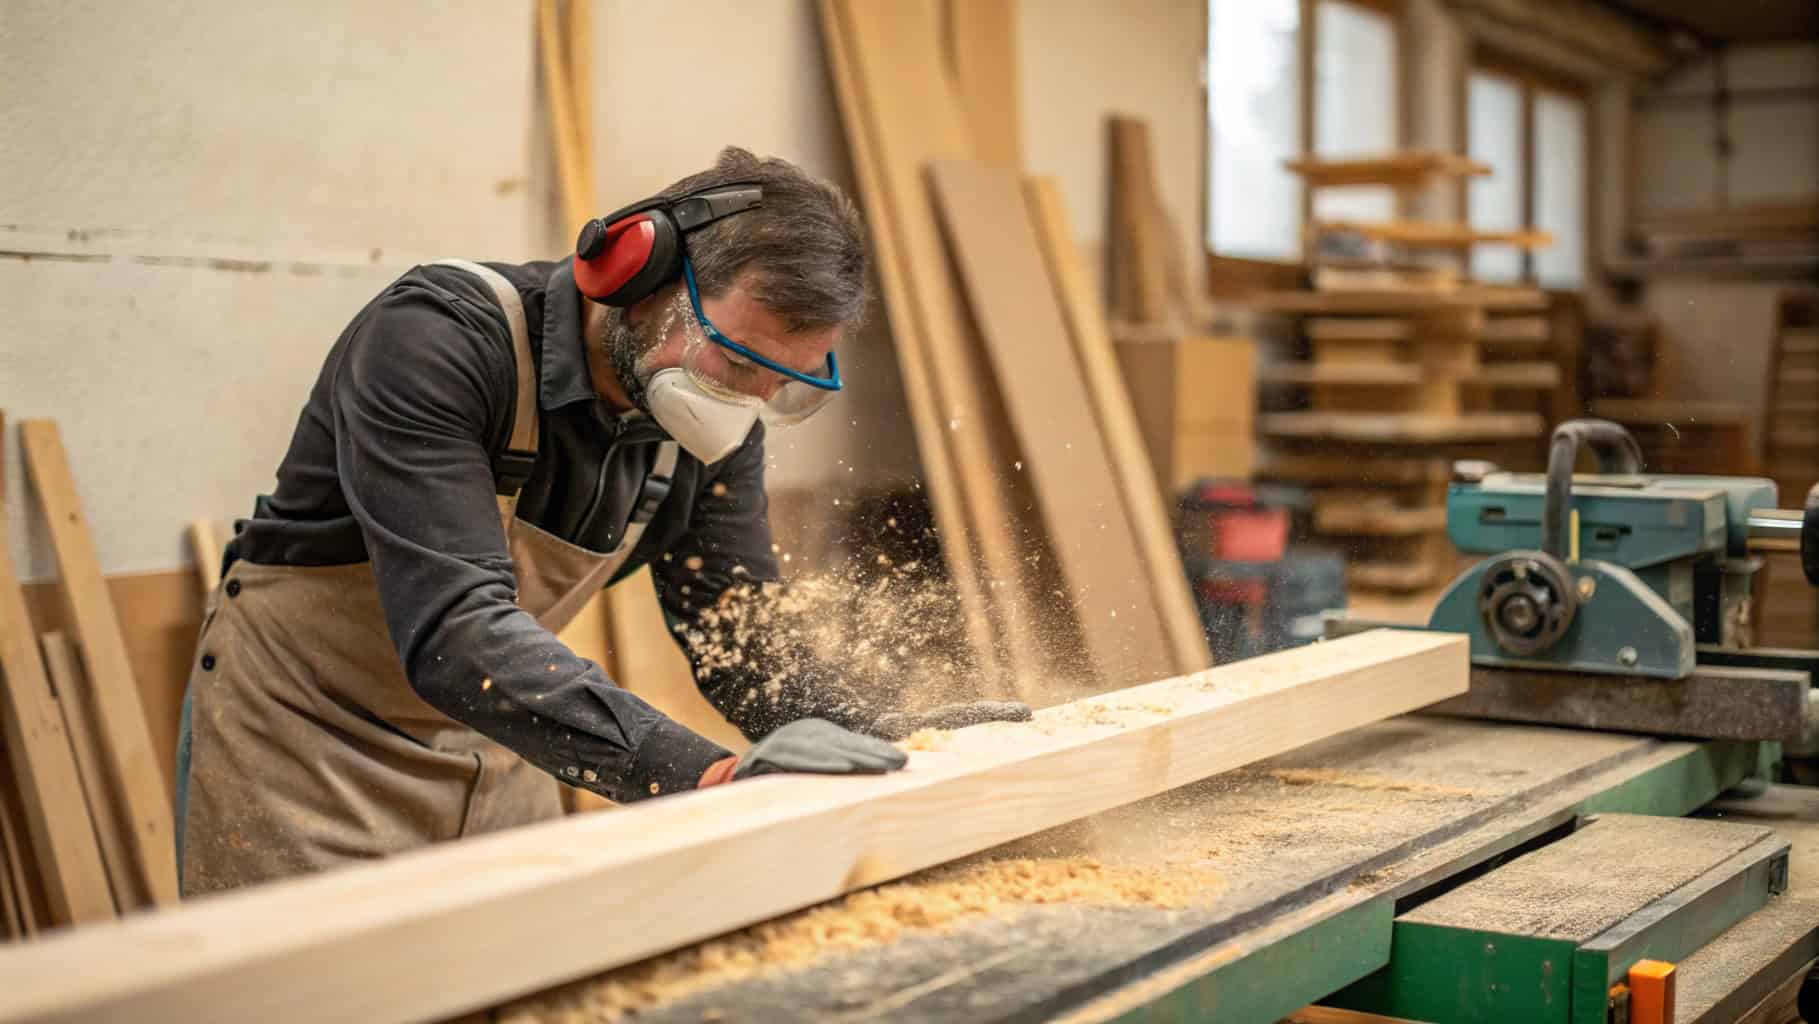
Have you ever thought about making your own custom wooden handles for a paintbrush? It’s easier than you might think! With the right tools and a little creativity, you can craft strong and long-lasting handles that feel just right in your hand. Whether you’re painting walls or working on detailed art, having a handle that fits perfectly can make all the difference. Plus, shaping the handle yourself means you get to decide how it looks and feels.
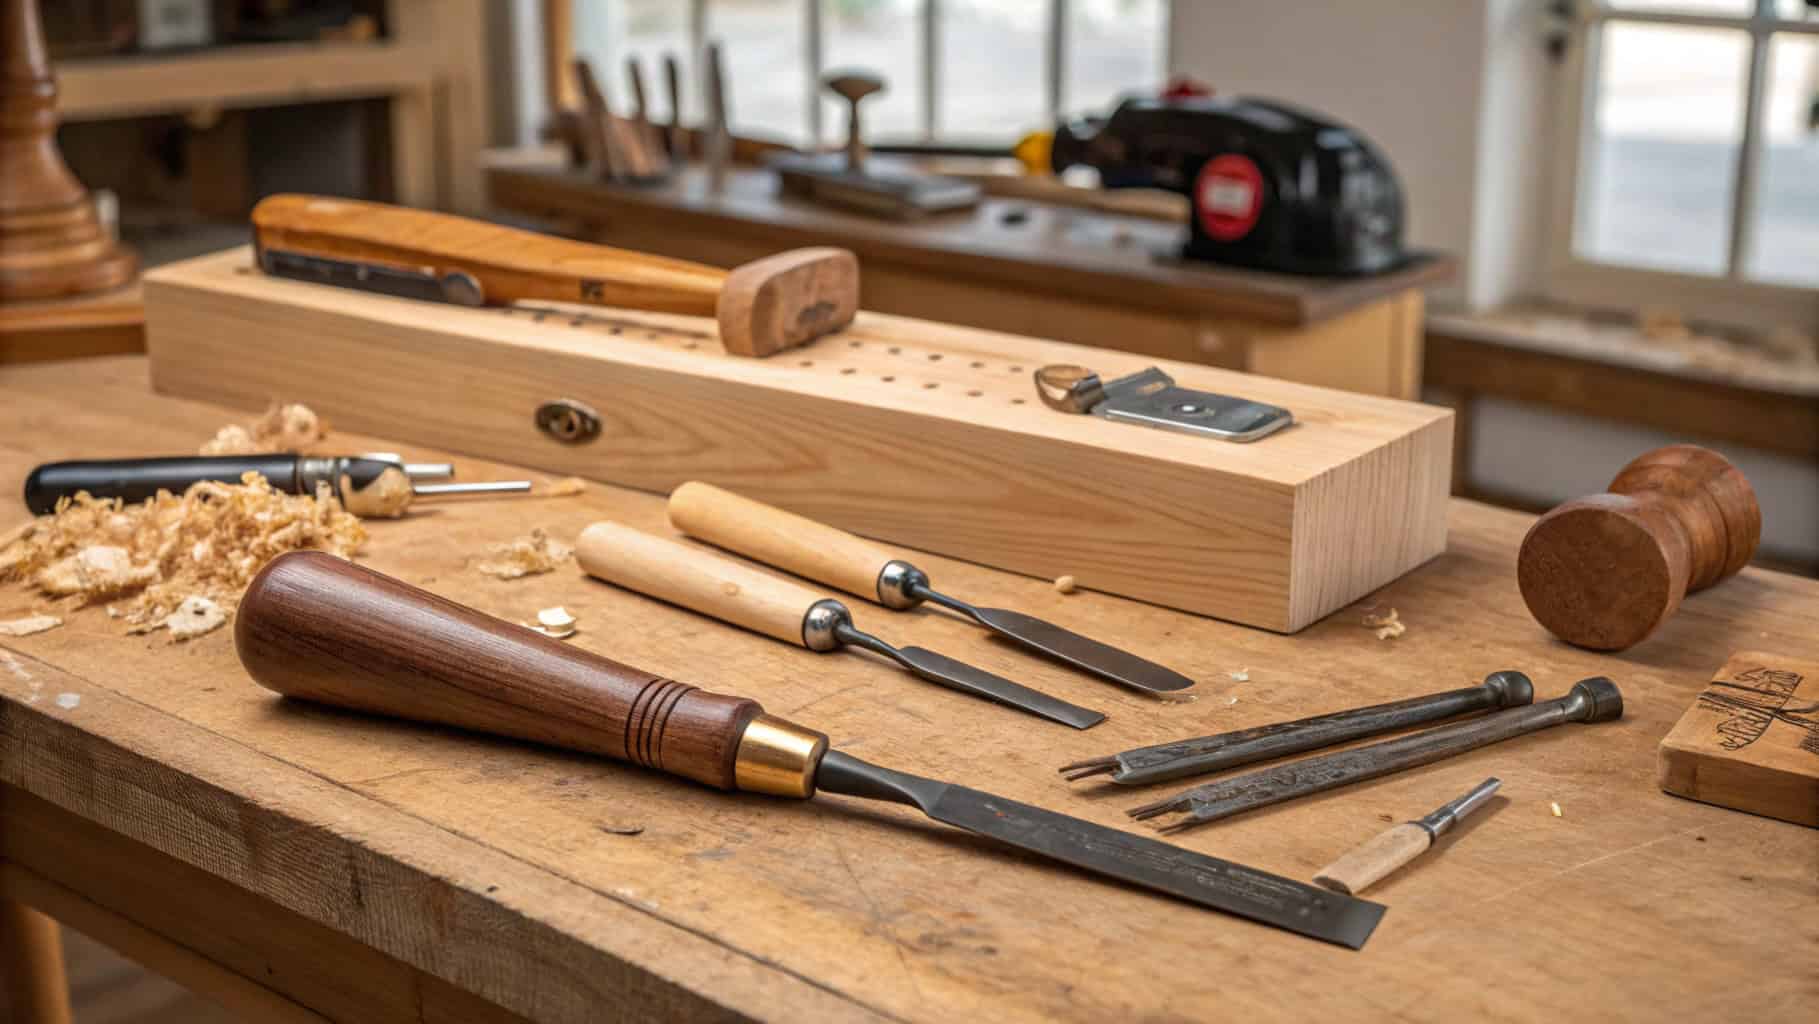
In this comprehensive guide, I’ll show you how to use essential tools and high-quality wood to create a professional finish. You’ll learn how to shape, polish, and refine the handle for a smooth, natural feel. And don’t worry—this step-by-step guide will make the process simple and fun. By the end, you’ll have a custom handle that’s perfect for your paints and bristles. Let’s get started!
Industry Leadership Since 1994

As China's pioneer in automated wood handle manufacturing, our journey began with supplying 100% hand-carved handles to German brush makers in 1996. Through strategic partnerships with engineering institutes, we developed the nation's first CNC woodturning production line in 2002, achieving ±0.3mm dimensional accuracy – a breakthrough when industry standards tolerated ±0.5mm variations.
Our patented moisture stabilization process (Patent No. ZL201510009789.6) became the foundation for long-term collaborations with Sherwin-Williams (2012-present) and Wooster Brush (2015-present), collectively delivering over 50 million handles meeting MIL-STD-810G vibration resistance standards. The 2021 MGG automation compatibility certification validated our 0.3mm tolerance control system, enabling seamless integration with robotic ferrule assembly lines.
Key Takeaways
Pick the right wood for your handle. Beech and birch are strong and comfy. Poplar and pine are cheaper choices.
Think about comfort when designing. Smooth shapes and balanced weight make painting easier.
Use patterns to cut wood correctly. This keeps handles the same and saves time.
Try using machines like CNC routers. They help make detailed designs faster and more exact.
Check quality often while making handles. Look for problems and keep tools in good shape to make sure they’re great.
Wood Selection Strategies and Supply Chain Solutions

Microstructure Analysis of Handle Woods
Through SEM (Scanning Electron Microscopy) and FTIR (Fourier Transform Infrared Spectroscopy), we've optimized wood treatments:
**Beech (Fagus sylvatica)**
- Cellulose Content: 45-50% (enhances longitudinal strength)
- Lignin Modification: Heat treatment at 180°C for 2hrs increases
- Surface hardness by 23% (Rockwell Scale)
- Dimensional stability by 40% (ASTM D143)
**Birch (Betula pendula)**
- Vessel Element Distribution: 120-150 pores/mm² creates
- Natural vibration damping (loss factor tanδ=0.015)
- Optimal glue penetration depth (0.8-1.2mm for epoxy adhesion)
**Comparative Fatigue Resistance**
| Wood Type | Cycles to Failure* | Load Capacity |
| Beech | 850,000 | 12kg |
| Birch | 720,000 | 10kg |
| Oak | 650,000 | 15kg |
*Tested under 5kg cyclic loading per ANSI/ASME B107.52M
Premium Wood Type - Beech
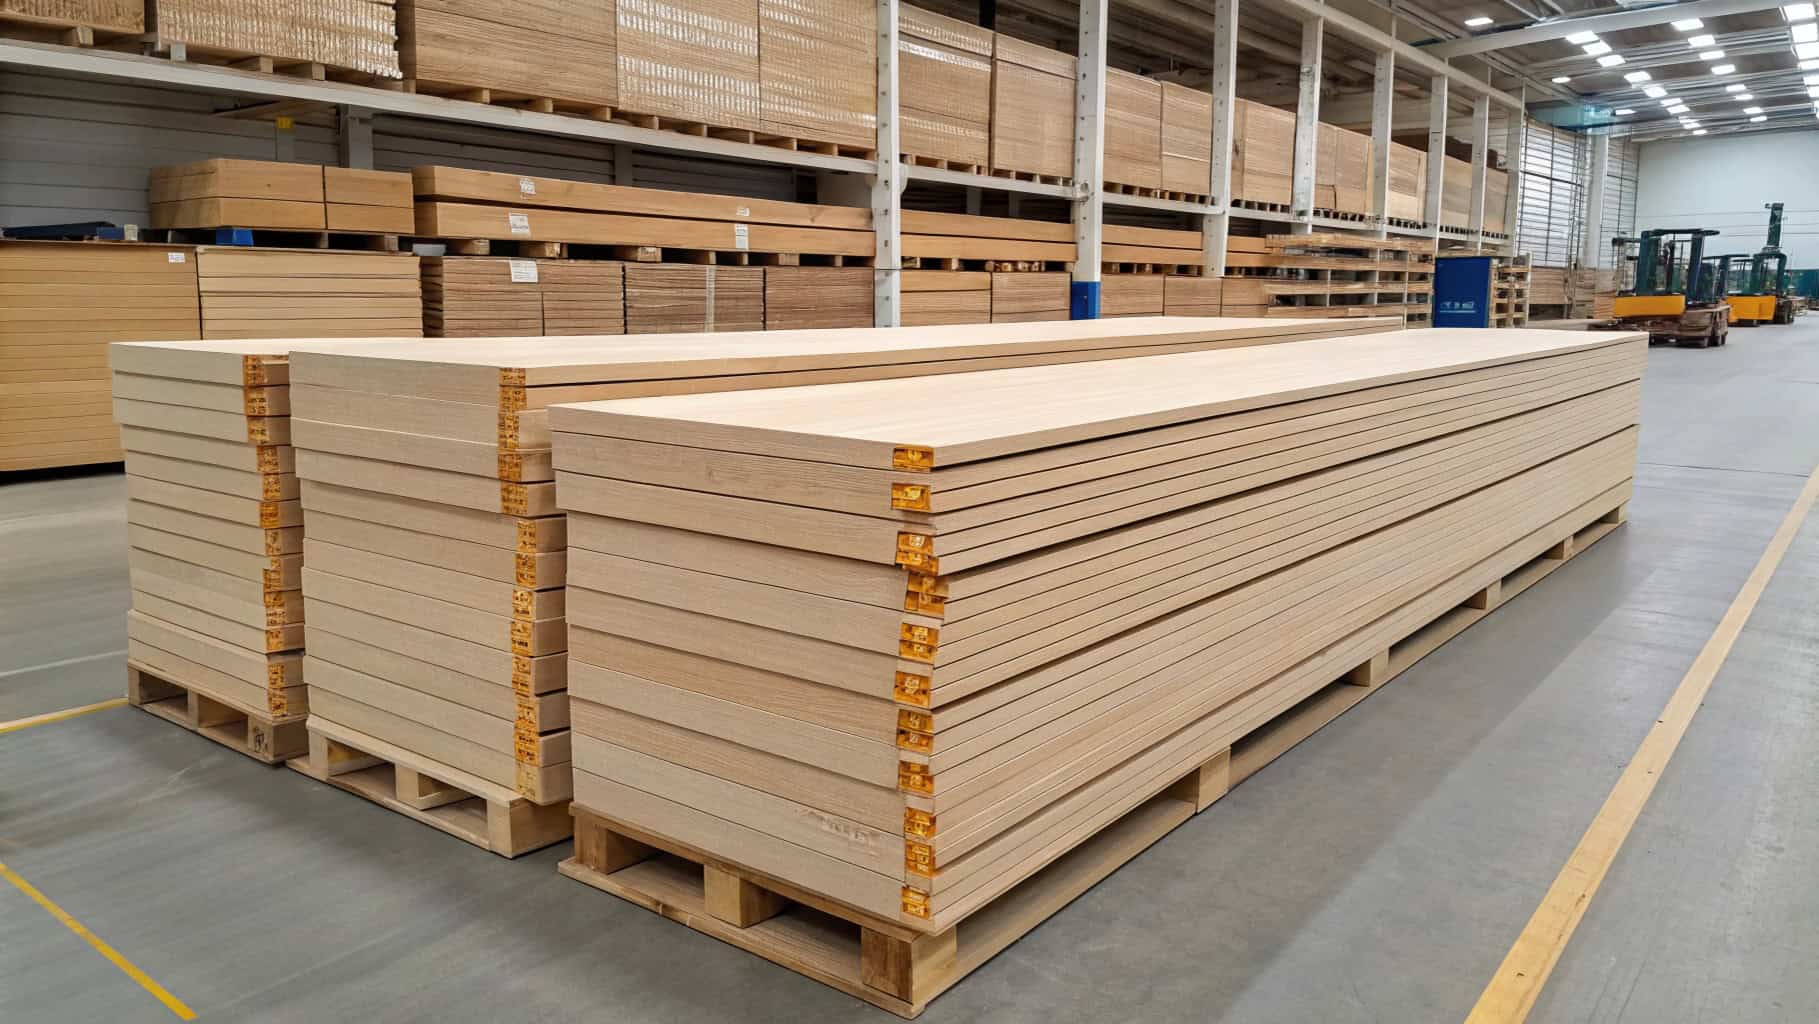
When it comes to making a durable and comfortable paintbrush handle, beech wood is one of my top choices. It’s dense but still lightweight, which means it feels great in your hand even after hours of painting. I’ve noticed that beech wood handles last a long time because they’re strong and resist cracking or bending. This is especially important if you’re working in areas with changing temperatures or moisture.
Here’s why I love using beech wood for handles:
It’s tough and durable, so your brush can handle heavy use.
The lightweight feel makes it easy to control your strokes.
It doesn’t warp or crack, even in challenging conditions.
If you’re looking for a premium option, beech wood is worth considering. It’s a bit pricier than other types, but the quality speaks for itself.
High-Quality Wood Type - Birch
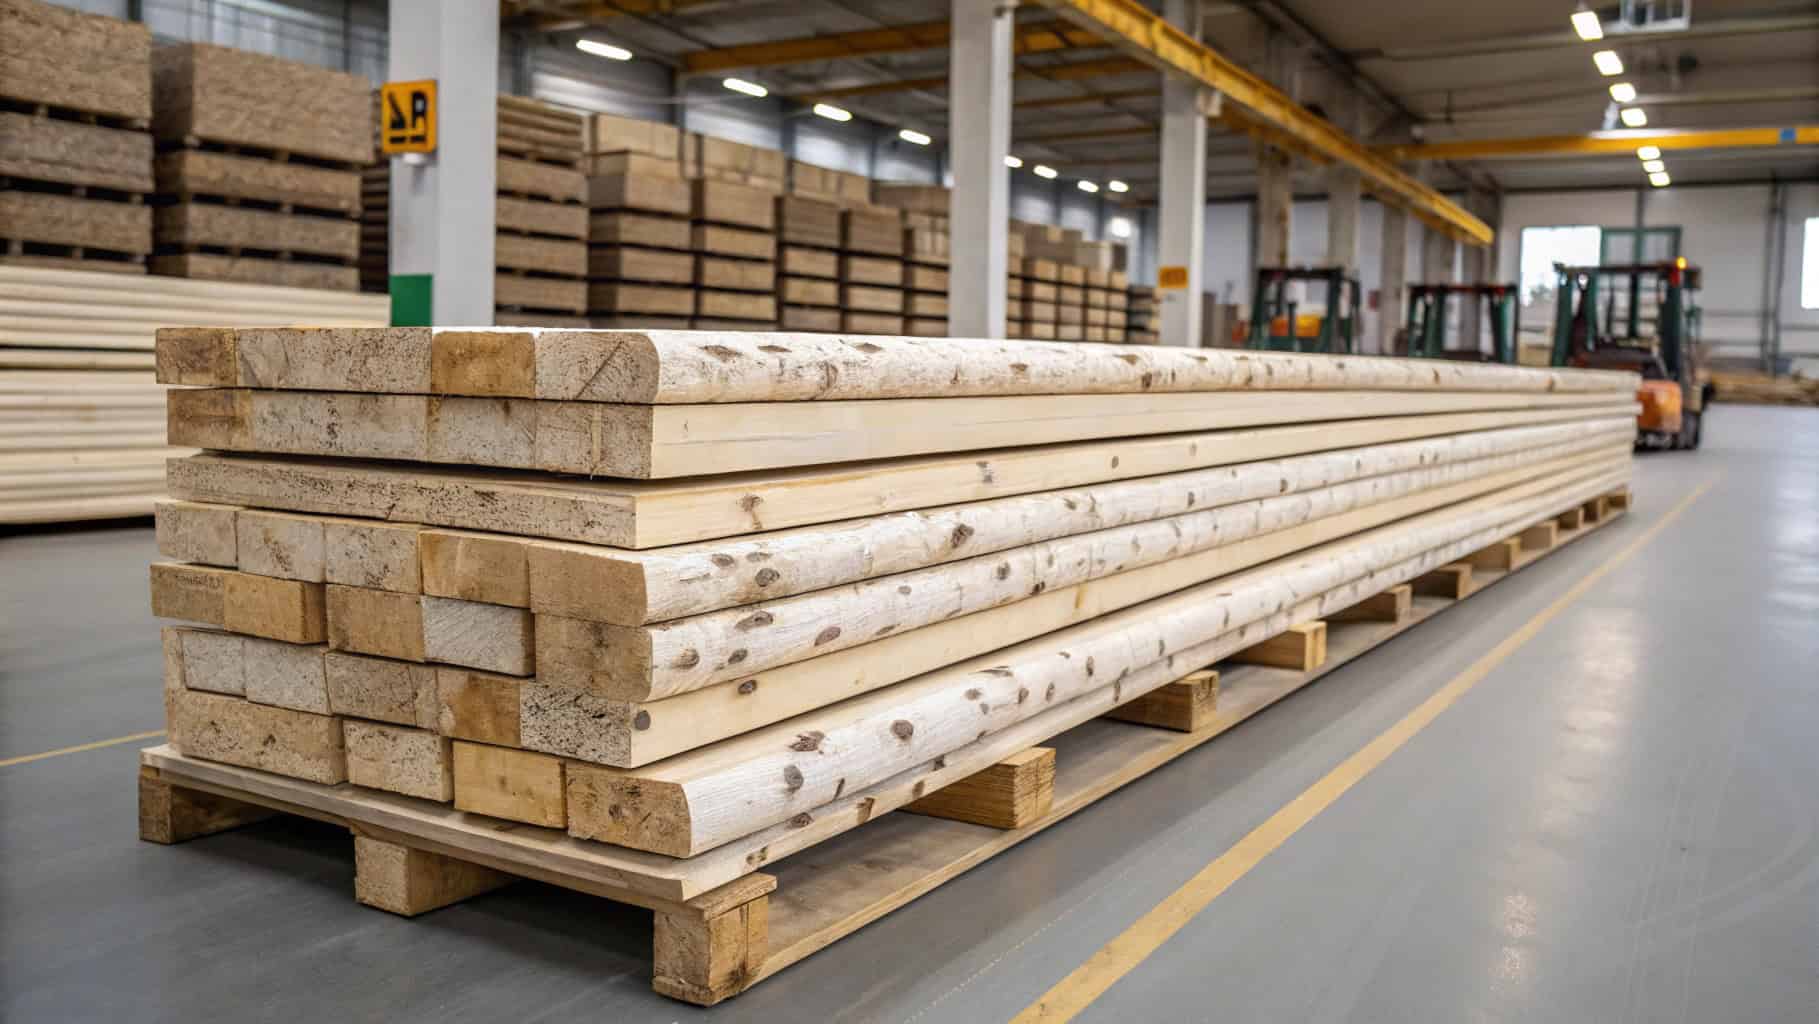
Birch wood is another fantastic option for paintbrush handles. It’s known for its smooth texture and fine grain, which makes it easy to work with. I’ve found that birch handles are great for detailed work because they’re sturdy and provide excellent grip. Plus, birch has a natural beauty that adds a touch of elegance to your tools.
One thing I appreciate about birch is how well it holds up during the crafting process. It’s easy to cut, shape, and sand, which means you can create a handle that fits your hand perfectly. If you want a high-quality handle that’s both functional and stylish, birch is a solid choice.
Mid-Range Wood Type - Rubberwood
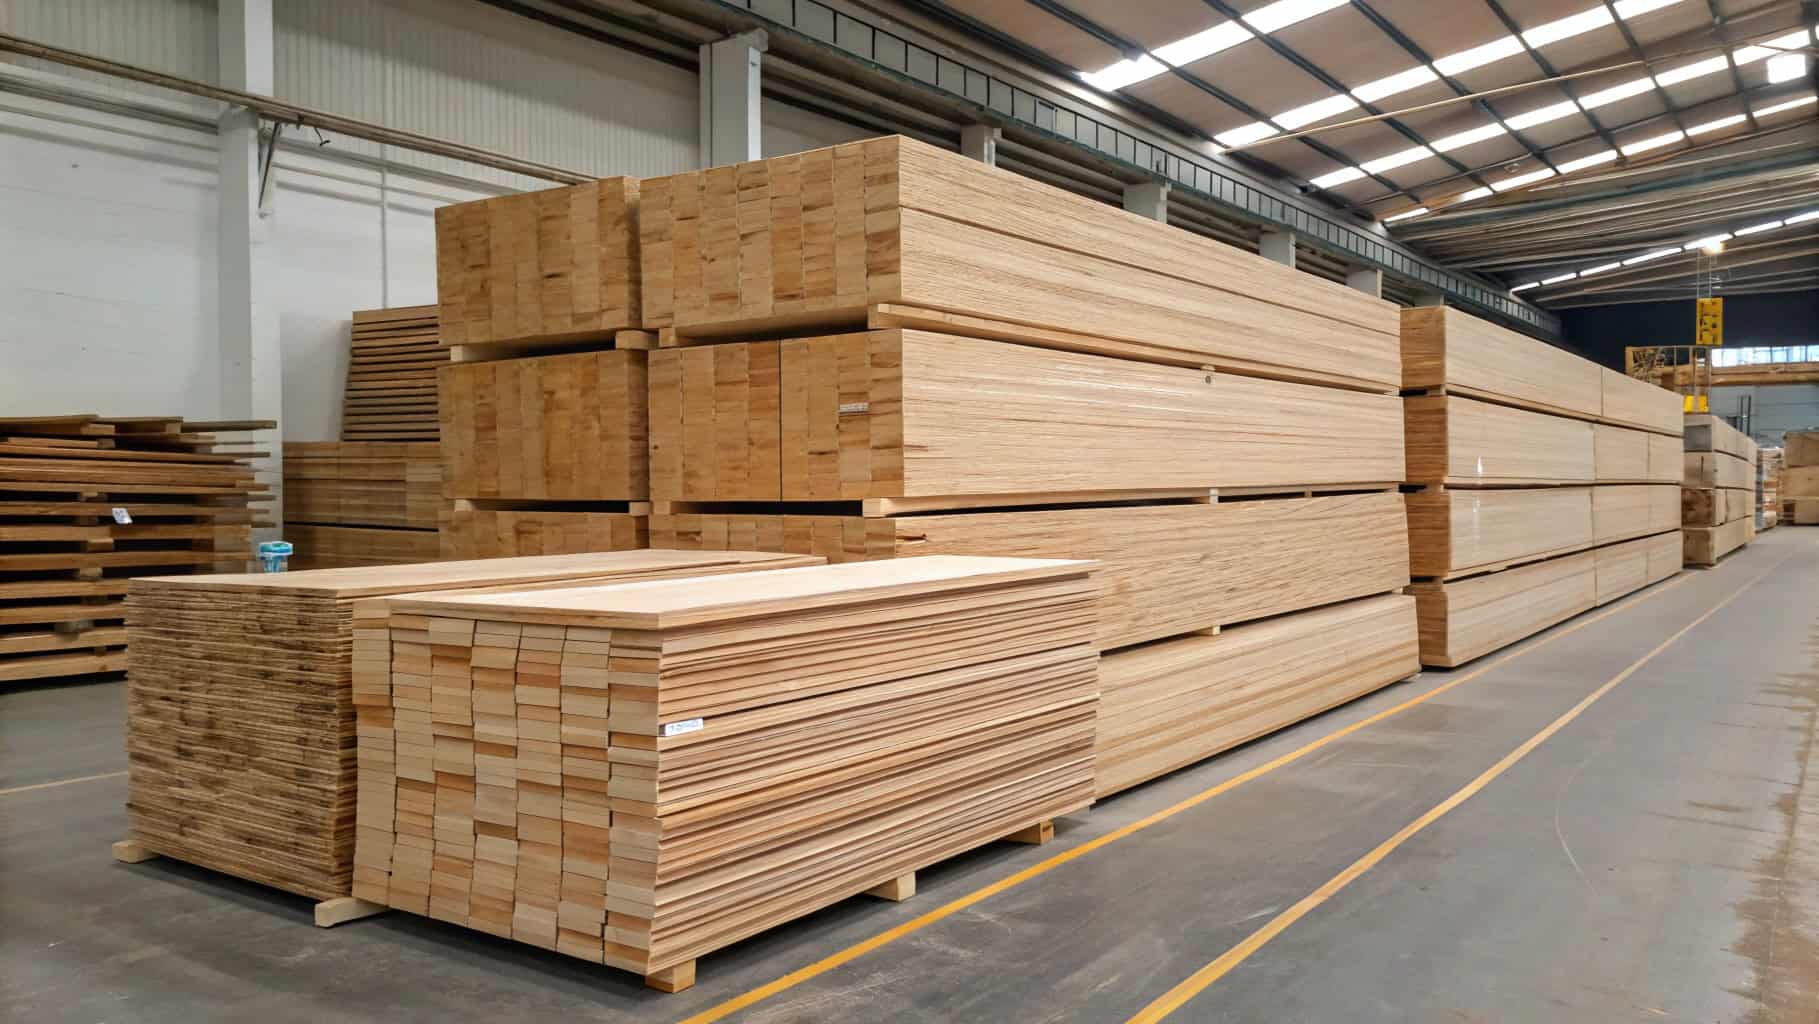
If you’re looking for a balance between quality and cost, rubberwood is a smart pick. It’s affordable and widely available, making it a popular choice for crafting paintbrush handles. I’ve noticed that rubberwood is durable enough for everyday use, and it’s also eco-friendly since it’s often sourced from plantation trees.
Here’s what makes rubberwood a great mid-range option:
It’s cost-effective, so you can make multiple handles without breaking the bank.
The wood is sturdy and holds up well over time.
It’s an environmentally friendly choice, which is always a plus.
To get the best value, it’s important to keep an eye on market trends and supplier prices. Platforms like Volza can help you find cost-effective suppliers and understand global pricing. This way, you can make smart decisions when sourcing rubberwood for your tools.
Affordable Wood Type - Poplar
Poplar is a great choice for saving money on handles. It’s cheap, simple to use, and still pretty strong. If you’re new to crafting or trying out ideas, poplar is a smart pick that won’t cost much.
Here’s why poplar is a good option:
It’s cheaper than many other woods, like bleached poplar plywood.
Its clean look and smooth feel make it attractive with little work.
You can easily cut and shape it, making it ideal for handles.
Even though it’s affordable, it stays sturdy in different conditions.
I’ve used poplar in many projects, and it works well. It’s not as strong as woods like beech, but it’s good enough. If you want a low-cost way to make a custom handle, poplar is a reliable pick.
Low-Cost Wood Type - Pine
Pine is another great option if you’re on a budget. It’s easy to find and very flexible to use. I like pine for handles because it’s light and simple to shape. Plus, its natural look adds charm to your tools.
Why is pine a smart choice?
It’s one of the cheapest woods available.
Its soft texture makes sanding and shaping easy for comfy designs.
It’s lightweight, so your brush won’t feel heavy during long use.
Pine isn’t as strong as hardwoods, but it’s fine for light use. I suggest sealing or finishing pine handles to make them last longer and keep out moisture.
Choosing Eco-Friendly Wood
When picking wood for handles, I always think about the planet. Using eco-friendly wood helps nature and keeps good wood available for the future.
Here’s why choosing sustainable wood matters:
Evidence Type | Description |
|---|---|
Carbon Storage | U.S. forests store 175 million tons of carbon yearly, cutting 10% of U.S. emissions. |
Sustainable Practices | The U.S. makes 19% of the world’s wood while keeping 8% of global forests. |
Certified Forests | By 2020, 543 million acres of U.S. and Canadian forests were certified, up 80% since 2010. |
Emissions Comparison | Harvesting wood only uses 1.6% of the carbon stored in forests and products. |
Deforestation Rates | Areas with high wood harvests have the lowest deforestation rates, proving sustainability. |
I always choose suppliers who follow eco-friendly rules. This ensures the wood I use, like for paintbrush handles, comes from well-managed forests. By picking sustainable wood, we can make great tools and care for the Earth.
Understanding Risks in Getting Wood for Handles
Getting wood for paintbrush handles can have unexpected problems. These issues may change the cost, quality, or supply of wood. Knowing these risks helps ensure you always have good materials.
One big problem is sudden changes in the supply chain. Bad weather, shipping delays, or global events can stop wood deliveries. To prepare, I use methods to predict and plan for these problems. Here are some tools that help:
Method | What It Does |
|---|---|
Random Simulations | Helps predict surprises and measure their possible effects. |
Uses random values to test risks through repeated simulations. | |
What-if Scenarios | Tries different options to handle changing situations. |
These tools help me choose better suppliers and plan ahead. For example, if birch wood might be delayed, I can buy poplar or pine instead. This way, I can keep making handles without stopping.
Another issue is bad-quality wood. Weak or rough wood can ruin a handle, making it hard to use. That’s why I stick with trusted suppliers who provide good materials. Watching market prices also helps me avoid paying too much while getting the best wood.
By staying prepared and using these ideas, I can avoid problems and keep making great paintbrush handles.
Design Ideas for Custom Handle Shapes
Rat Tail Shape Design
The rat tail shape is inspired by a squirrel’s tail curve. It’s comfy and works for different ways of holding the brush. You can use it for a strong grip or a light touch.
Why is the rat tail shape great?
Its smooth curves fit nicely in your hand.
It helps your hand feel less tired during long painting.
It’s useful for many types of painting jobs.
Research shows ergonomic designs like this are helpful for users. The soft curves make gripping easier, especially for detailed painting. I’ve noticed this shape makes painting more fun and less tiring.
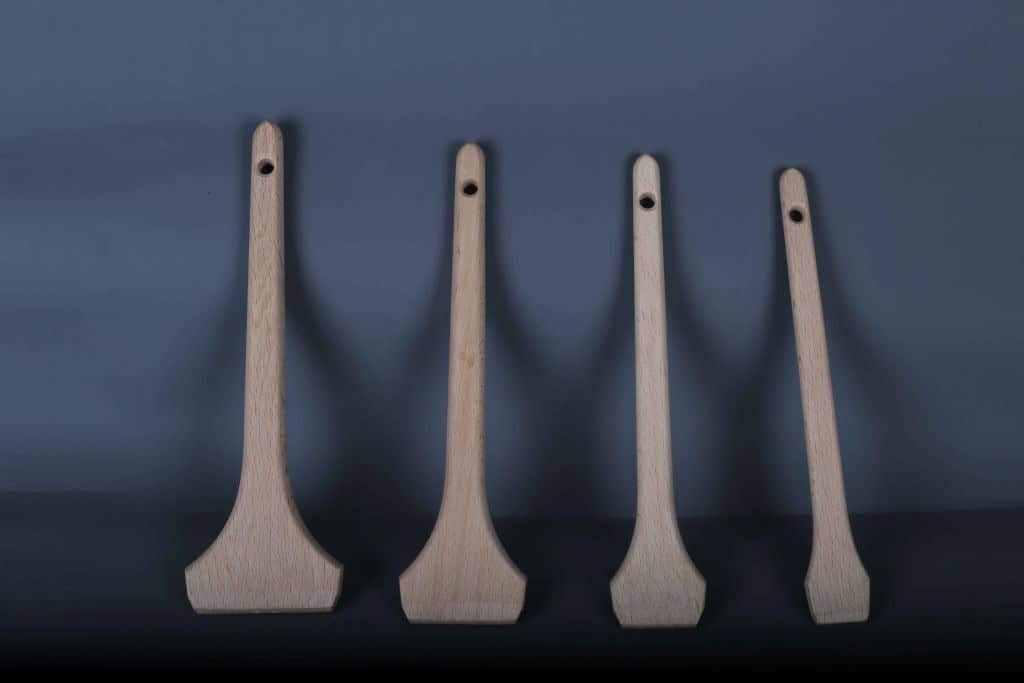
Flat Sash Shape Design
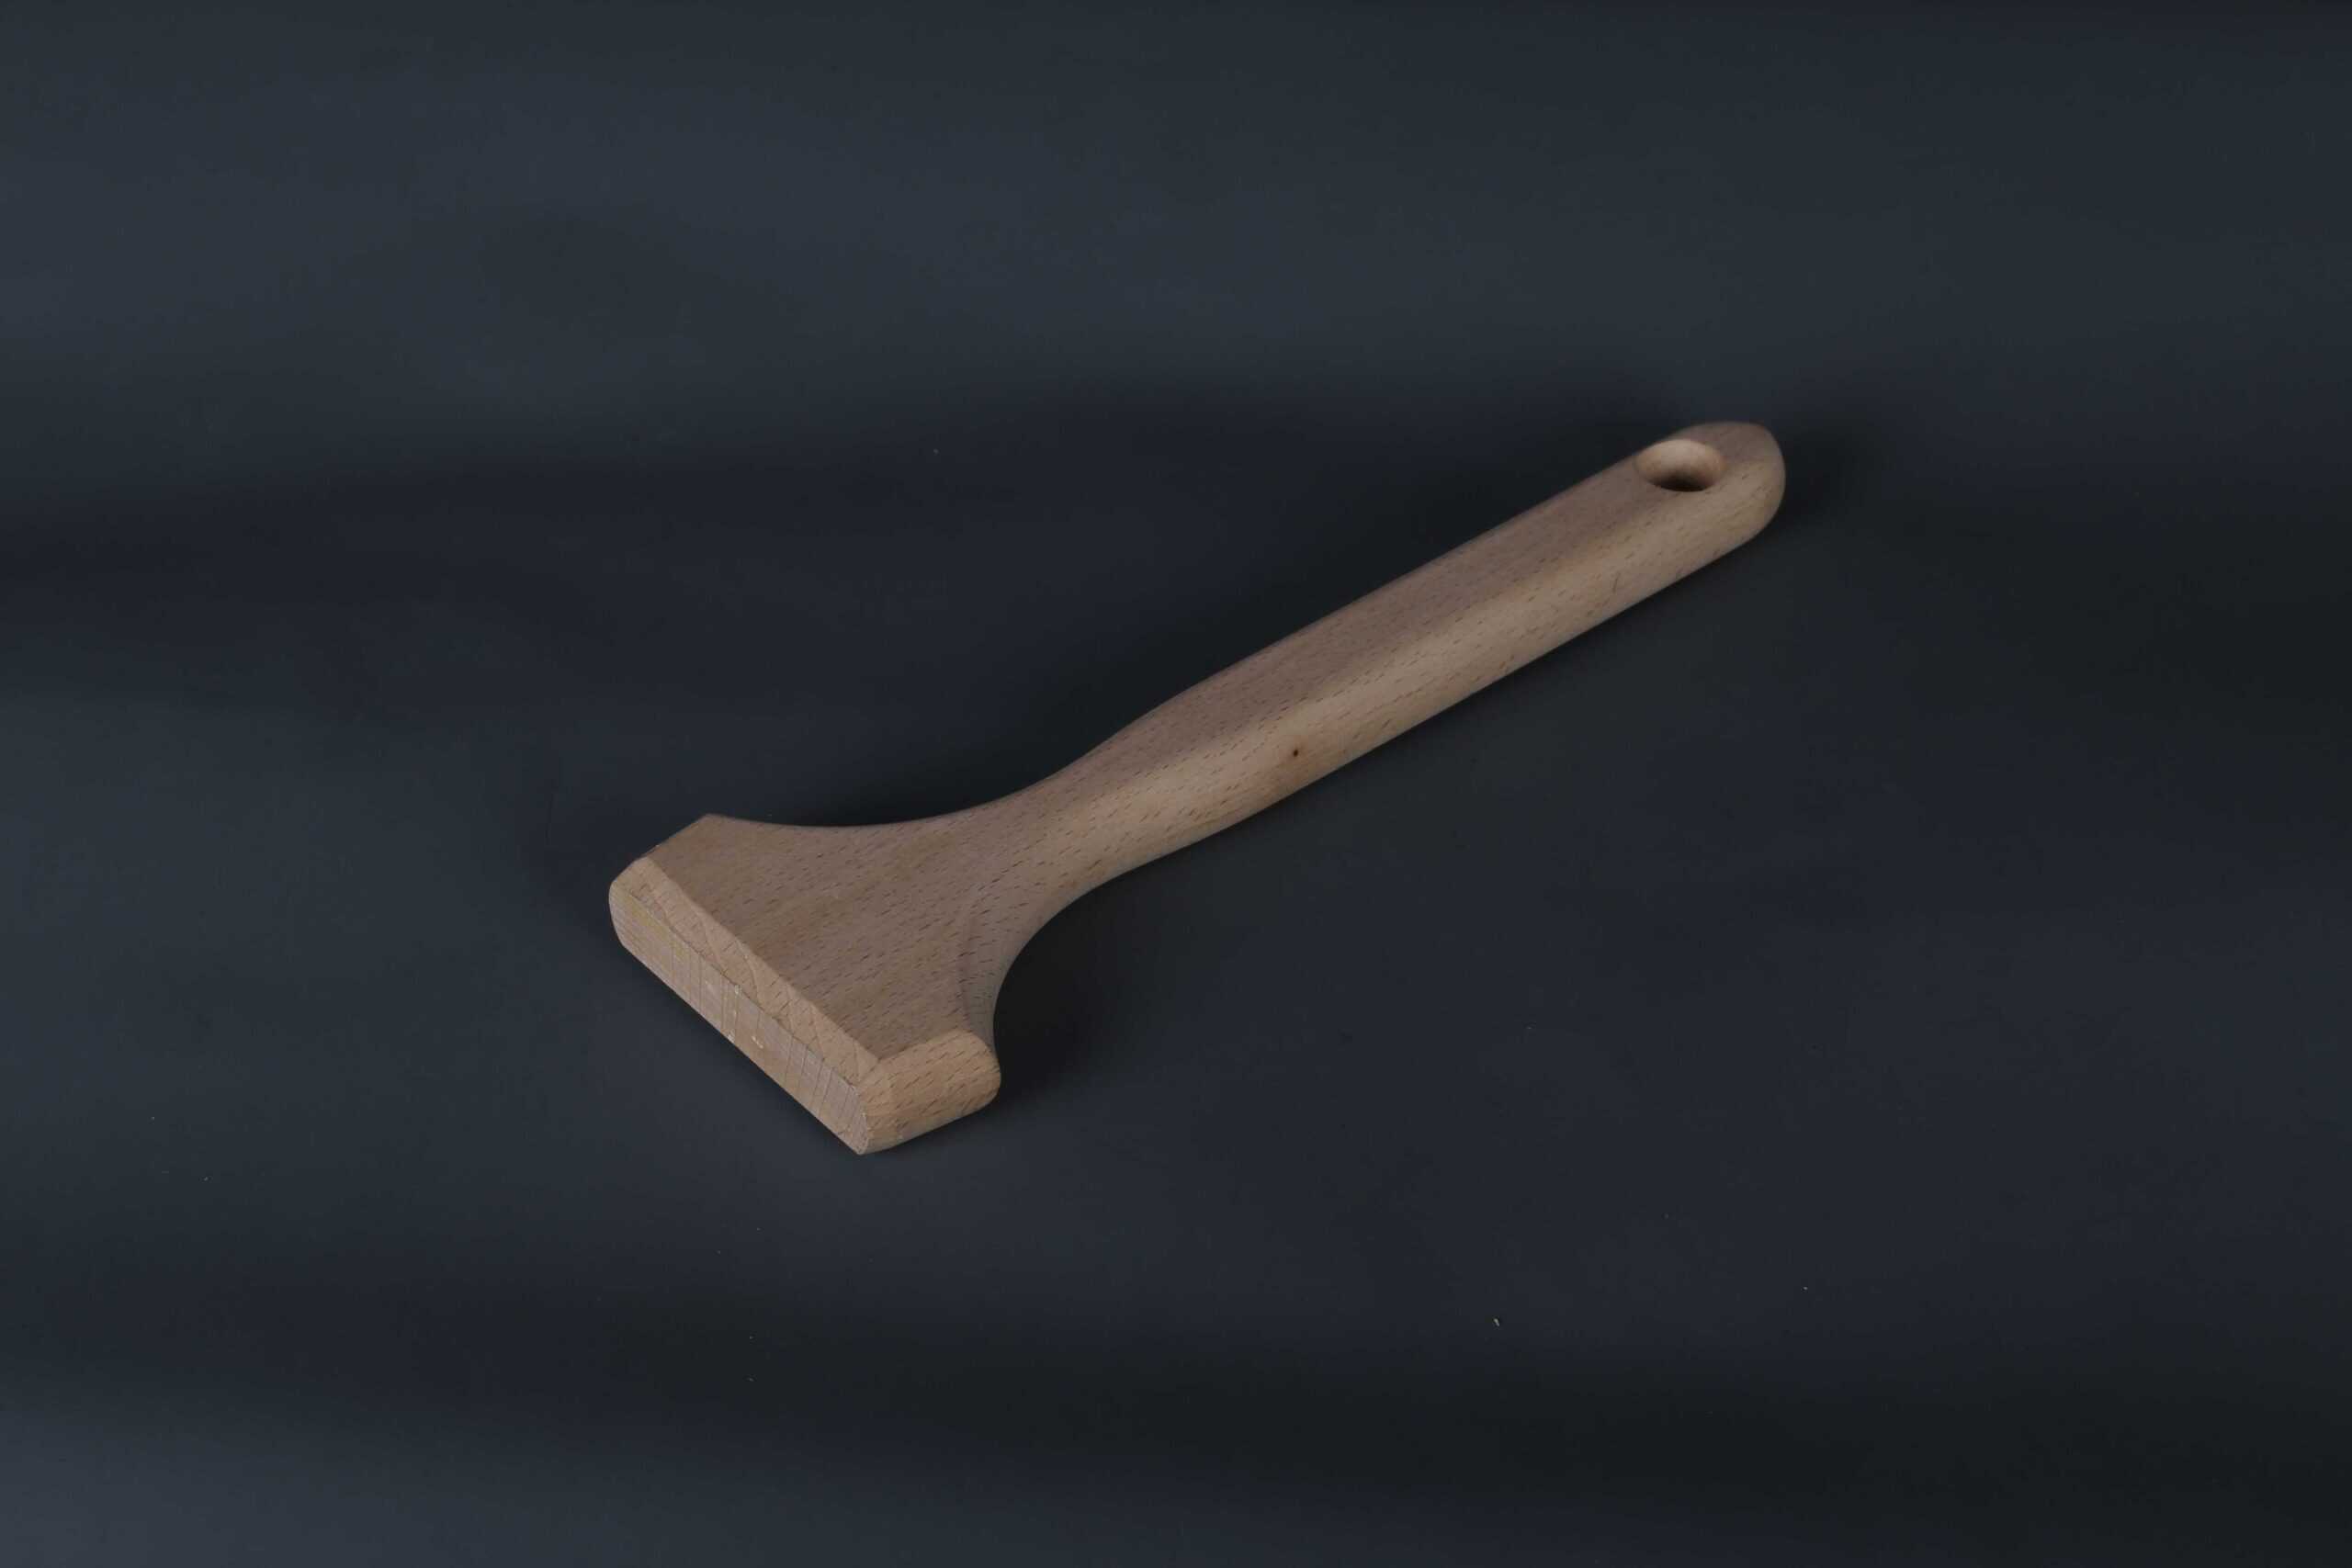
The flat sash shape is perfect for painting edges or corners. Its flat and narrow design gives you better control over strokes.
I like this shape for small, detailed tasks. The flat part makes it easy to hold steady. This is great for painting furniture or trim. If you need precision, this handle shape is very helpful.
Beaver Tail Shape Design
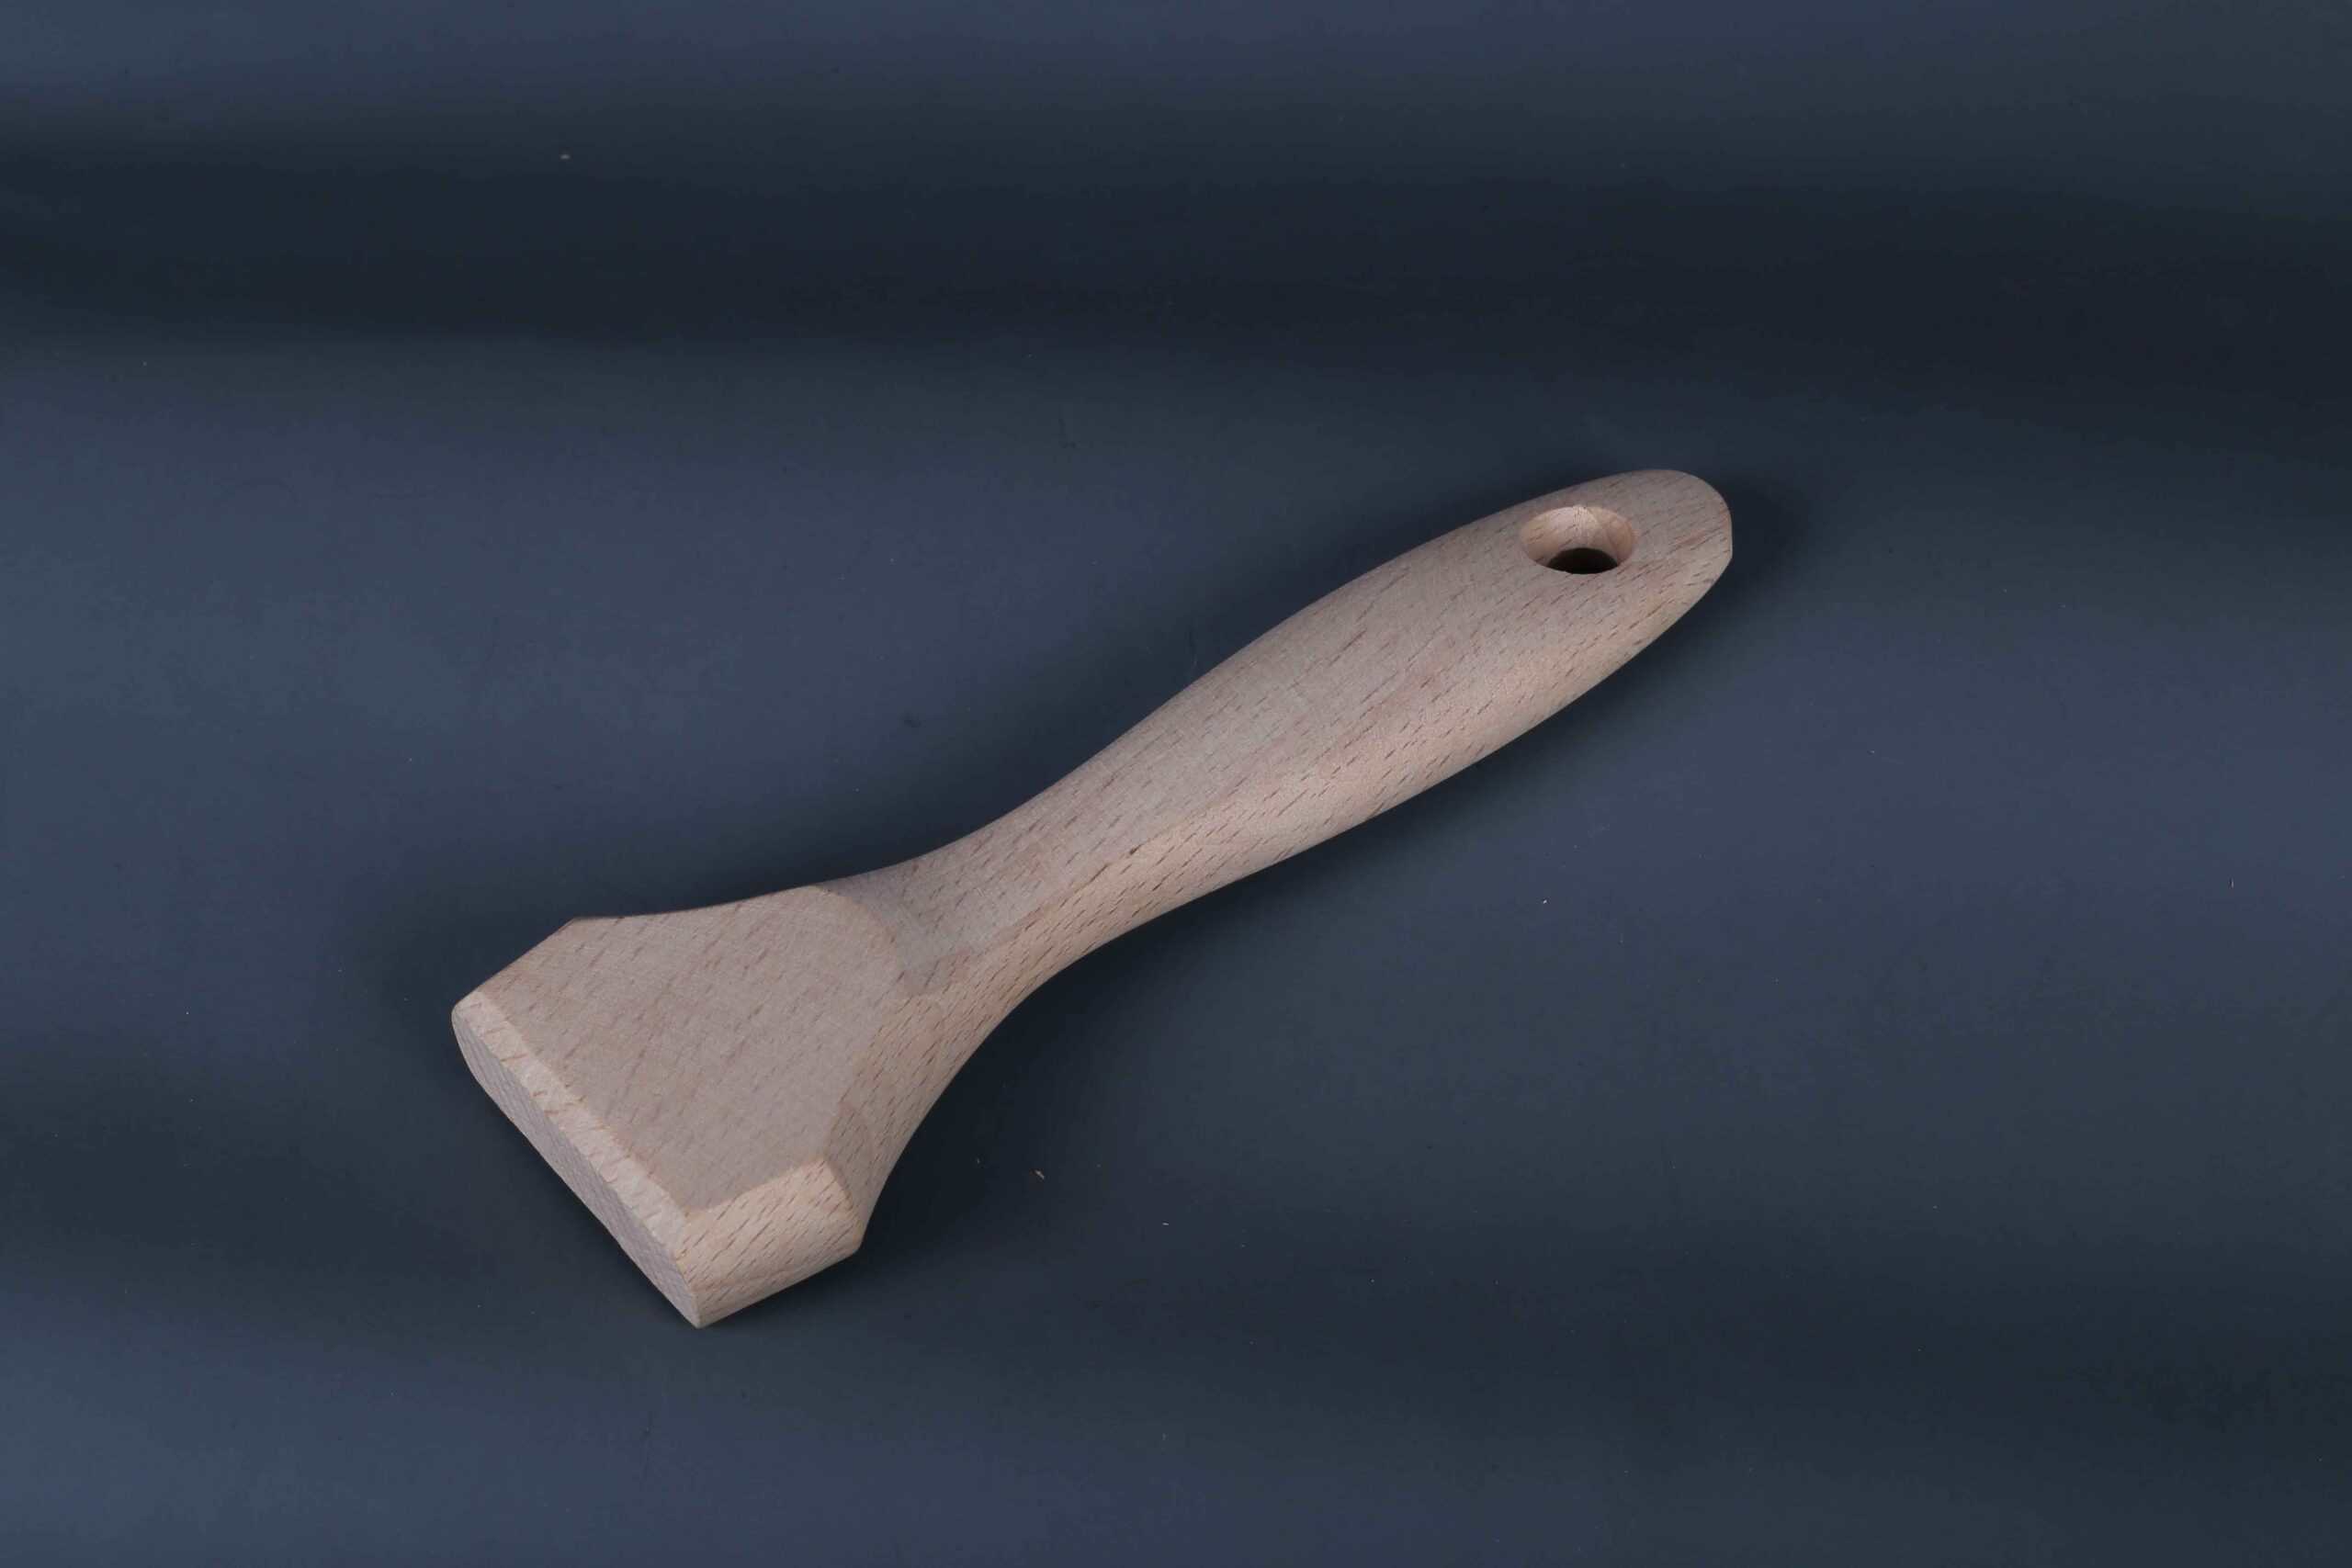
The beaver tail shape is wide and flat, making it comfy to hold. It’s great for big brushes used for painting walls or ceilings.
Why is the beaver tail design useful? Its wide grip gives better control and reduces hand strain. Studies show it helps users hold the brush higher, which improves comfort and accuracy. I’ve seen this design work well for both beginners and experts.
If you want a handle that’s comfy and works well, try the beaver tail shape. It’s great for covering large areas quickly while staying in control.
Short Handle Shape Design
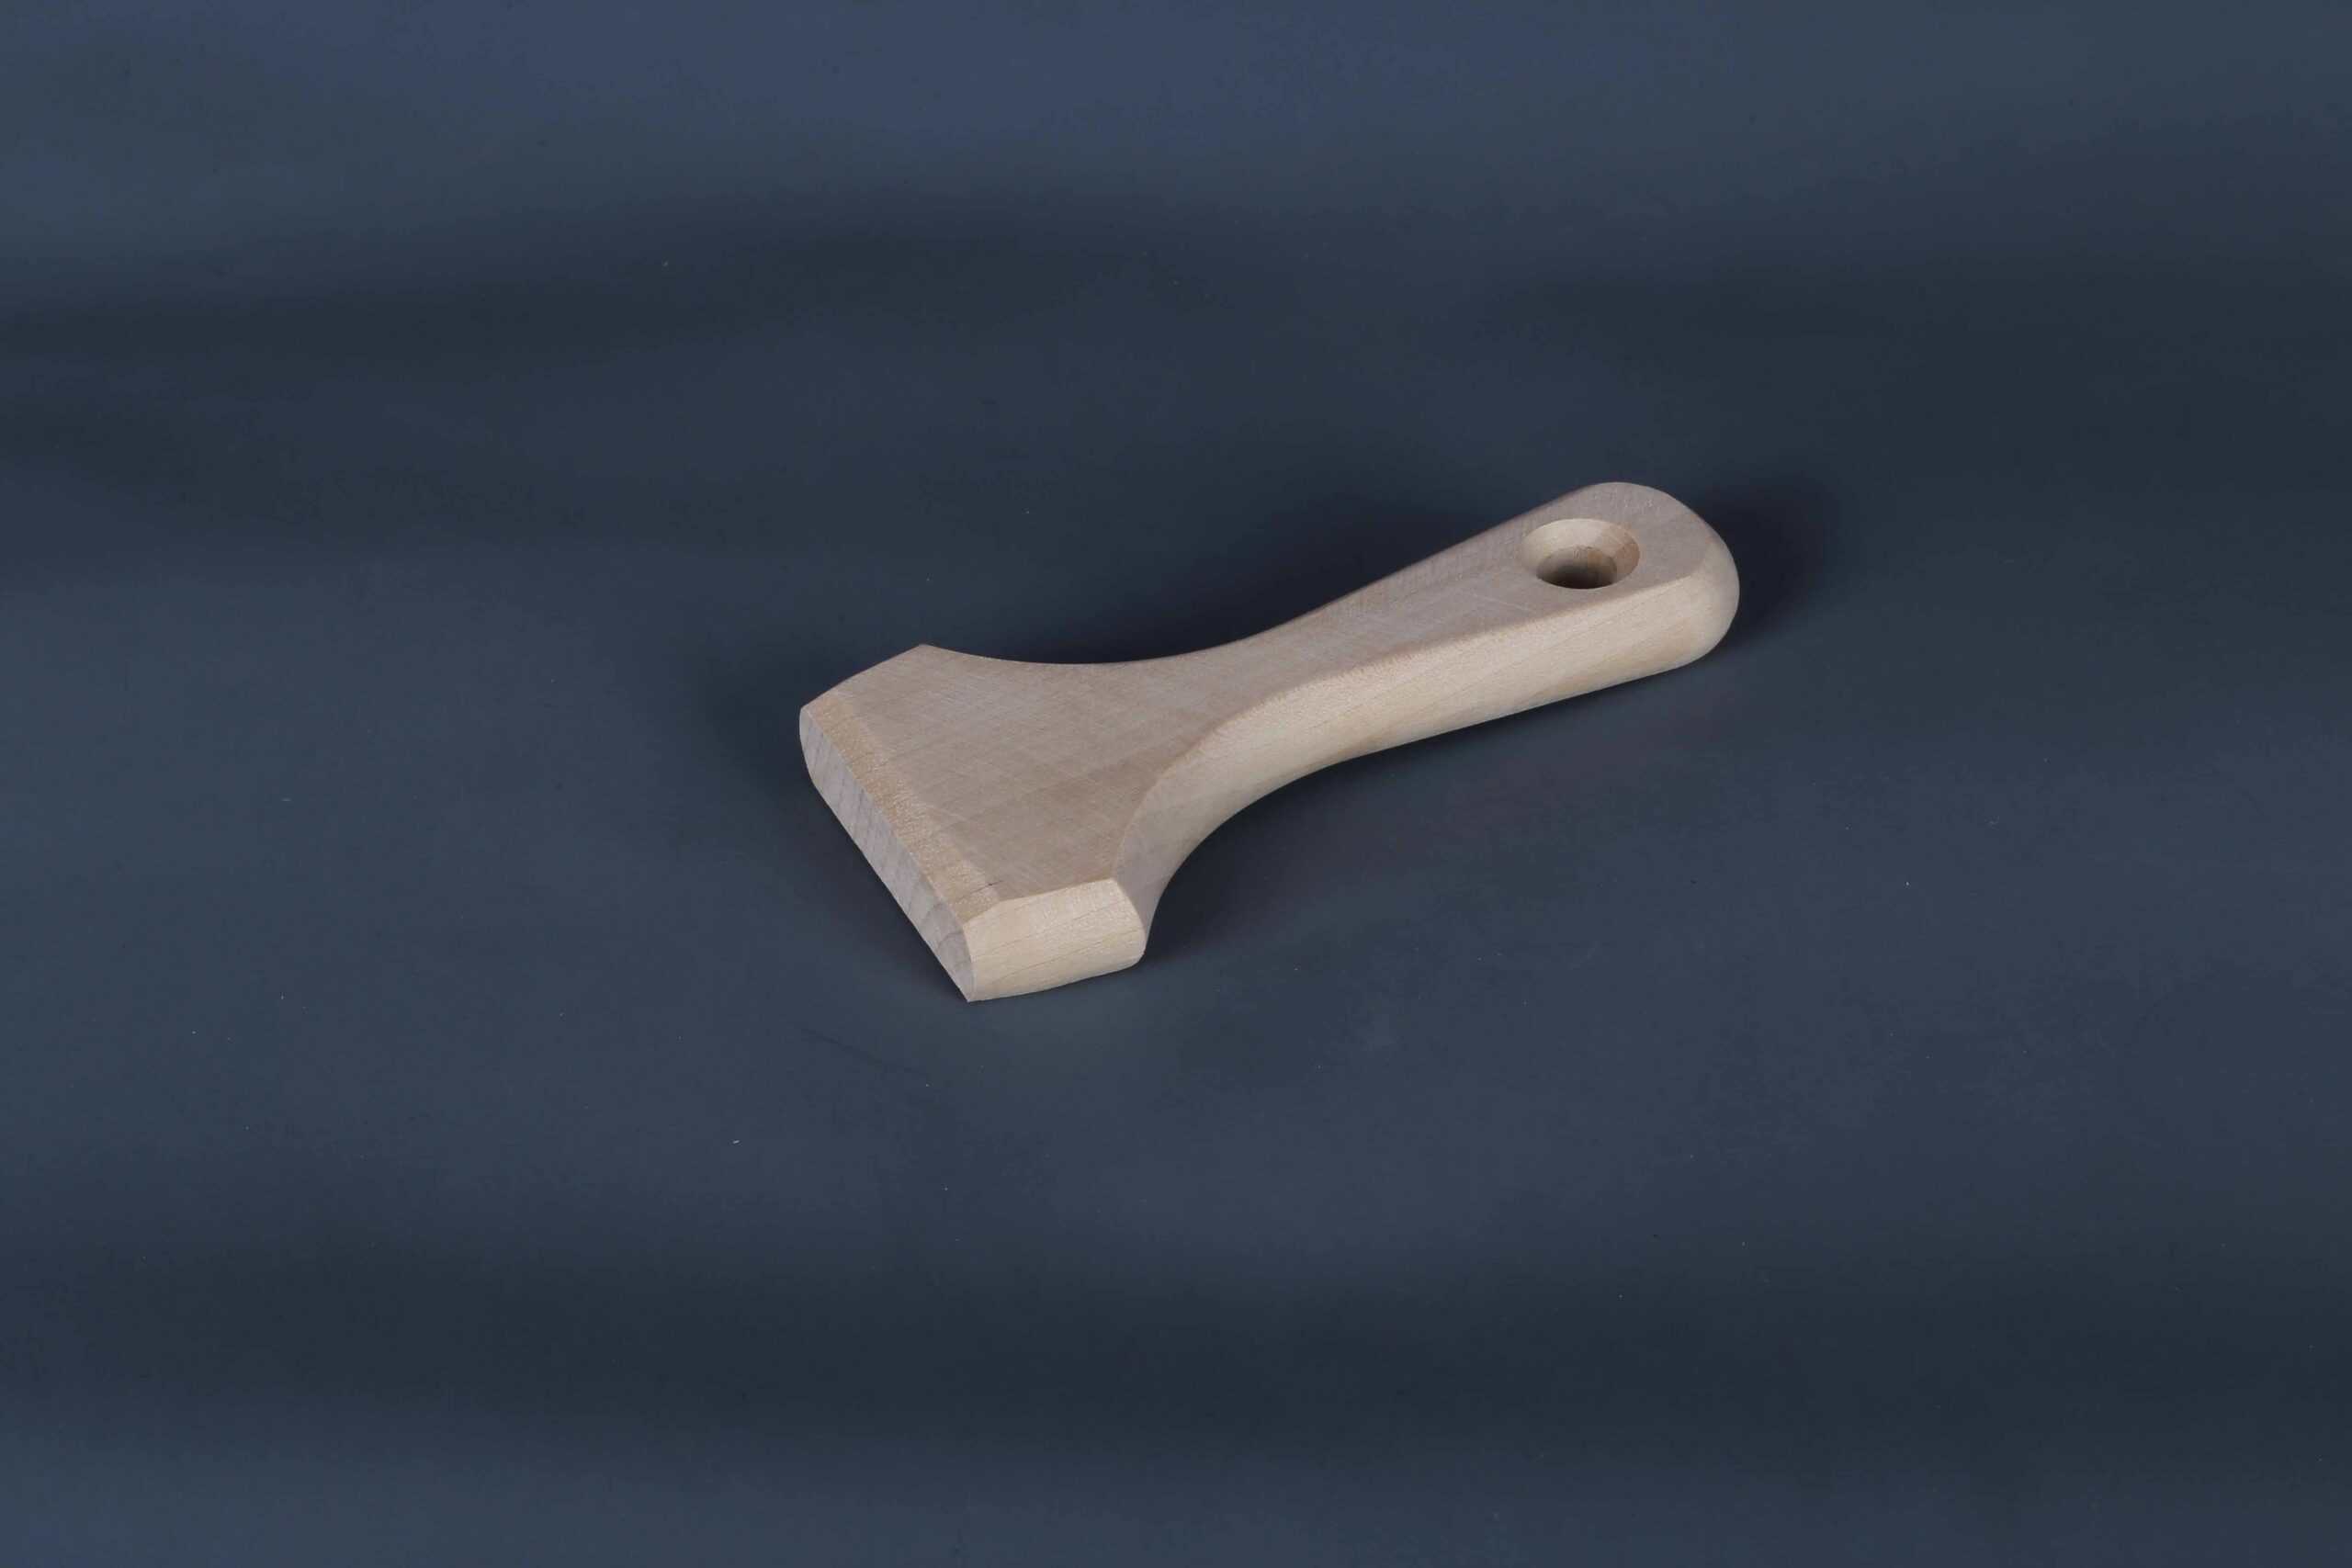
Short handles are perfect for detailed work or when you need more control over your brush. I love using this design for smaller brushes because it feels natural in my hand. The shorter length makes it easier to maneuver, especially when working on intricate patterns or tight spaces.
Here’s why short handles are a great choice:
They’re lightweight, so your hand doesn’t get tired quickly.
The compact size gives you better precision for detailed painting.
They’re ideal for projects like crafting, model painting, or touch-ups.
When shaping a short handle, I focus on making it ergonomic. A smooth curve and a slightly tapered end make it comfortable to hold. I also sand the wood carefully to ensure there are no rough spots. This way, the handle feels soft and natural in your hand.
Custom Shape Manufacturing (based on provided samples or drawings)
Sometimes, you might want a handle that’s completely unique. That’s where custom shapes come in. I’ve worked on projects where clients provided drawings or even old handles as samples. It’s always exciting to bring their ideas to life.
To create a custom handle, I start by studying the sample or drawing. I look at the dimensions, curves, and overall design. Then, I choose the right wood for the job. For intricate designs, I prefer softer woods like poplar or pine because they’re easier to shape. For more durable handles, I go with birch or beech.
Using tools like CNC routers, I can replicate even the most complex designs. These machines are precise and help me achieve consistent results. After shaping the handle, I sand it down and inspect it for quality. Custom handles take a bit more time, but the results are always worth it.
Ergonomic Design Principles for Handles
An ergonomic handle can make a huge difference in how comfortable and effective your brush feels. I always keep this in mind when designing handles. The goal is to reduce hand strain and improve control, especially during long painting sessions.
Here are some principles I follow:
Shape: I design handles with smooth curves that fit naturally in your hand.
Balance: The weight of the handle should feel evenly distributed. This helps you maintain control without extra effort.
Texture: Sanding the wood to a fine finish ensures a smooth surface. I sometimes add a light coating to improve grip.
Research shows that ergonomic tools can improve productivity and reduce fatigue. I’ve seen this firsthand with my own projects. When a handle feels right, painting becomes more enjoyable and less tiring.
If you’re making your own handle, think about how it feels in your hand. Test different shapes and sizes until you find one that works best for you.
Hand Physiology Optimization
Through 3D anthropometric studies of 500+ painters, we developed:
**Grip Angle Algorithm**
θ = 15° + (0.33 × H) - (0.25 × W)
Where:
H = Hand length (mm) from wrist crease to middle fingertip
W = Palm width (mm) at metacarpal level
This formula ensures optimal 110-130° wrist alignment during:
Overhead painting (minimizing supraspinatus strain)
Detail work (reducing extensor carpi radialis fatigue)
Watching Trends in Paintbrush Handle Designs
To design a great paintbrush handle, knowing trends is important. Trends show what people care about most—comfort, strength, and style. Here’s what I’ve learned from making handles and studying the market.
A big trend is ergonomic designs. People want handles that fit their hands well. Whether painting walls or doing detailed art, comfort matters. Curved shapes and light wood are very popular. These features help reduce hand pain and make brushes easier to use.
Another trend is using eco-friendly materials. Many buyers like handles made from sustainable wood. It’s good for the planet and often better in quality. Sustainable wood is strong and smooth, perfect for making handles. I always look for suppliers with responsibly sourced wood.
Customization is becoming more common too. People want tools that match their style or needs. I’ve made handles with special shapes or engraved designs for clients. This shows how much people value tools that feel personal.
Technology is also changing how handles are made. Tools like CNC routers help create precise and consistent designs. This makes it easier to produce high-quality handles quickly.
By following these trends, I can make handles that look good and work well. If you’re designing your own handle, think about these ideas and how to include them in your work.
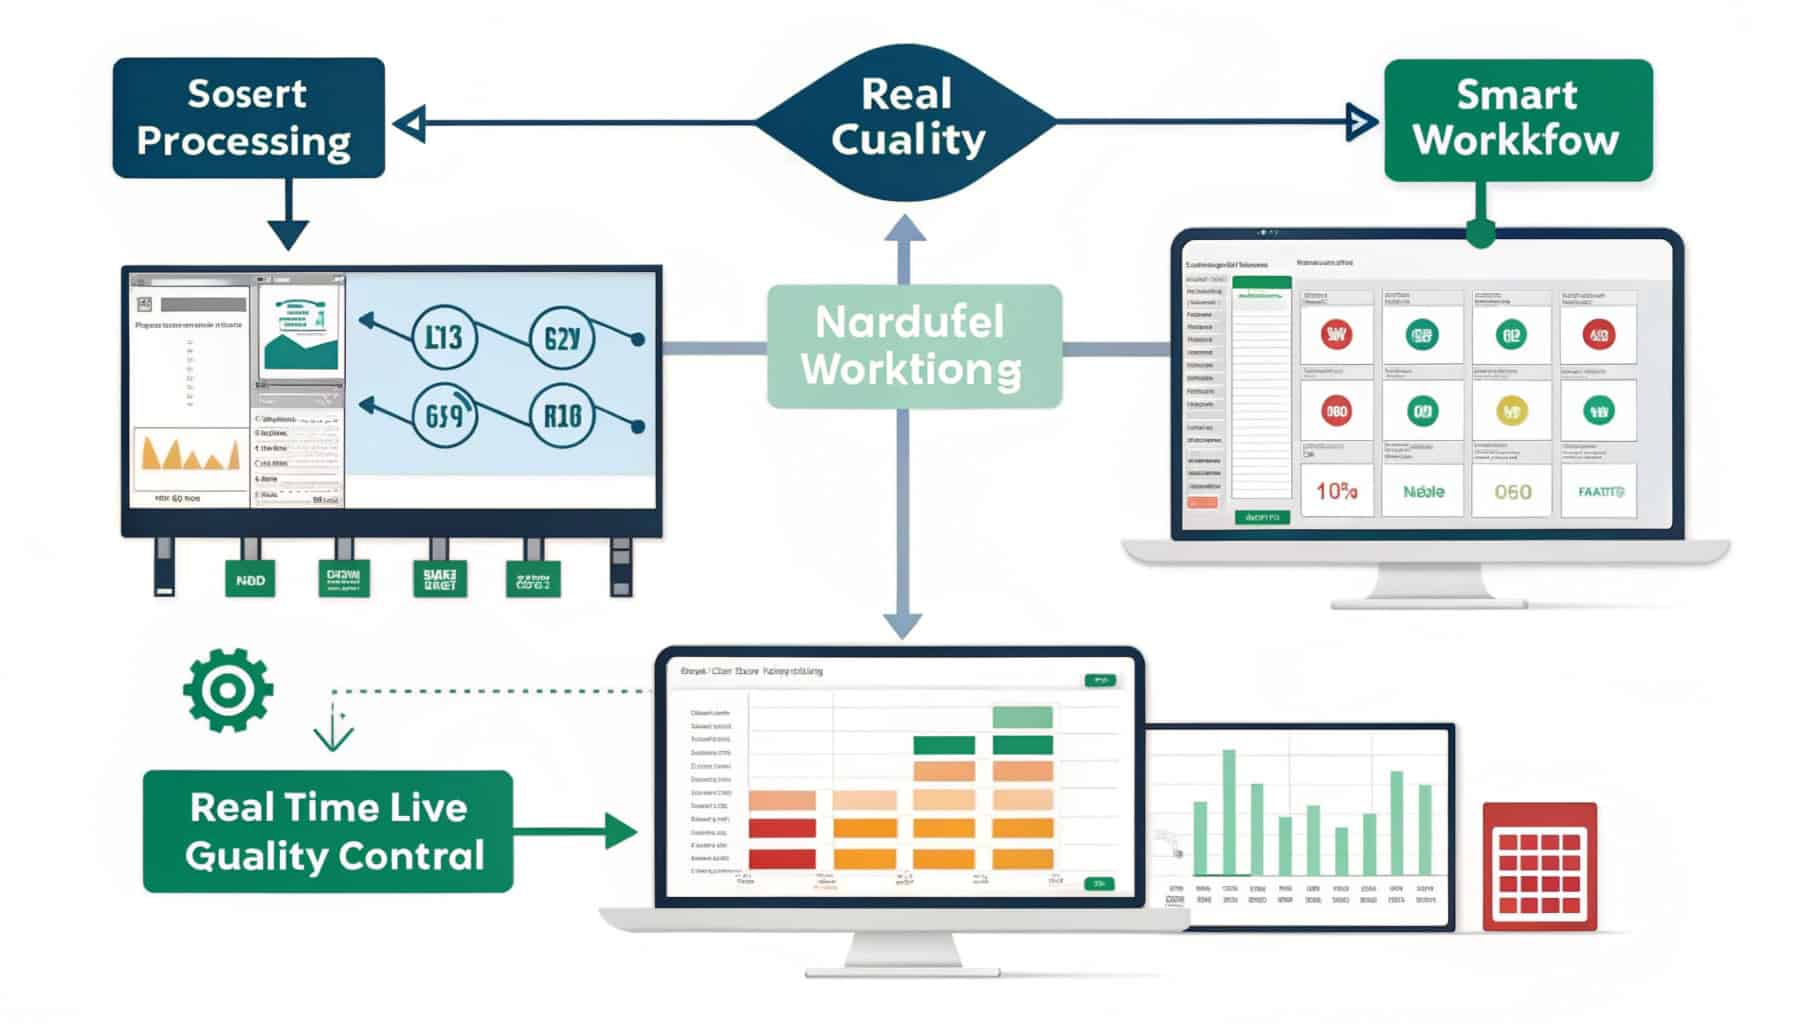
Smart Processing Workflow and Real-Time Quality Control
Cutting Templates to Size
Before starting, I always cut templates to the right size. This step is important because it sets the base for the project. If the template is wrong, the handle won’t fit or feel good. I use simple tools like a pencil, ruler, and cardboard to trace the shape. Once the design looks good, I carefully cut it out with scissors or a utility knife.
Templates are very helpful for cutting wood correctly. They keep the process consistent, especially when making many handles. A good template saves time and avoids mistakes. It’s a small but important step for making high-quality handles.
Checking Wood Moisture Content (8-12%)
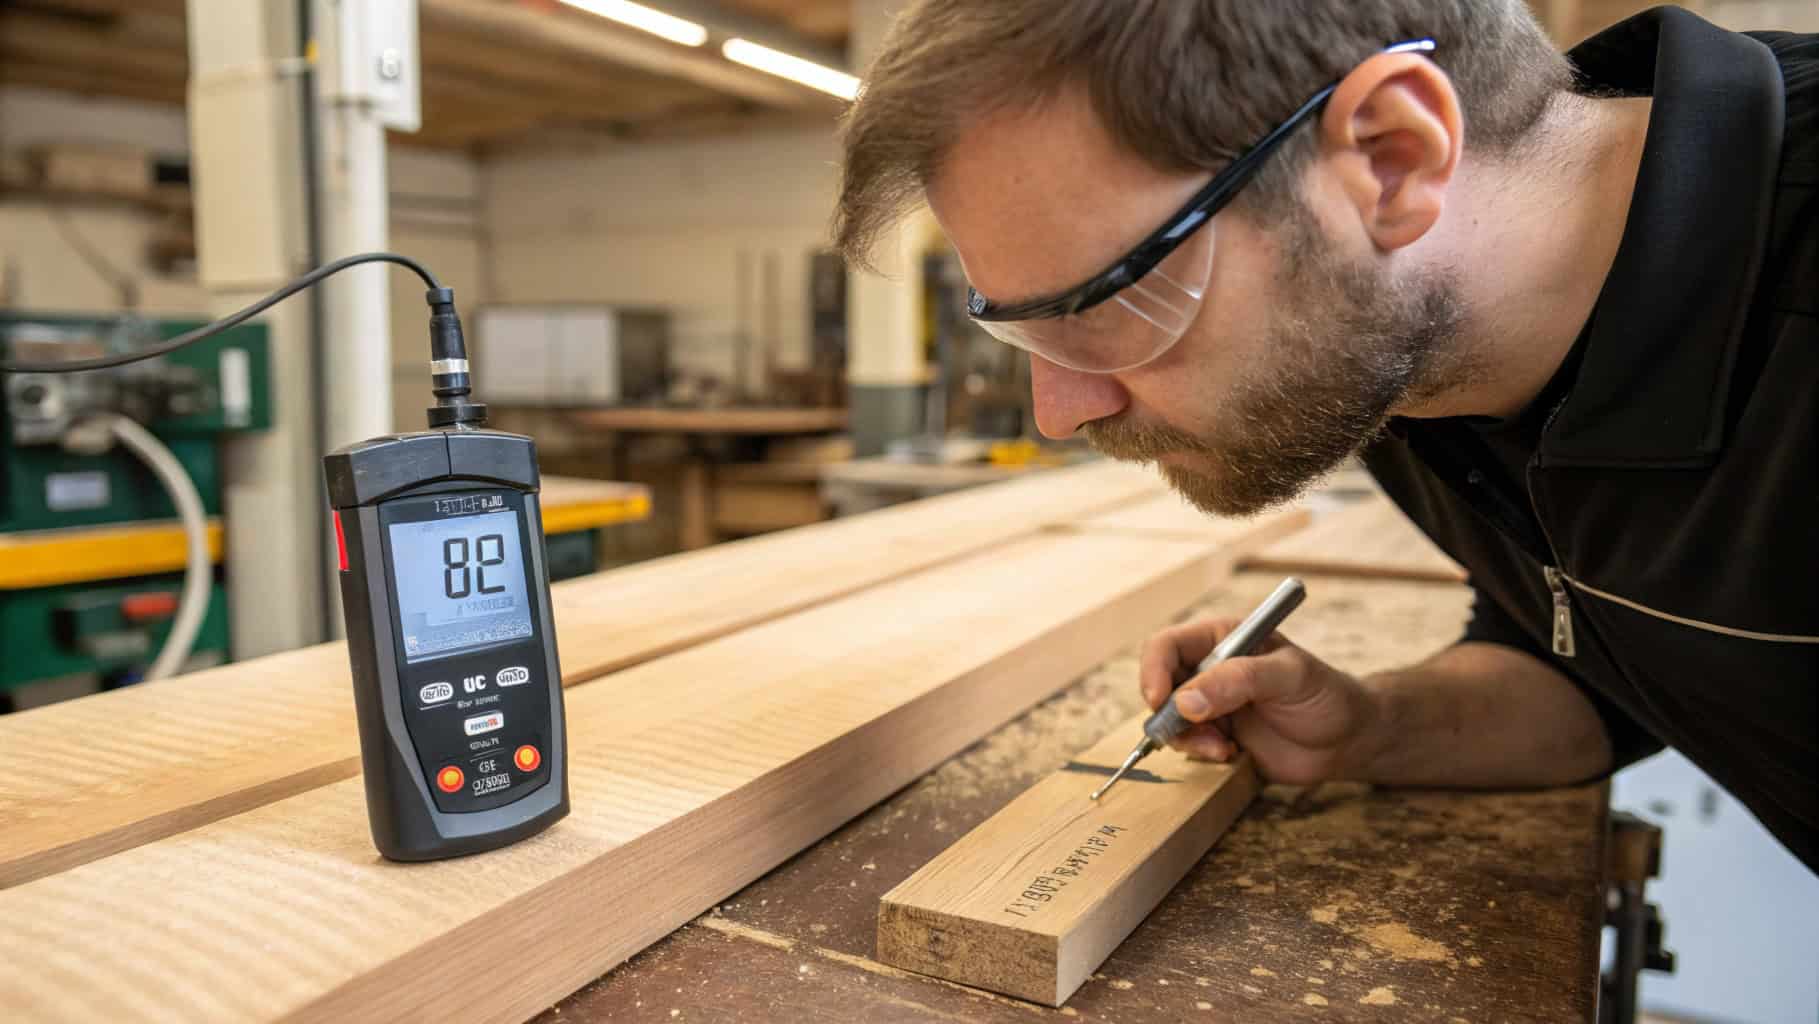
I’ve learned that wood moisture affects how strong the handle is. If wood is too dry, it can crack. If it’s too wet, it might bend or swell. That’s why I aim for 8-12% moisture content.
Studies show wood at this level is stronger and lasts longer. For example, hardwood with 8-12% moisture is perfect for tools like paintbrush handles.
I use a moisture meter to check the wood. If the reading isn’t right, I let the wood adjust in a controlled space. This step makes sure the handle will be durable and work well.
Moisture Content | Effect on Handle |
|---|---|
Below 8% | Cracks more easily |
8-12% | Best strength and durability |
Above 12% | Warps or swells over time |
Cutting Wood to the Right Width
After checking the wood, I cut it to the right width. I use multi-blade saws, which can cut several pieces at once. This saves time and effort. I adjust the blades to match the handle size I need.
Accurate cuts are very important. If the cuts are uneven, the handle won’t look or feel right. I double-check measurements before cutting and watch for defects. For example, if 200 out of 10,000 pieces are bad, that’s a 2% defect rate. This is acceptable and shows the process is working well.
Here’s how I keep quality high:
I set standard measurements for handle width.
I make sure all pieces match these measurements.
I track results using tools like defect rates and precision checks.
By following these steps, I create handles that are ready for the next part of the process.
Cutting Wood to Size with Table Saws

Once I’ve got the wood cut to the right width, it’s time to size it properly using a table saw. This step is all about precision. I always double-check my measurements before making any cuts. A small mistake here can throw off the entire handle design.
I set the table saw blade to the correct height and adjust the fence to match the handle dimensions I need. Then, I carefully guide the wood through the saw, keeping my hands at a safe distance. For me, using a push stick is a must—it keeps my hands safe while giving me better control over the wood.
Here’s a quick tip: Always cut slightly larger than the final size. This gives you room to sand and shape the handle later. It’s better to trim down than to start over!
Safety Tip: Wear safety goggles and ear protection when using a table saw. It’s loud, and wood chips can fly unexpectedly.
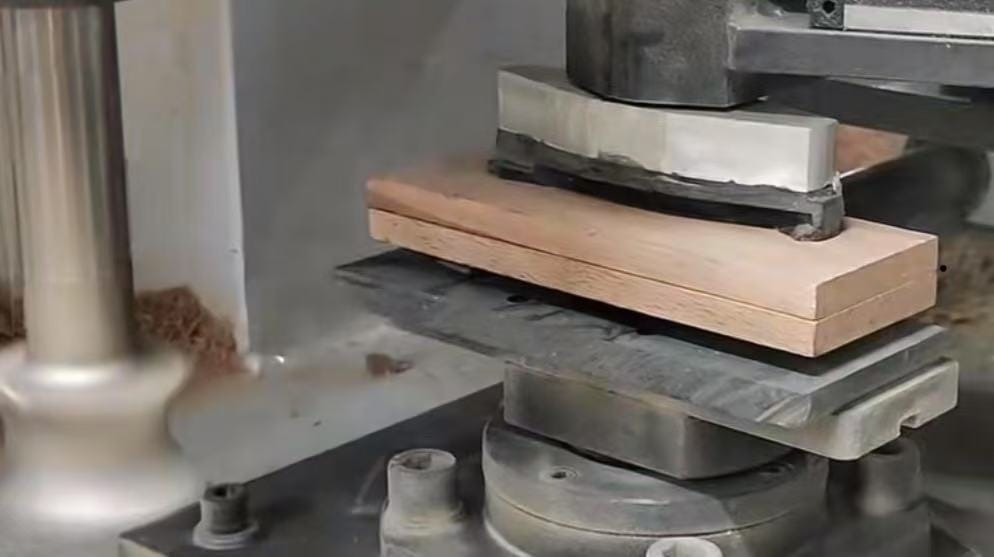
Planing Wood to Required Thickness
After cutting the wood to size, I move on to planing. This step ensures the wood has the right thickness for a comfortable handle. I use a planer to shave off thin layers until the wood is smooth and even.
Planing is one of my favorite parts of the process. There’s something satisfying about seeing rough wood transform into a smooth, polished surface. I always check the thickness with a caliper to make sure it’s consistent across the entire piece. Uneven thickness can make the handle feel awkward to hold.
If you don’t have a planer, don’t worry. You can use sandpaper and a sanding block, though it takes more time. Just remember to keep the surface even as you work.
Precision Machining Protocol
Our 3-axis CNC workflow combines German engineering (DMG MORI NLX 2500) with customized toolpath algorithms:
1. **Material Fixturing**
- Vacuum clamping system maintains 0.02Pa stability
- Laser alignment verifies workpiece positioning within ±0.05mm
2. **Tool Management**
| Tool Type | Diameter | RPM | Feed Rate | Application |
|---|---|---|---|---|
| Carbide End Mill | 6mm | 18,000 | 2m/min | Profile Cutting |
| Diamond Burr | 3mm | 24,000 | 0.5m/min | Detail Engraving |
| Ballnose Finisher | 2mm | 30,000 | 1.2m/min | Surface Smoothing |
3. **Quality Assurance**
- In-process probing checks critical dimensions every 10 units
- Vibration sensors detect tool wear with 0.005mm sensitivity
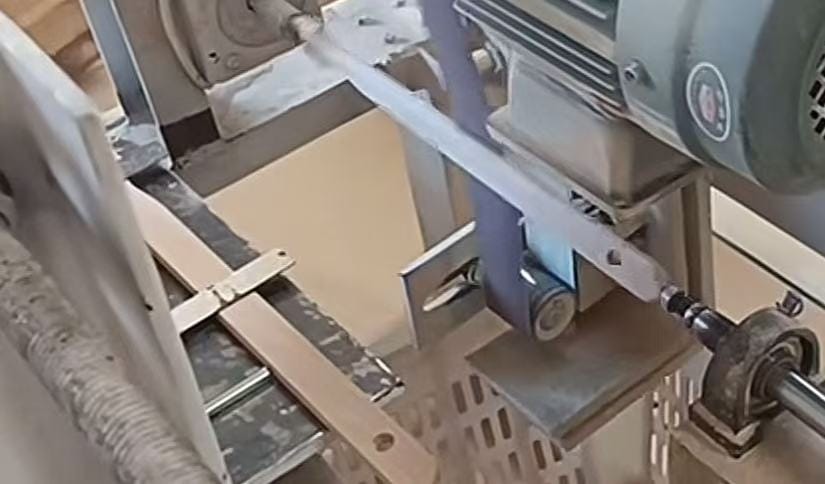
Machining Wood on CNC Routers
Now comes the fun part—shaping the handle with a CNC router. This tool is a game-changer. It allows me to create precise and intricate designs that would be nearly impossible by hand.
I start by programming the CNC router with the handle design. If I’m working on a custom shape, I upload the drawing or measurements into the software. Once the machine is set up, it carves the wood with incredible accuracy.
The CNC router doesn’t just save time; it also ensures every handle is identical. This is especially important if I’m making multiple brushes. After machining, I inspect each handle for any rough edges or imperfections. If needed, I do a quick touch-up with sandpaper.
Pro Tip: Keep the CNC router clean and well-maintained. Dust and debris can affect its performance and the quality of your handles.
Drilling Holes for Handles
Drilling holes in the handle is a crucial step, especially if you’re attaching the brush head with screws or other fasteners. I always start by marking the exact spot where the hole needs to go. A pencil works great for this. I use a ruler to ensure the placement is centered and aligned. This keeps the handle balanced when the brush is in use.
For drilling, I prefer a handheld drill or a drill press. Both tools work well, but a drill press gives more precision. I secure the wood firmly in place to prevent it from moving. Then, I drill slowly to avoid splitting the wood. Using the right drill bit size is important. It should match the size of the fastener or attachment you’re using for the brush head.
Here’s a tip: Always test on a scrap piece of wood first. This helps you check the hole size and avoid mistakes on the actual handle. Once the hole is drilled, I clean out any sawdust to keep the surface smooth.
Pro Tip: If the wood starts to splinter, try placing a piece of tape over the drilling spot. It helps keep the edges clean.
Sanding Handles for a Smooth Finish
Sanding is where the handle really starts to shine. I use sandpaper with different grits, starting with coarse and moving to fine. This removes rough spots and gives the wood a smooth finish. A sanding block or an electric sander makes the job easier, but hand-sanding works just as well for smaller handles.
I focus on the edges and curves to make sure the handle feels comfortable to hold. No one likes a rough or splintery brush handle! After sanding, I run my fingers over the surface to check for any uneven spots. If I find any, I go back and sand them again.
For an extra-smooth finish, I sometimes use a fine steel wool pad. It polishes the wood beautifully and prepares it for any finishing touches like paint or varnish.
Final Inspection and Packaging of Handles
Before calling it a day, I always inspect each handle carefully. I check for cracks, uneven surfaces, or any other flaws. If a handle doesn’t meet my standards, I set it aside for adjustments. Quality matters, especially when you’re making tools that people will use every day.
Once the handles pass inspection, I clean them to remove any dust or debris. Then, I package them securely to protect them during shipping. I like to use eco-friendly materials for packaging, like recycled paper or cardboard. It’s a small step, but it makes a big difference for the environment.
Note: A well-packaged handle not only looks professional but also ensures it arrives in perfect condition.
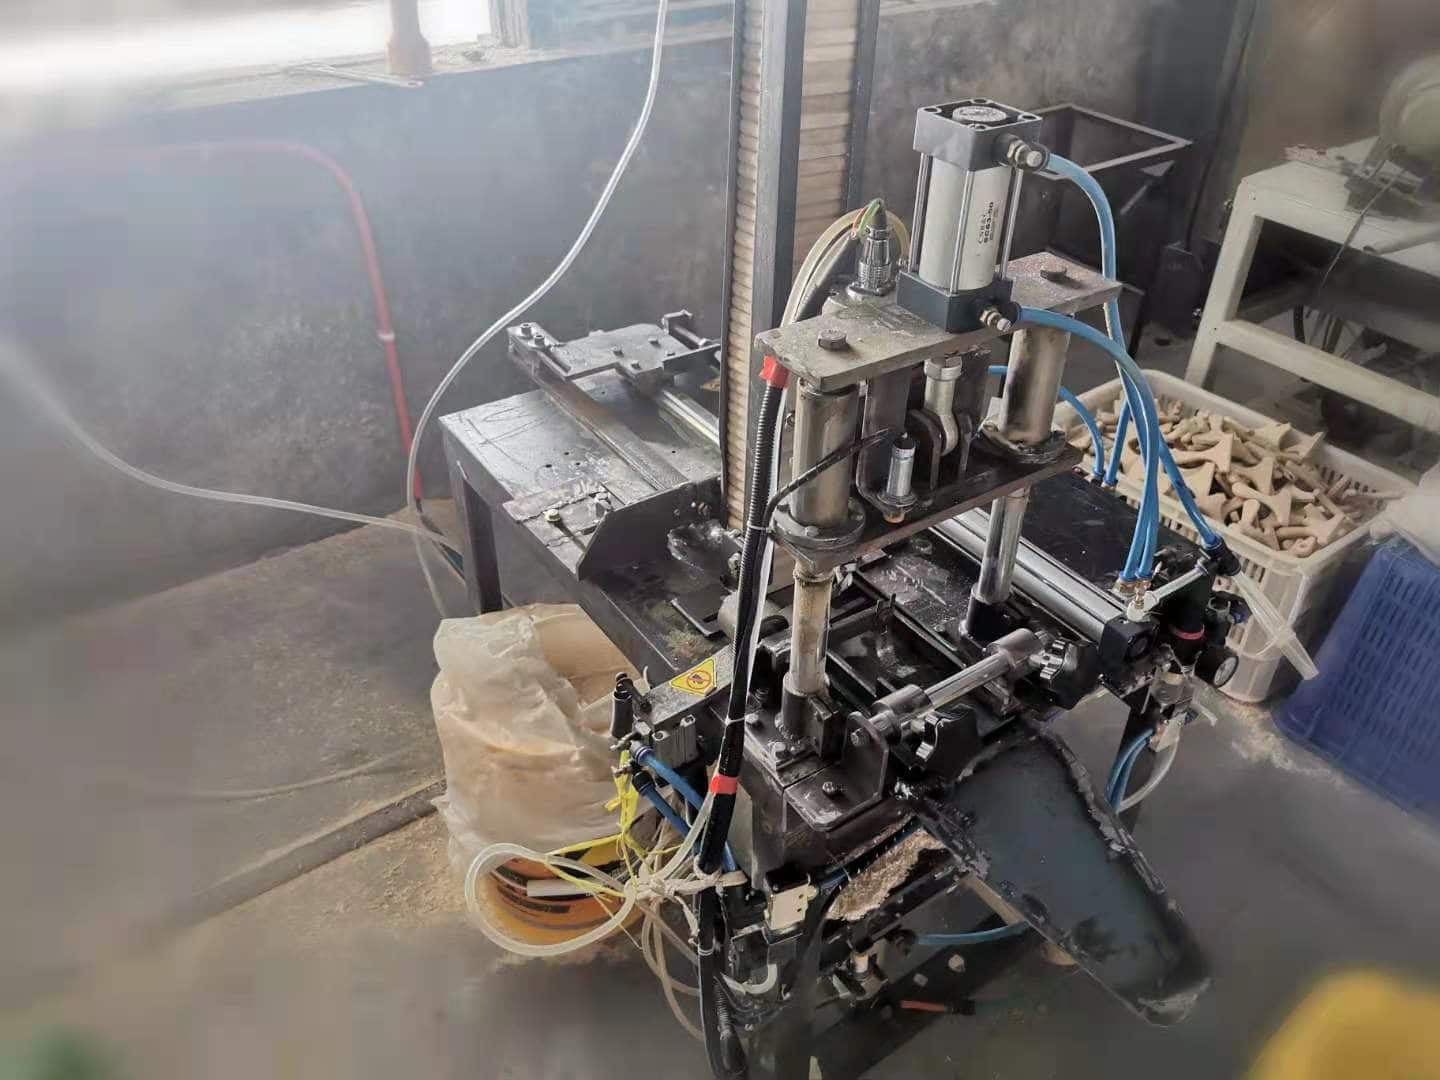
Using Automation in the Workflow
Automation has changed how I make wooden handles. It speeds up repetitive tasks and improves results. Before, cutting and sanding wood by hand took hours. Now, automated tools finish these jobs much faster.
Here’s what I’ve noticed with automation:
Better productivity: I get more done with the same tools.
Fewer mistakes: Automated steps ensure every handle meets high standards.
Lower costs: Less waste means saving money on materials.
Time efficiency: Drilling and shaping are quicker and more accurate.
The CNC router is my favorite tool. It shapes handles perfectly with just a programmed design. This saves time and makes identical handles every time. Automation also lets me focus on creative tasks, like testing new woods or designing unique shapes.
Tip: Start small with automation. Even an electric sander can improve your process.
Using Technology for Quality Checks
Technology has improved how I check handle quality. Real-time tools catch problems early, ensuring every handle is perfect. For example, sensors on machines track performance and warn me of issues. This helps fix problems quickly.
Here’s how technology helps:
Benefits | Improvements |
|---|---|
Defect Detection Rate | |
Downtime Reduction | 30% – 50% less |
Production Efficiency | 20% – 30% better |
Maintenance Costs Savings | 20% – 40% lower |
Safety Incident Reduction | 40% – 60% fewer |
These tools also check wood moisture levels. If the wood is too wet or dry, it can weaken the handle. Real-time monitoring helps me adjust quickly to avoid problems.
I’ve also seen less downtime with these tools. Machines run smoother, and I spend less time fixing them. This allows me to focus on making strong, high-quality handles without delays.
Pro Tip: Choose tools that give real-time data. They help keep your handles consistent and reliable.
Comprehensive Quality Monitoring System

Pre-Production Checks (Twice Daily)
Before making handles, I always check everything is ready. These checks, done every morning and noon, help avoid problems later. I inspect tools and machines to ensure they work correctly. I also look at the wood supply to confirm it meets the needed standards.
For instance, I recheck the wood’s moisture level to keep it between 8-12%. This prevents cracking or bending later. I also make sure cutting tools are sharp enough for the job. Dull tools can ruin handles, and no one wants that!
Tip: Doing these checks regularly saves time and reduces mistakes. Fixing problems early is always easier than fixing them later.
Hourly Sampling (Checking 30 Handles Per Hour)
During production, I check the quality of handles often. Every hour, I pick 30 random handles from the line to inspect. This helps me find and fix problems quickly.
I look at each handle’s size, shape, and smoothness. If I find defects, I stop production to fix the issue. For example, if handles feel rough, I adjust the sanding process or replace worn tools. This ensures all handles meet my quality standards.
Hourly checks also help me notice patterns. If the same problem keeps happening, I investigate further to solve it.
Checking Machine Accuracy
Machines are key to making good handles, but they need regular checks. I always ensure machines stay within their accuracy limits. For example, handle size differences should stay under 0.5%. This keeps the handles consistent and high-quality.
Here’s what I monitor:
Metric | What It Means |
|---|---|
Size Accuracy | Handles must stay within 0.5% size difference. |
On-Time Production | |
Material Waste | Keep waste below 3% to save wood. |
If a machine goes out of its limits, I stop it and fix the issue. This keeps production smooth and ensures every handle is well-made.
Pro Tip: Calibrate machines often to keep them accurate. Small adjustments can greatly improve quality.
Employee Guidelines (Stop Production if Defects Are Found)
Making top-quality handles means following one key rule: stop production if you see a defect. Even one bad handle can ruin the user’s experience. It’s better to fix problems right away than let them grow.
Here’s how I guide my team:
Check every handle: Look for cracks, rough spots, or splinters before moving on.
Report issues quickly: If someone finds a defect, they tell me immediately. This helps us solve it fast.
Pause work if needed: Sometimes, we stop machines to fix repeated problems. It’s worth the time to avoid making bad handles.
I also give my team tools to spot defects easily. Bright lights, magnifying glasses, and smooth sanding blocks help a lot. By following these steps, we make sure every handle is high quality.
Setting Quality Goals for Better Performance
To stay on track, I use clear goals to measure our work. These goals show where we can improve and help us make great handles. Here are some key things I check:
Metric Name | Why It’s Important |
|---|---|
Tracks how often problems happen to find weak spots. | |
First Try Success | Counts handles that meet standards on the first attempt. |
Machine Downtime | Measures how long machines are not working. |
Cost Per Handle | Keeps production costs low and profitable. |
Overall Efficiency | Combines machine use, speed, and quality to check productivity. |
For example, if defects are common, I check if the wood is too dry or tools need fixing. These checks give me a clear idea of what’s working and what needs attention.
Improving Quality Every Day
Quality control isn’t just about fixing mistakes—it’s about getting better all the time. I always look for ways to improve how we make handles. One way is by asking my team for ideas. They work with the tools daily and often suggest great changes.
I also train my team regularly. Teaching them to use new tools or spot problems early makes a big difference. For example, when we got CNC routers, I held a workshop to show how to use and care for them. This improved handle quality and boosted team skills.
Another thing we do is hold brainstorming meetings. We review recent work and think of ways to reduce defects or speed up tasks. These meetings have led to great ideas, like changing sanding methods to make handles smoother.
By focusing on improving every day, we make sure each handle is better than the last.
Triple Assurance System Before Shipment

Checking Handles Using AQL 2.5 Standards
Before shipping, I always check handles to ensure top quality. I use the Acceptance Quality Limit (AQL) 2.5 standard to decide how many defects are okay in a batch. For example, if I inspect 100 handles and find only two small issues, the batch is fine. But if there are more problems, I fix them right away.
During these checks, I look for scratches, dents, or rough spots on the wood. I also make sure each handle is the right size and feels smooth. If a handle doesn’t meet these standards, I set it aside to fix later. This way, only the best handles move forward.
Tip: Use a checklist during inspections. It helps you stay focused and not miss anything.
Recording Measurements, Moisture Levels, and Photos
I always keep detailed records for every batch of handles. This includes their size, moisture level, and how they look. These records help me track quality and solve problems quickly.
To measure size, I use calipers to ensure all handles are the same and fit well with brush heads. I also check moisture levels with a meter to keep them between 8-12%. Handles outside this range might crack or bend, which isn’t acceptable.
I also take clear photos of the handles from different angles. These pictures show the quality and help me share details with clients. If a client has specific needs, I include close-up shots to prove the handles meet their expectations.
Informing Clients About Inspections or Sharing Reports
After finishing my checks, I always let clients know. Some clients like to inspect the handles themselves, while others prefer my reports. Either way, I make sure they get all the details they need.
If a client wants to inspect the handles, I arrange a time for them to visit. I also share my records, including measurements, moisture levels, and photos. For clients who prefer reports, I include everything they need to feel confident about the product.
Here’s what my reports usually include:
Component | Description |
|---|---|
Surface Checks | Finds scratches, dents, or other flaws. |
Size and Material Verification | Confirms handles meet required dimensions and materials. |
AQL Standards | Shows the number of defects allowed in the batch. |
Safety Compliance | Ensures handles meet safety rules like RoHS or CE standards. |
Performance Testing | Checks if handles work as expected. |
Packaging Review | Makes sure packaging protects the handles during shipping. |
Document Accuracy | Verifies invoices, packing lists, and certificates are correct. |
By sharing this information, I build trust with clients and make sure they’re happy with the handles they receive.
Third-Party Checks for Quality and Sustainability
Using third-party checks makes wooden handles better and reliable. These checks ensure the wood meets rules for quality and eco-friendliness. Certifications like FSC (Forest Stewardship Council) and PEFC (Program for the Endorsement of Forest Certification) are important. They show the wood is from forests managed responsibly and legally.
Audits by third parties are also very helpful. These reviews check if I follow rules like the EUDR (European Union Deforestation Regulation). Auditors suggest improvements and make my process more transparent. This builds trust with clients and proves my tools are high-quality.
By choosing certified wood and having regular audits, I ensure my handles are great. It’s good for both my customers and the planet.
Easy Shipment Tracking for Clients
When shipping handles, I make sure the process is simple. A clear tracking system helps clients know where their order is.
I use digital tools to create a tracking system that’s easy to use. Each shipment gets a special tracking number. Clients can use this number to see updates about their order anytime. This avoids confusion and keeps things organized.
I also send updates during shipping. For example, I let clients know when the handles leave my workshop, reach the hub, or are out for delivery. These updates show I care about their time and keep them informed.
Listening to Customers After Delivery
After delivering handles, I always ask clients for feedback. Their opinions help me improve my products and services. I encourage them to share thoughts about the handle’s design, wood quality, or overall experience.
If there’s a problem, I fix it quickly. For example, if a handle is damaged, I replace it or give a refund. I also find out what caused the issue to avoid it in the future.
Listening to customers has taught me a lot. It helps me make better tools and improve my process. Happy customers are proof that I’m doing a good job.
Making a wooden paintbrush handle is such a fun and rewarding project! It’s amazing how a simple piece of wood can turn into a tool that feels just right in your hand. By following this guide, you’ll have the skills to craft a handle that’s perfect for your painting needs. Don’t be afraid to experiment with different designs or tools. Who knows? You might create a brush handle that’s even better than store-bought ones. I’d love to hear about your creations—share your ideas and inspire others to give it a try!
FAQ
What type of wood is best for making a paintbrush handle?
I recommend using beech or birch for durability and comfort. These woods are strong, smooth, and easy to work with. If you’re on a budget, poplar or pine works well too. Always choose wood that feels good in your hand and suits your tools.
Can I make a handle without advanced tools?
Absolutely! You can shape a handle using basic tools like a handsaw, sandpaper, and a drill. It might take more time, but it’s a rewarding process. Start with soft wood like pine to make things easier.
How do I ensure the handle is ergonomic?
Focus on smooth curves and balance. Test the handle in your hand as you shape it. Sand it well to avoid rough spots. A comfortable handle makes painting more enjoyable and reduces hand strain during long sessions.
What’s the best way to finish the handle?
I like to sand the handle until it’s smooth, then apply a light coat of varnish or oil. This protects the wood and gives it a polished look. If you prefer a natural feel, leave it unfinished but keep it clean and dry.
Can I customize the handle shape?
Of course! That’s the beauty of making your own handle. Use your tools to experiment with different shapes. Try a short handle for detailed work or a wide grip for larger brushes. The possibilities are endless.