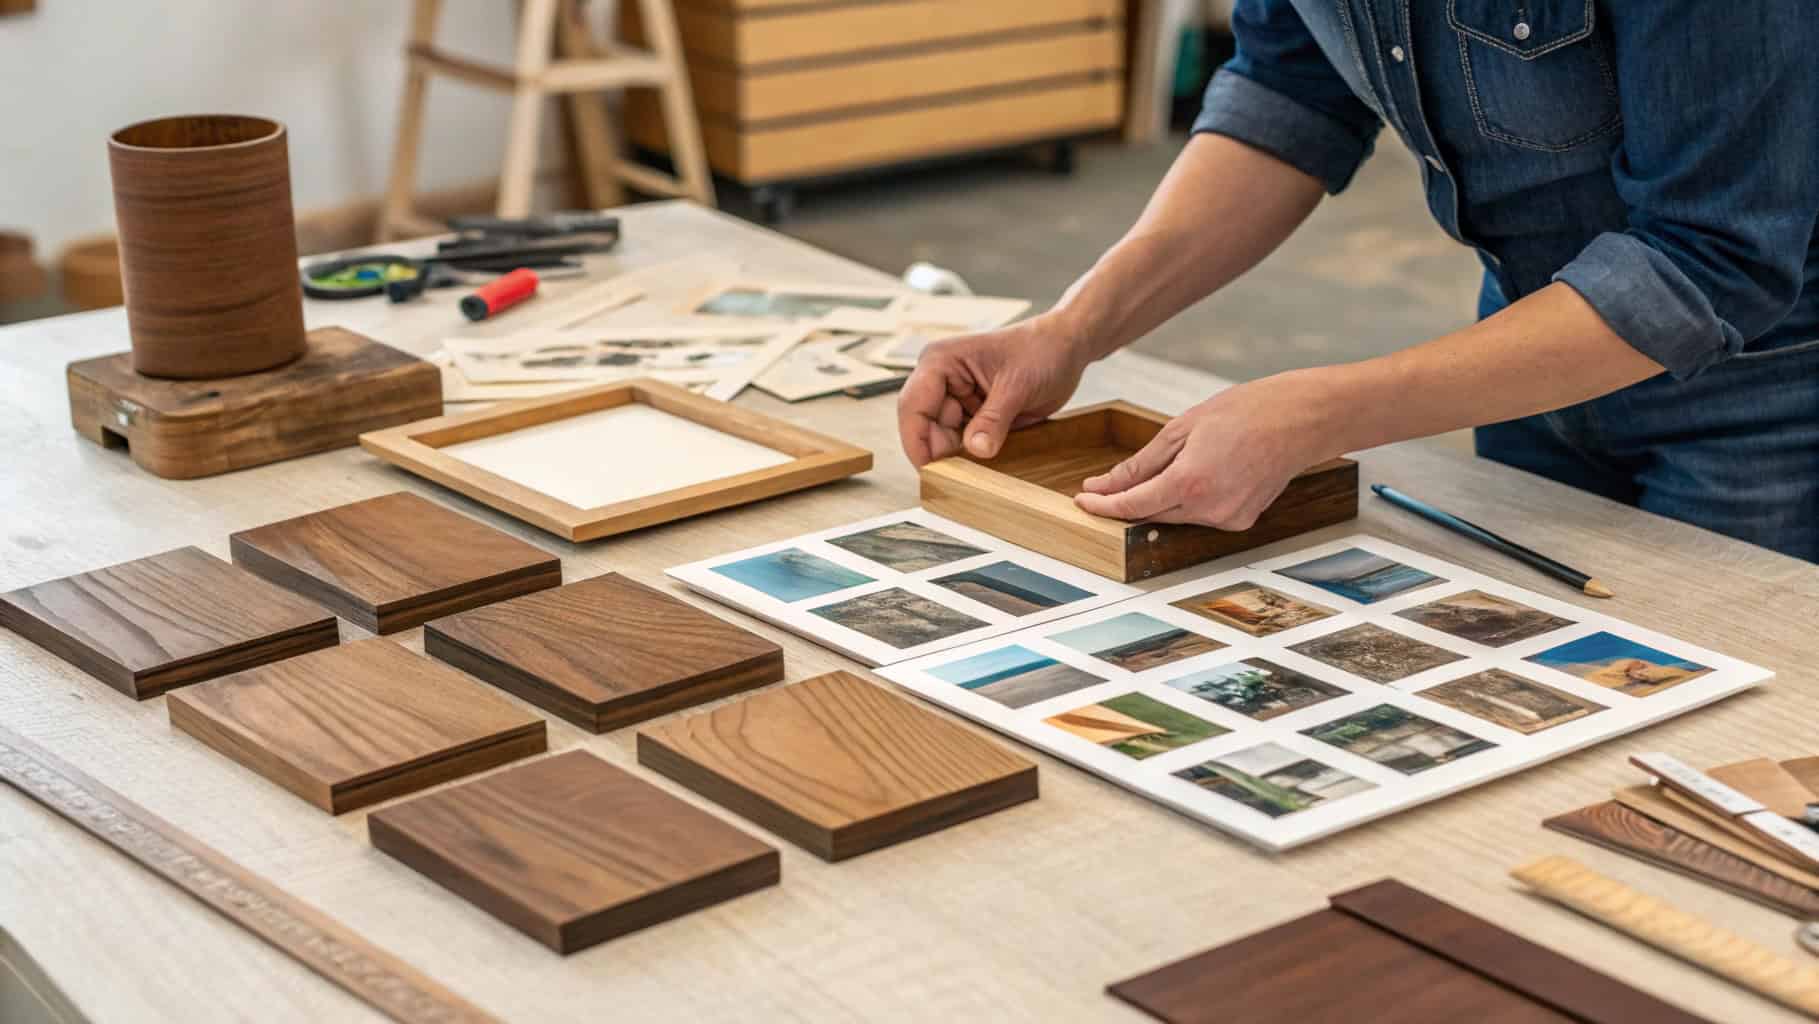
Have you ever wanted to turn a favorite photo into something truly unique? Transferring an image onto a wood block is a fun and easy way to do just that. It’s like giving your memories a rustic, handmade charm. Whether you’re sprucing up your home decor or making a heartfelt gift, this process adds a personal touch that stands out. Plus, it doesn’t take fancy tools or skills—just a bit of creativity and patience!
Key Takeaways
Moving a photo onto wood is easy and fun. It’s great for decorating or making gifts.
Pick plain wood and normal printer paper for good results. Don’t use shiny or thick paper.
Spread a thick layer of Mod Podge to transfer the photo. Let it dry fully before peeling the paper off.
Cover your finished work with a strong sealant. This keeps the picture safe and makes it look better.
Try using different kinds of wood and photos. This helps you make cool and special projects.
Introduction to Photo Transfer on Wood
What is Photo Transfer on Wood?
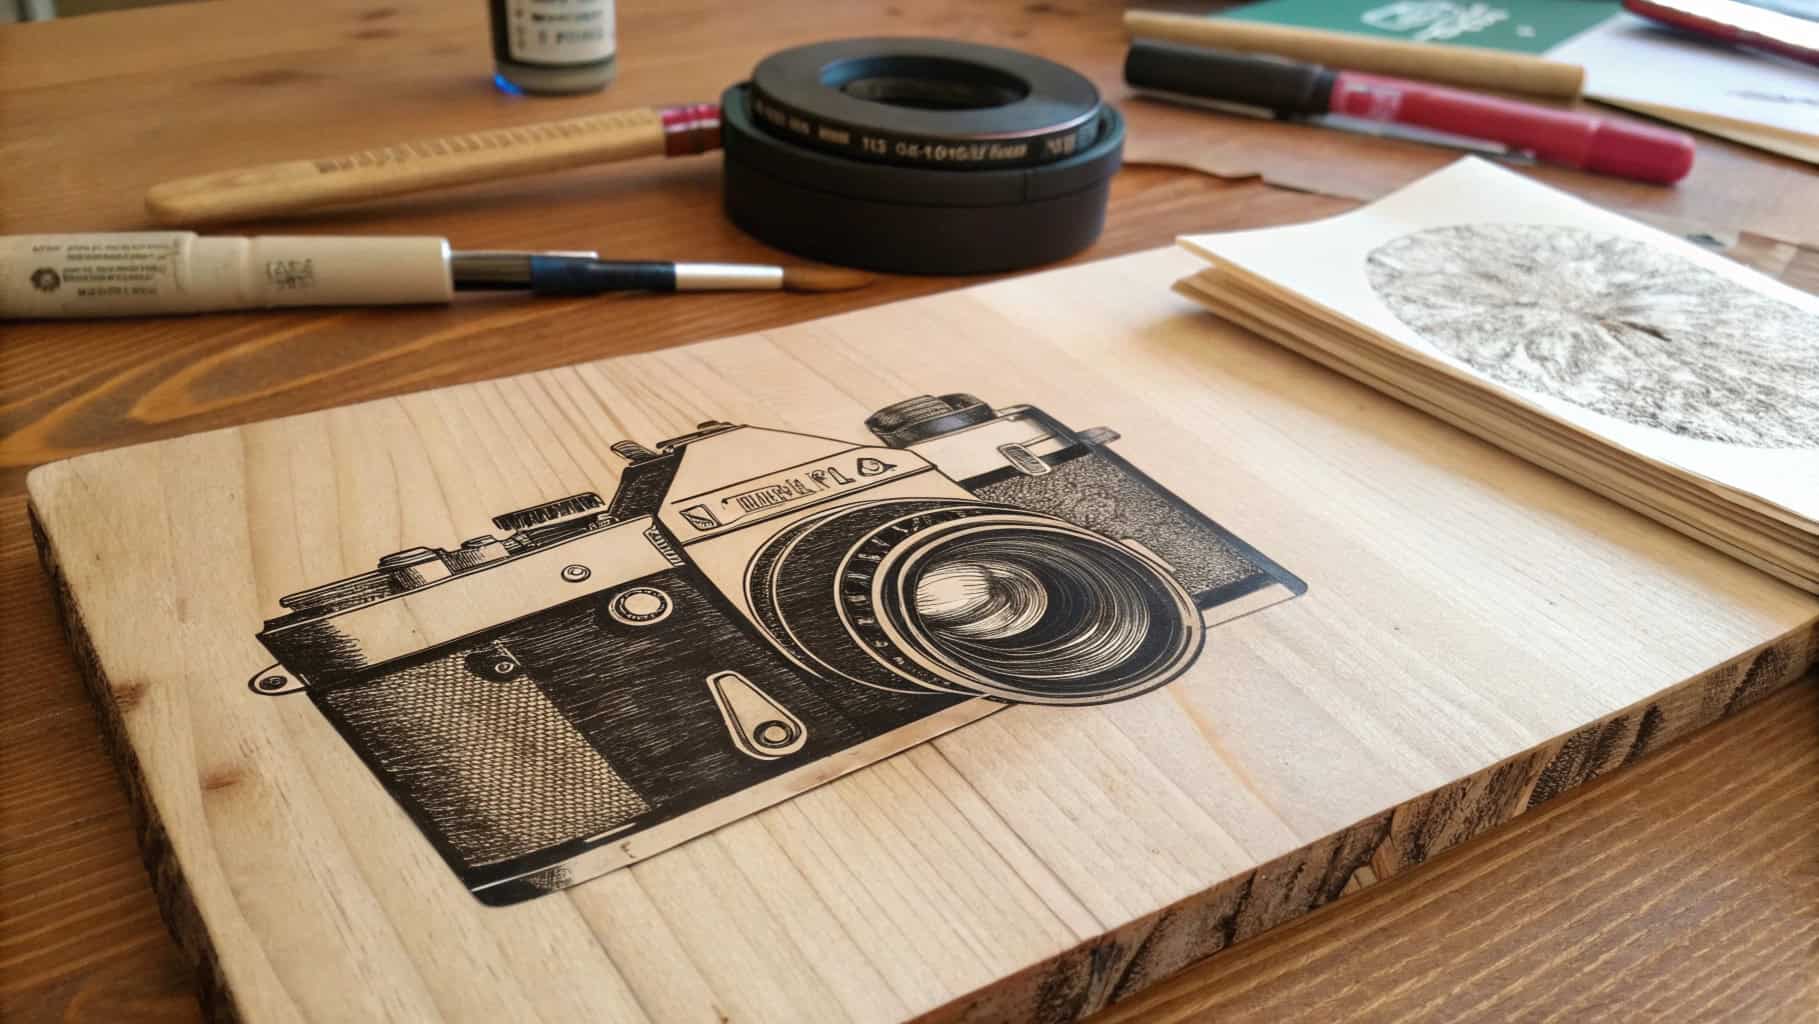
Photo transfer on wood is a fun way to make art from your favorite pictures. It’s a method where you move a printed photo onto a wooden surface. The result is a special decoration that mixes the natural look of wood with your cherished memories.
Here’s how you do it: You’ll need an unfinished wood piece, a photo printed on plain paper, and a product like Mod Podge. First, cover the photo with the product, then press it onto the wood. Let it dry, then peel off the paper, leaving the picture on the wood. Lastly, seal it to keep it safe. It’s simple and fun!
Benefits of Transferring Photos to Wood
Why use wood for your photo projects? It’s because wood gives a natural and textured look that regular frames don’t have. Plus, it’s strong and lasts a long time.
Another reason is the growing love for handmade and personal home decor. People want unique items for their homes. Check out this:
Evidence Type | Description |
|---|---|
Market Growth | The craft market is growing fast as people spend more on home decor. |
Consumer Demand | More people want special, handmade, and personal home decor items. |
Economic Factors | Better economies in many places mean people spend more on decorating their homes. |
Photo transfers also make great gifts. Imagine giving someone a memory they can display forever in a creative way. Whether it’s a family photo, a vacation picture, or artwork, putting it on wood makes it extra special.
If you want a fun and meaningful project, try photo transfer on wood. It’s easy, cheap, and looks amazing!
Materials and Tools for a Successful Wood Block Photo Transfer
Essential Materials for Photo Transfer on Wood
Let’s start with the basics. To transfer a photo onto wood, you’ll need a few key materials. Here’s what I always gather before starting:
A wood block: Choose an unfinished piece of wood. It could be pine, birch, or even a craft store plaque.
Photo printed on regular paper: Use a laser printer for the best results. Inkjet prints don’t work as well for this process.
Mod Podge photo transfer medium: This is the magic ingredient that makes the photo stick to the wood.
A sponge or soft cloth: You’ll need this to remove the paper backing later.
Sealer: A clear acrylic spray or another type of sealer will protect your finished piece.
These materials are easy to find at craft stores or online. Once you have them, you’re ready to move on to the tools.
Recommended Tools for a Smooth Process
Having the right tools makes the process so much easier. Here’s what I recommend:
A foam brush or paintbrush: Use this to apply the Mod Podge evenly.
Scissors: Trim your photo to fit the wood block perfectly.
Sandpaper: Smooth out the wood surface before starting. A fine-grit sandpaper works best.
A ruler or measuring tape: This helps you center the photo on the wood.
Pro Tip: Keep a damp cloth nearby to clean up any excess Mod Podge before it dries. Trust me, it’s a lifesaver!
Choosing the Right Wood Block and Photo Paper
Picking the right wood block and photo paper can make or break your project. For the wood, I like to use pieces with a smooth surface and minimal grain. This helps the photo transfer more clearly. Avoid wood with knots or rough patches, as they can distort the image.
For the photo, stick to regular printer paper. Glossy or thick paper doesn’t work well with this technique. And remember, if your photo has text or a specific orientation, flip it horizontally before printing. That way, it’ll appear correctly on the wood.
With these materials and tools, you’re all set to create a stunning piece of art. Let’s get started!
Getting Ready for the Photo Transfer on Wood
Steps to Prepare the Wood Block
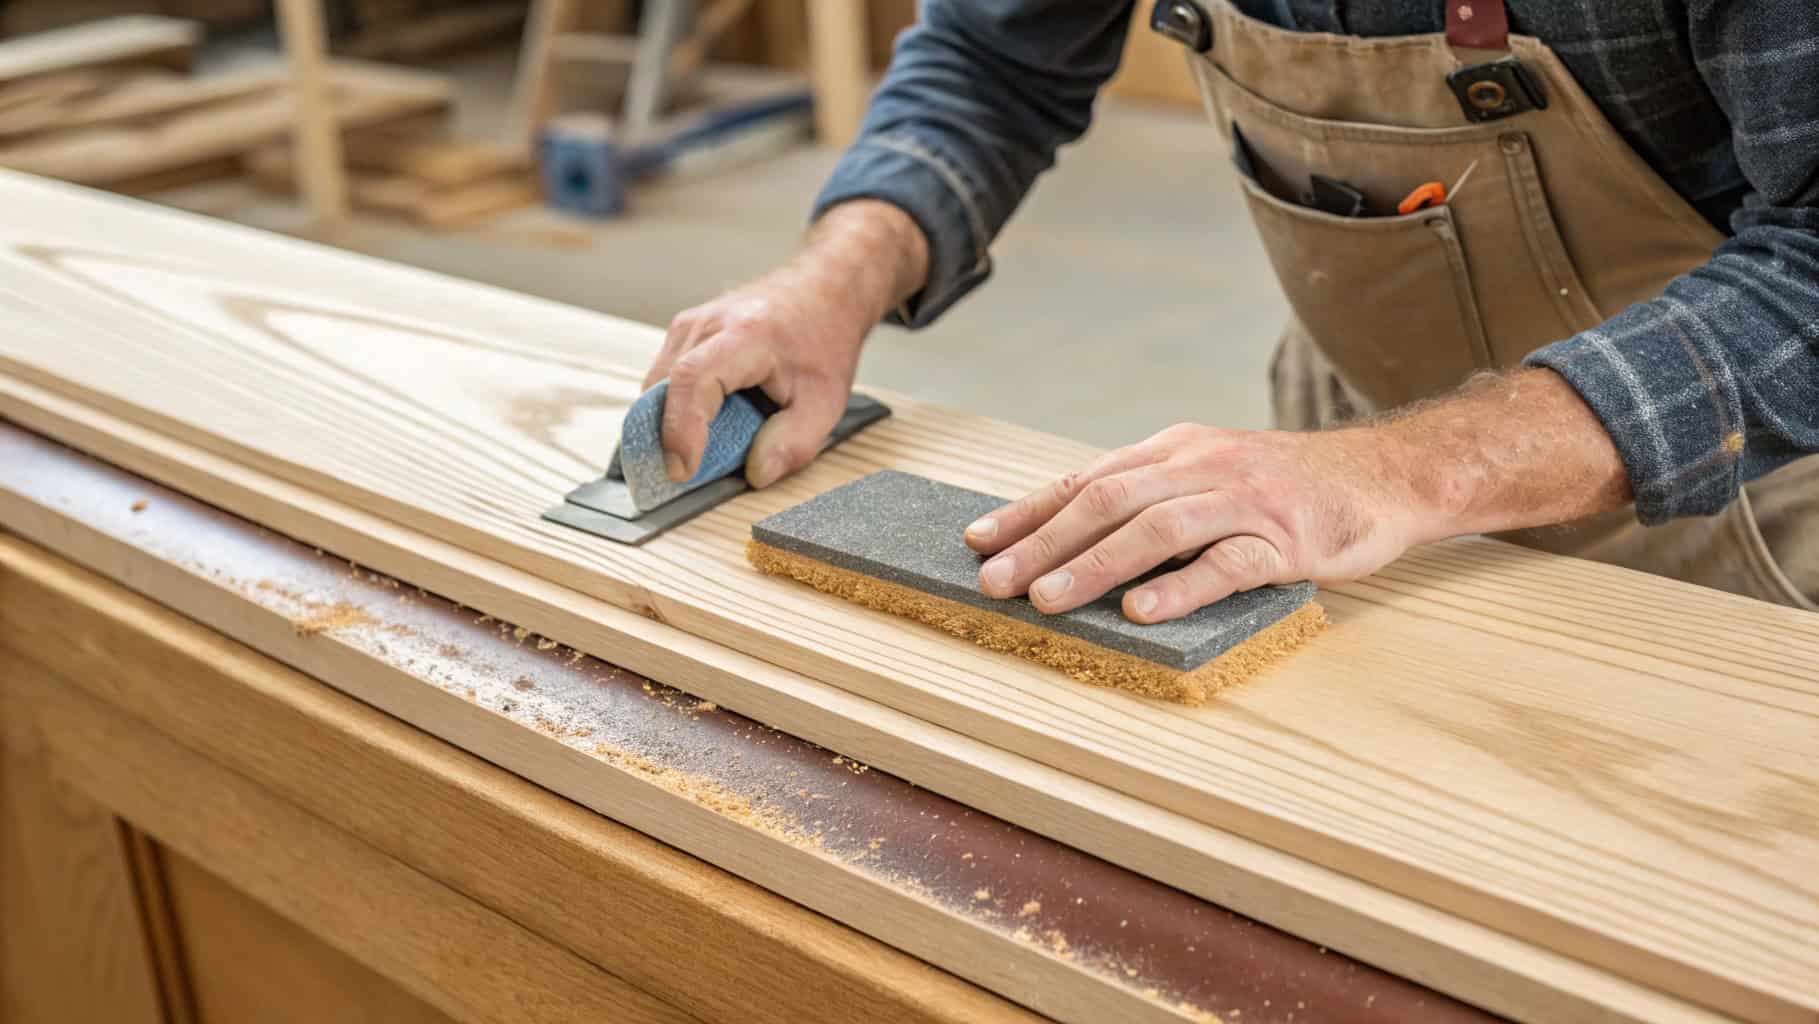
Before starting, make sure your wood is ready. A smooth and clean surface helps the photo stick better. Follow these steps:
Sanding the Wood: Use fine-grit sandpaper to smooth the wood. Sand along the grain for the best results. Spend extra time on rough spots or knots. Silicon carbide sandpaper works better than aluminum oxide.
Cleaning the Surface: After sanding, wipe the wood with a damp cloth to remove dust. Let it dry completely before continuing.
Checking the Wood: Look for cracks or uneven edges. Fix these before starting the photo transfer.
Factor | Impact on Surface Quality |
|---|---|
Grit Size | Smaller grit makes the surface smoother |
Feed Speed | Slower speeds reduce roughness |
Sanding Direction | Sanding with the grain gives a smoother finish |
Sandpaper Type |
These steps will make your wood block perfect for the next stage.
Getting the Photo Ready
Preparing your photo is just as important as preparing the wood. Here’s how to do it:
Printing the Photo: Use a laser printer and regular paper. Inkjet prints don’t work well. If your photo has text or needs to face a certain way, flip it horizontally before printing.
Cutting the Photo: Trim the photo to match the size of your wood block. Use scissors or a craft knife for clean edges.
Adding the Transfer Medium: Apply a thick layer of Mod Podge photo transfer to the front of the photo. This step is key to moving the image onto the wood.
Tip: Don’t use glossy or thick paper. Regular printer paper works best.
Organizing Your Workspace
A tidy workspace makes the project easier and more fun. Here’s how to set it up:
Plan Your Area: Pick a clean, flat spot with good lighting. Keep all tools and materials nearby to avoid stopping mid-project.
Use Recycled Items: Try using recycled materials and keep a recycling bin close for cleanup.
Stay Safe: Work in a space with fresh air, especially when using Mod Podge or similar products.
Pro Tip: Put down newspaper or a protective sheet to keep your area clean. It makes cleanup faster and easier.
Now that your wood, photo, and workspace are ready, you can start transferring your photo to wood. Let’s get creative!
Step-by-Step Guide to Transfer a Photo to Wood
Applying the Photo Transfer Medium
This is where the magic begins! To start, grab your photo and the photo transfer medium, like Mod Podge photo transfer. Here’s how I do it:
Lay your photo face-up on a flat surface.
Use a foam brush or paintbrush to apply a thick, even layer of the photo transfer medium to the printed side of the photo. Make sure you cover every corner.
Work quickly but carefully. You don’t want the medium to dry before you place the photo on the wood block.
Tip: Don’t skimp on the medium! A generous layer ensures the photo transfers clearly onto the wood.
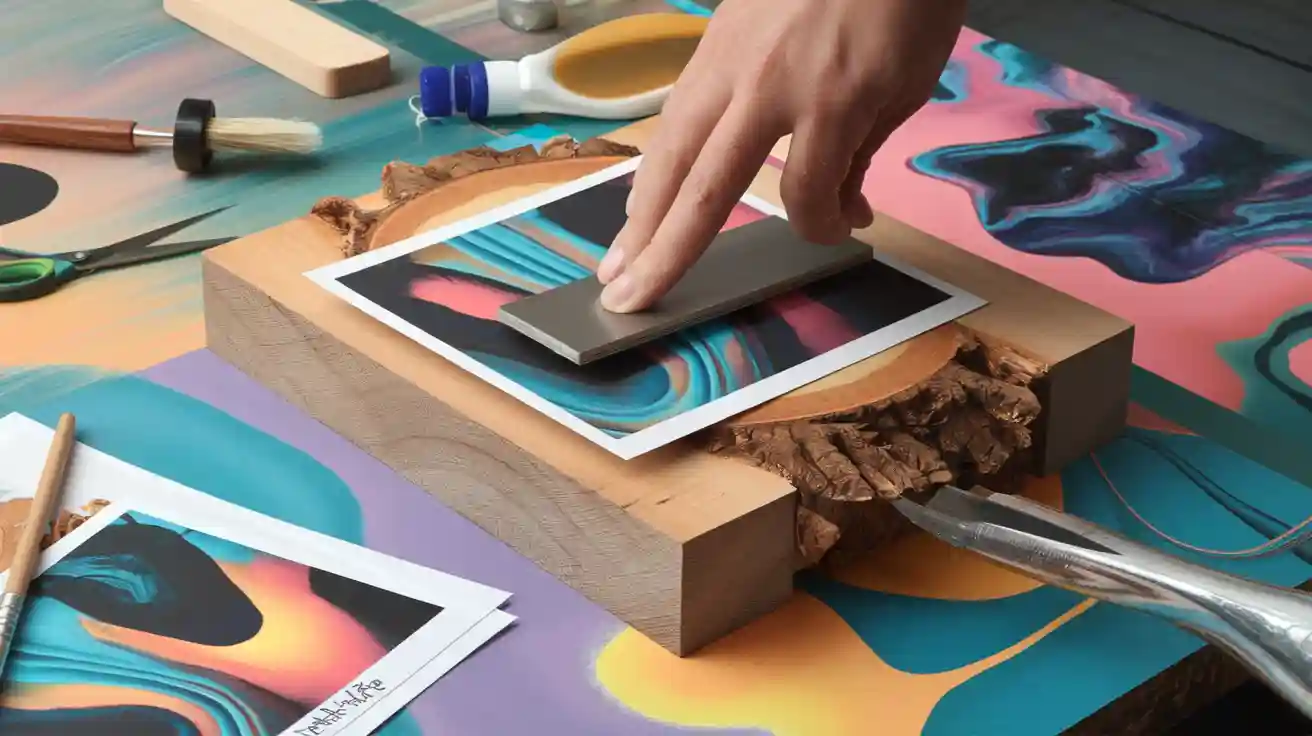
Placing the Photo onto the Wood Block
Now comes the fun part—placing the photo onto the wood block! This step requires a bit of precision, but don’t worry, I’ve got you covered:
Position the photo face-down on the wood block. Take your time to align it perfectly.
Smooth out any air bubbles or wrinkles using your fingers or a ruler. Start from the center and work your way out to the edges.
Press firmly to ensure the photo sticks evenly to the wood.
Pro Tip: If you’re working on a larger piece, use a ruler to help smooth the photo as you go. This prevents creases and ensures a clean transfer.
Allowing the Photo Transfer to Dry
Patience is key here! Once the photo is in place, let it dry completely. I usually leave it for at least 8 hours, but overnight is even better.
Place the wood block in a safe spot where it won’t be disturbed.
Avoid touching the photo during this time. The drying process is crucial for a successful transfer.
Note: If you’re in a hurry, you can use a fan to speed up the drying process. Just make sure it’s set to a low setting to avoid disturbing the photo.
Once the photo is dry, you’re ready for the next step—revealing your masterpiece!
Removing the Paper Backing from the Wooden Block
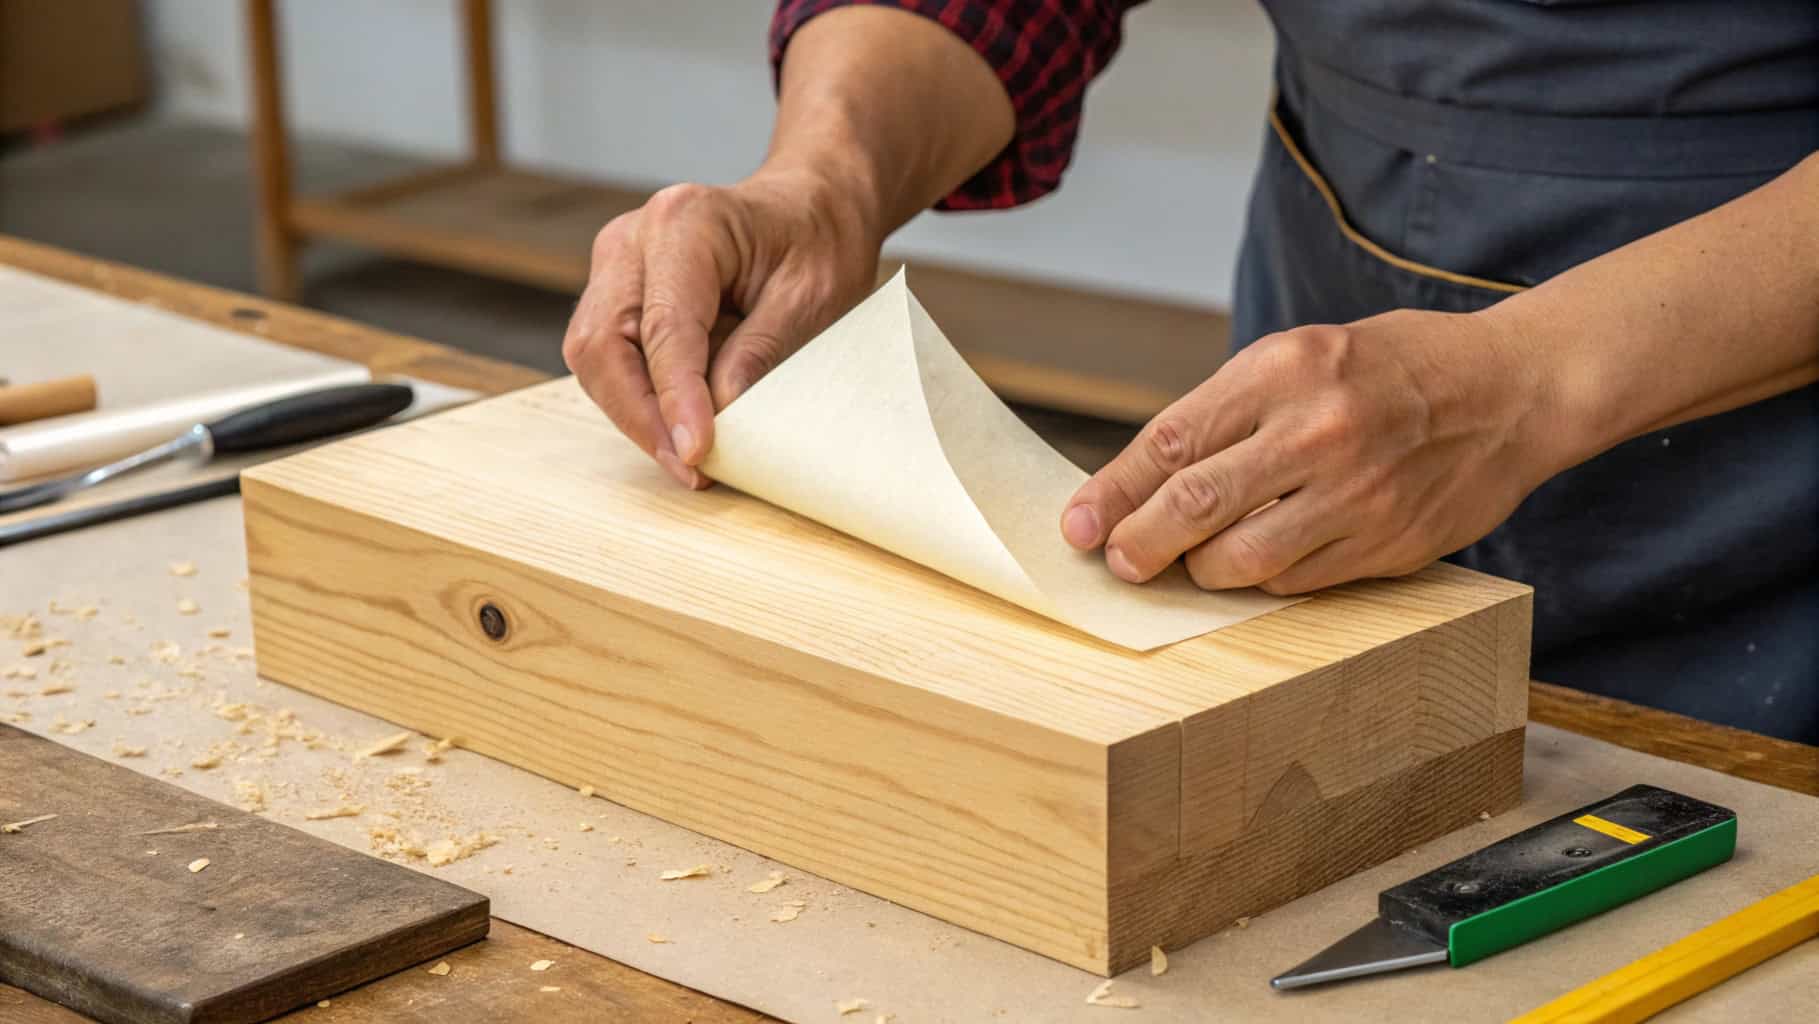
Now comes the exciting part—revealing your photo! Removing the paper backing is a delicate process, but it’s also where the magic happens. Here’s how I do it:
Wet the Paper: Once the photo transfer medium has dried completely, dampen the back of the paper with a sponge or soft cloth. Don’t soak it—just enough to loosen the paper fibers.
Peel the Paper: Start at one corner and gently peel the paper away from the wood block. Pinch the edge between your fingers and pull slowly to avoid tearing the image.
Rub Away Residue: After peeling, you’ll notice some paper residue left behind. Wet your fingers and gently rub in circular motions to remove it.
Use a Toothbrush for Stubborn Spots: For any stubborn bits, grab a soft toothbrush. Lightly scrub the area to reveal the image underneath. Be gentle to avoid damaging the photo.
Pro Tip: Take your time with this step. Rushing can tear the image or leave uneven patches.
Once all the paper is gone, you’ll see your photo beautifully transferred onto the wood. It’s such a satisfying moment!
Sealing the Image for a Polished Finish
To make your photo transfer project last, sealing the image is a must. A good sealant not only protects the photo but also gives it a polished, professional look. Here’s what I recommend:
Choose the Right Sealant: There are several options, but I’ve had great results with Arm-r-seal and Duracoat. They’re durable and resist liquids like water and wine. Avoid products like Odie’s Oil or Rubio, as they tend to stain.
Apply the Sealant: Use a foam brush or a clean cloth to apply a thin, even coat of sealant over the entire surface. Let it dry completely before adding another layer.
Build Layers for Durability: For the best protection, apply 2–3 coats. Allow each layer to dry fully before adding the next.
Finish | Performance Against Liquids | Notes |
|---|---|---|
Arm-r-seal | Passed | No discoloration from water, ketchup, or wine. |
Duracoat | Passed | Slight dulling of sheen from wine. |
Shellac | Acceptable | Minor discoloration from water, no issues with wine. |
Odie’s Oil | Failed | Noticeable discoloration from wine and water. |
Rubio | Failed | Significant staining from wine and water. |
Note: Always work in a well-ventilated area when applying sealants. The fumes can be strong, so safety first!
Once sealed, your wood block photo transfer will look stunning and stay protected for years. It’s ready to display or gift to someone special!
Tips and Troubleshooting for Photo Transfer on Wood
Tips for Achieving the Best Results
Getting the best results from your transfer photo to wood project doesn’t have to be tricky. Over time, I’ve learned a few tricks that make the process smoother and more enjoyable:
Always use dry toner ink for printing. It prevents smearing and ensures a crisp image.
Test your printer beforehand to make sure it works well with the transfer medium.
A silicone mat is a lifesaver! It keeps your workspace clean and makes handling the wood block easier.
Apply the photo transfer medium evenly and don’t rush the drying time. Patience here pays off.
When removing the paper, rub gently. It’s tempting to rush, but slow and steady wins the race.
These tips have helped me avoid headaches and create beautiful, polished results every time.
Avoiding Common Mistakes During the Wood Block Photo Transfer
Mistakes happen, but knowing what to avoid can save you a lot of frustration. Here are some common pitfalls and how to steer clear of them:
Paper removal issues: Always cover your work surface with butcher paper. It prevents sticking and keeps things tidy.
Using the wrong paper: Stick to thin, 20 lb paper. Thicker paper gums up and makes removal harder.
Mod Podge not drying: Make sure it’s completely dry before dampening the paper. If you’re in a hurry, a heat gun can speed things up.
Stubborn paper spots: Keep the paper damp while removing it. If some spots won’t budge, a gloss finish can help blend them in.
Crooked placement: Trim any excess white paper and carefully adjust the photo before sticking it down.
Here’s a quick reference table to help you troubleshoot:
Common Pitfall | Solution |
|---|---|
Paper removal issues | Cover work surface with butcher paper to prevent sticking. |
Incorrect paper type | Use thin, 20 lb paper for easier removal and less gumming. |
Mod Podge not drying | Ensure Mod Podge is fully dry before dampening the paper; use a heat gun for quicker drying. |
Stubborn paper spots | Keep paper damp while removing; gloss can help blend stubborn areas. |
Centering the photo | Trim excess white paper and adjust placement before sticking. |
Fixing Incomplete or Uneven Photo Transfers
Sometimes, things don’t go as planned. If your photo transfer looks incomplete or uneven, don’t worry—you can fix it!
Patch it up: If small sections didn’t transfer, use a fine paintbrush to touch up the missing areas with acrylic paint. Match the colors as closely as possible.
Blend with gloss: A clear gloss finish can help hide imperfections and give the piece a cohesive look.
Start fresh: If the transfer is beyond repair, sand the wood lightly to remove the image and try again. It’s a chance to perfect your technique!
Pro Tip: Practice on a scrap piece of wood before starting your main project. It’s a great way to build confidence and avoid mistakes.
With these troubleshooting tips, you’ll be ready to tackle any challenges and create a stunning final piece.
Creative Ideas and Projects Using Wood Block Photo Transfers
Home Decor Projects
Wood block photo transfers are great for decorating your home. They make your space feel personal and unique. One idea is to create a gallery wall. Use different-sized wood blocks with photos of family trips or pets. It’s like telling a story on your wall!
Another cool project is making coasters. Small wood slices work perfectly for this. Transfer photos onto them, seal them, and you’ve got pretty and useful coasters.
For a warm and festive touch, try wooden photo ornaments. These are perfect for the holidays. Hang them on your Christmas tree or use them in a holiday centerpiece. They’re easy to make and add charm to any room.
Gift Ideas with Personalized Photo Transfers
Handmade gifts always feel special. A wood block photo transfer is a thoughtful gift for any occasion. I’ve made these for birthdays, anniversaries, and housewarming parties. Everyone loves them!
Personalized gifts are very popular, especially during holidays like Christmas or Father’s Day. People enjoy keepsakes that mean something. For example, families often choose custom photo books or mugs. Wood block transfers are a great fit for this trend. They’re perfect for showing off family memories or milestones.
Here’s how personalized gifts are trending:
Category | Description | Target Audience |
|---|---|---|
Non-photo personalized | Includes engraved jewelry and custom decor, great for corporate gifts. | Companies and gift shoppers. |
Photo-personalized gifts | Items like photo books and mugs, loved for family events and milestones. | Families and younger buyers. |
Demand Trends | High demand during holidays like Christmas and Father’s Day. | People wanting memorable gifts. |
If you want a meaningful gift, this is a great choice. It’s simple to make but feels very special.
Artistic Applications of Photo Transfers on Wood
If you enjoy art, photo transfers on wood are super fun. You can use this method to create amazing art pieces. For example, transfer a black-and-white photo onto a big wood panel. Then, add hand-painted details for a mix of photography and painting.
You can also try abstract designs. Transfer parts of a photo onto small wood blocks. Arrange them in a mosaic pattern for a modern look.
If you like mixed media, combine photo transfers with fabric or metal. The mix of textures makes your art stand out. The best part? There are no rules—just be creative and have fun!
Frequently Asked Questions About Photo Transfer on Wood
What Types of Photos Work Best for Wood Transfers?
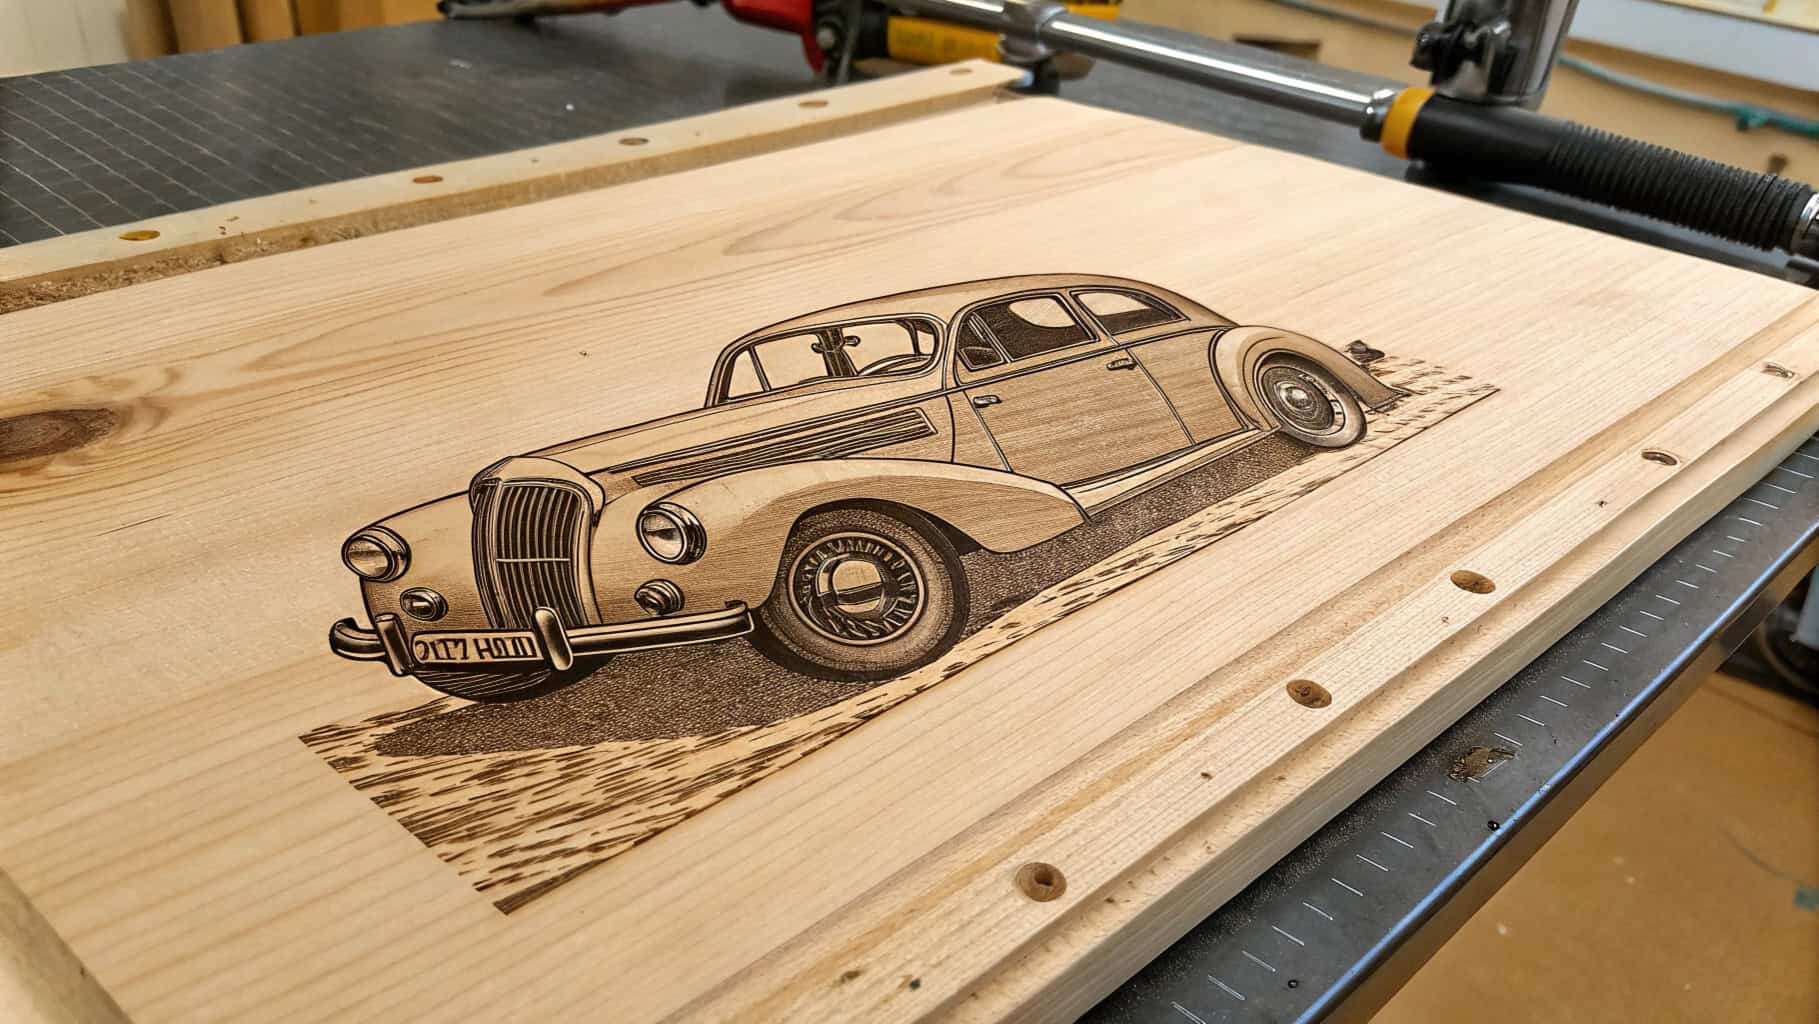
Not all photos are created equal when it comes to transferring them onto wood. From my experience, high-contrast images work best. Photos with bold colors or sharp black-and-white contrasts really pop once transferred. If your image has a lot of fine details or soft colors, it might not stand out as much on the wood’s textured surface.
Another tip? Use photos printed with a laser printer. Inkjet prints don’t transfer well because the ink tends to smudge or fade during the process. Also, stick to regular printer paper. Glossy or thick paper just doesn’t work for this technique. If you’re unsure, test a small image first to see how it turns out.
Can I Use Any Type of Wood for Photo Transfers?
The type of wood you choose can make or break your project. I always recommend using smooth, unfinished wood. Pine and birch are my go-to options because they’re easy to work with and have minimal grain. Avoid wood with heavy knots or rough textures—they can distort the image and make the transfer uneven.
If you’re feeling adventurous, you can try reclaimed wood for a rustic look. Just make sure to sand it down and clean it thoroughly before starting. The smoother the surface, the better your photo will transfer.
How Long Does the Photo Transfer Process Take?
Patience is key for a successful transfer photo to wood project. The process itself doesn’t take long—applying the transfer medium and placing the photo only takes a few minutes. However, the drying time is where you’ll need to wait. I usually let the photo dry for at least 8 hours, but overnight is even better. Rushing this step can ruin the transfer.
Once the paper is removed, you’ll need to seal the image, which adds another 30 minutes to an hour, depending on how many coats you apply. In total, plan for a day to complete the project from start to finish.
Choosing the Best Wood for Photo Transfers
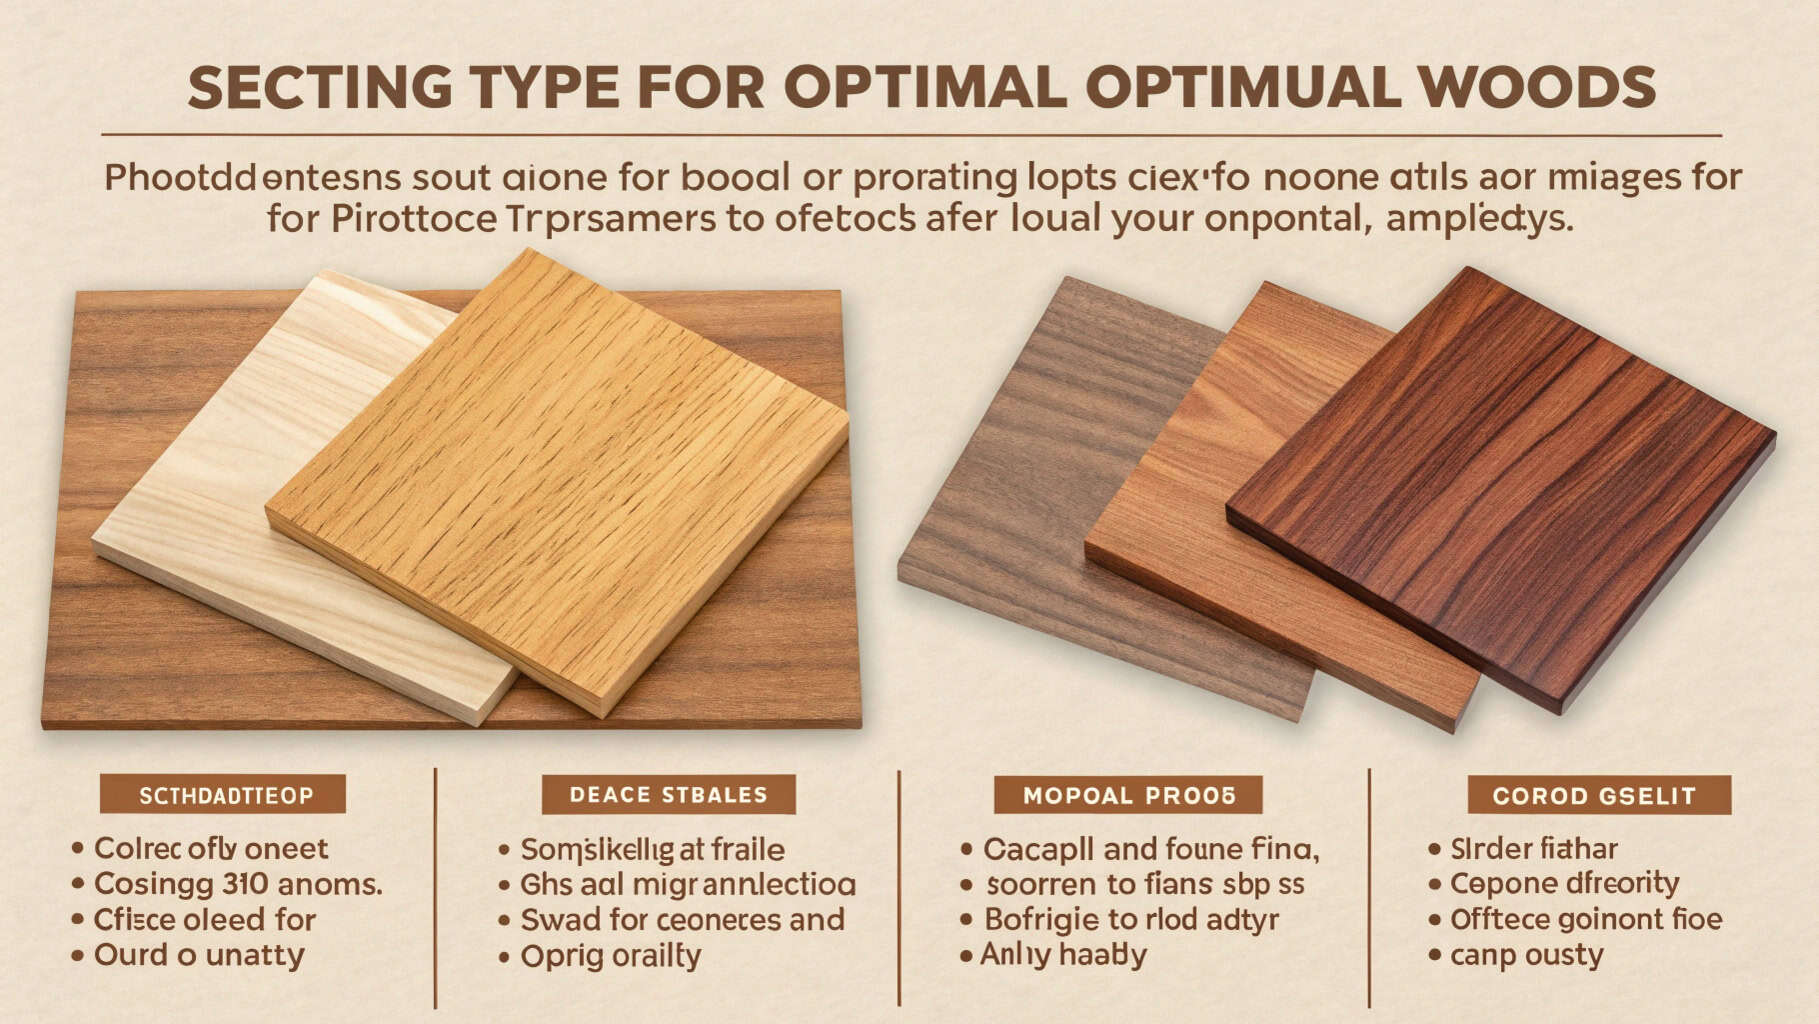
Pine vs. Hardwood: Which is Better for Photo Transfers?
When it comes to choosing between pine and hardwood for photo transfers, I’ve tried both, and each has its perks. Pine is soft and easy to work with. It’s affordable and widely available, making it a great choice for beginners. The smooth surface of pine helps the image transfer evenly, but its softer texture can dent or scratch more easily.
Hardwood, on the other hand, is tougher and more durable. Woods like birch or maple have a fine grain that works beautifully for detailed images. However, hardwood can be pricier and harder to sand. If you’re working on a special project or want something long-lasting, hardwood might be worth the investment. For everyday crafts, though, pine gets the job done.
How Wood Grain Affects Photo Transfer Results
Wood grain plays a big role in how your photo turns out. A smooth, tight grain gives you a clearer image. That’s why I always look for wood with minimal knots or rough patches. Knots can distort the photo, and rough textures make it harder for the image to stick.
If you’re using a wood block with visible grain, embrace it! The natural lines can add a rustic charm to your project. Just keep in mind that bold or high-contrast photos work best on textured surfaces. They stand out more and don’t get lost in the grain.
Tips for Handling Wood Imperfections
Not all wood is perfect, but that doesn’t mean you can’t use it. I’ve worked with pieces that had cracks, knots, or uneven edges. Here’s how I handle them:
Sanding: Smooth out rough spots with fine-grit sandpaper. This helps the photo stick better.
Filling Cracks: Use wood filler to patch up small cracks or holes. Let it dry and sand it smooth before starting.
Embracing Imperfections: Sometimes, imperfections add character. A knot or uneven edge can make your transfer photo to wood project look unique and artistic.
The key is to prepare your wood properly. A little extra effort goes a long way in creating a stunning final piece.
Eco-Friendly Methods for Photo Transfer on Wood
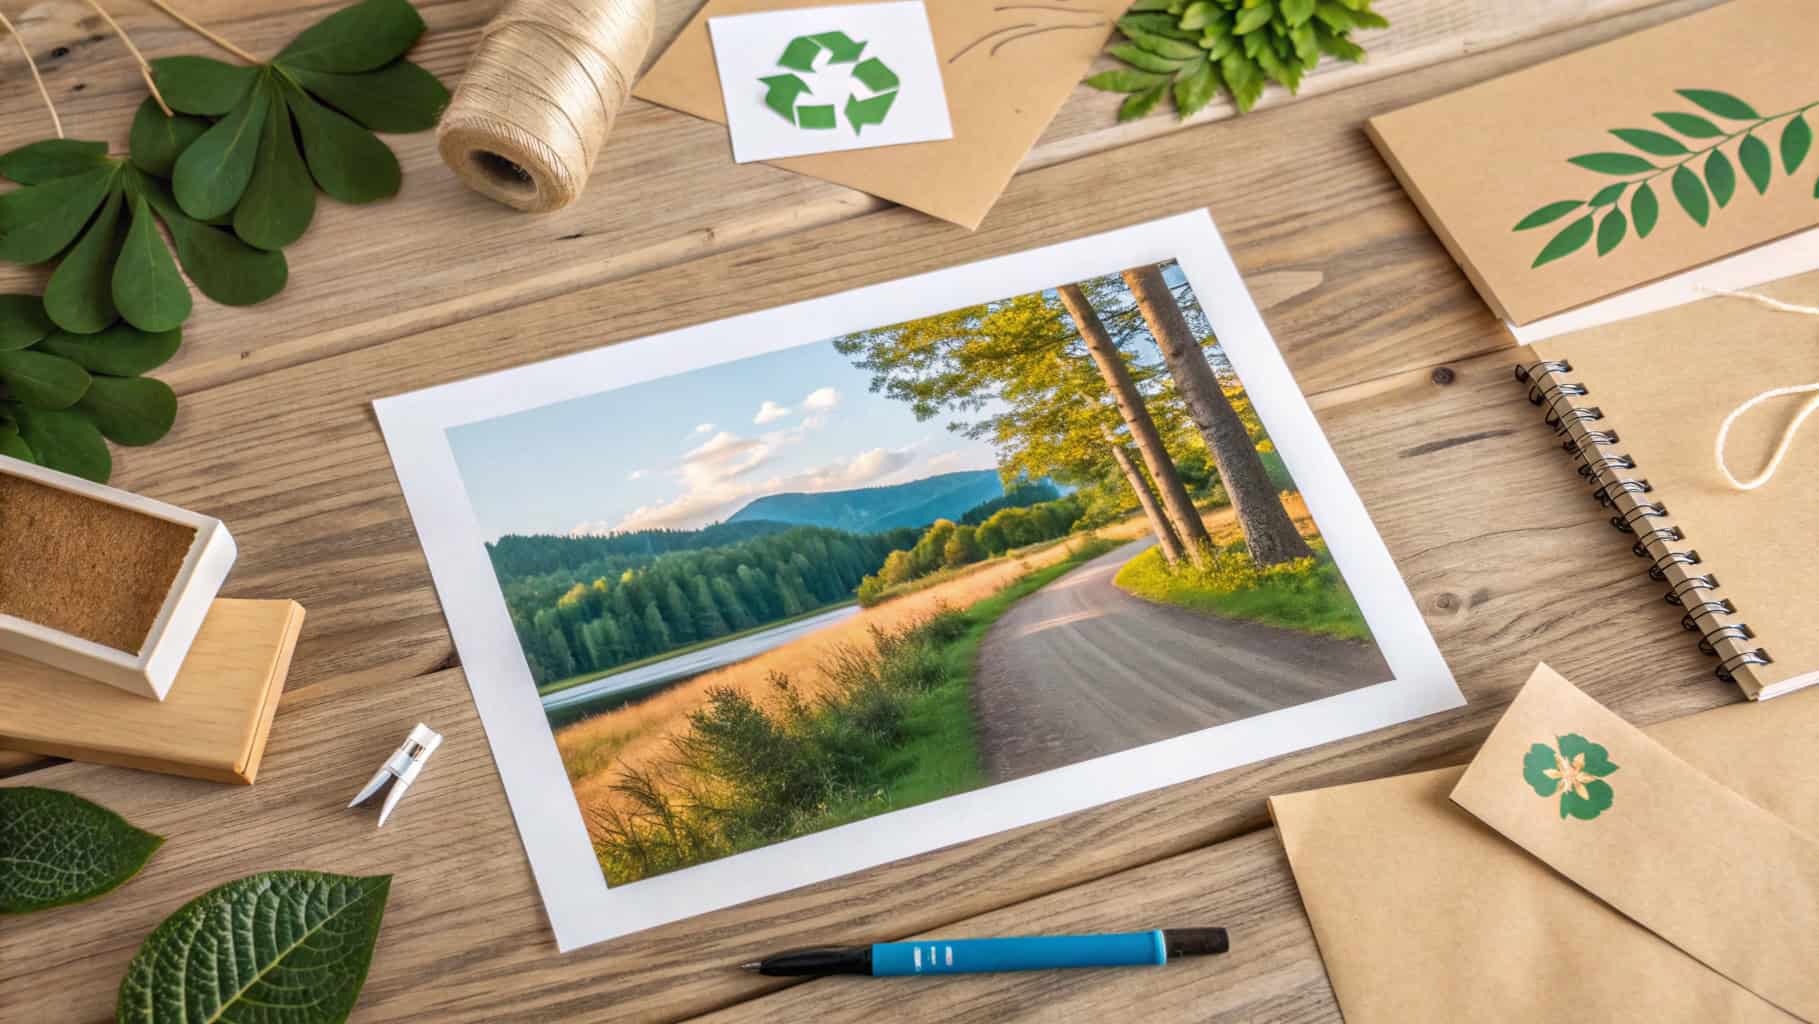
Using Natural Materials for Photo Transfers
When I started exploring eco-friendly ways to transfer photos onto wood, I discovered some amazing natural alternatives. Instead of using chemical-based products like Mod Podge, you can try beeswax or homemade glue. Beeswax works great as a natural adhesive and gives the wood a smooth, polished finish. You just need to melt it, spread it evenly on the wood, and press your photo onto it. It’s simple and safe!
Another option is making glue at home using flour and water. It’s an old-school method, but it works surprisingly well for small projects. Plus, it’s completely non-toxic and budget-friendly. If you’re looking for a greener way to complete your transfer photo to wood project, these natural materials are worth trying.
Best Practices to Minimize Chemical Use
Reducing chemical use doesn’t mean sacrificing quality. I’ve found that using smaller amounts of transfer medium can still give great results. Apply a thin, even layer instead of a thick one. This not only saves product but also reduces waste.
You can also choose water-based sealants instead of solvent-based ones. They’re less harmful to the environment and safer to use indoors. Always work in a well-ventilated area and clean your tools with biodegradable soap. These small changes make a big difference.
How to Recycle and Reuse Wood Blocks
Recycling wood blocks is easier than you think. If a project doesn’t turn out as planned, sand the wood down and start over. I’ve done this many times, and it’s a great way to avoid waste. You can also repurpose old wood from furniture or pallets. Just clean and sand it before use.
For leftover wood scraps, turn them into coasters, ornaments, or even keychains. These small items make great gifts and keep the wood out of the trash. By reusing materials, you’re not just saving money—you’re helping the planet too.
Seasonal Creative Ideas for Wood Block Photo Transfers
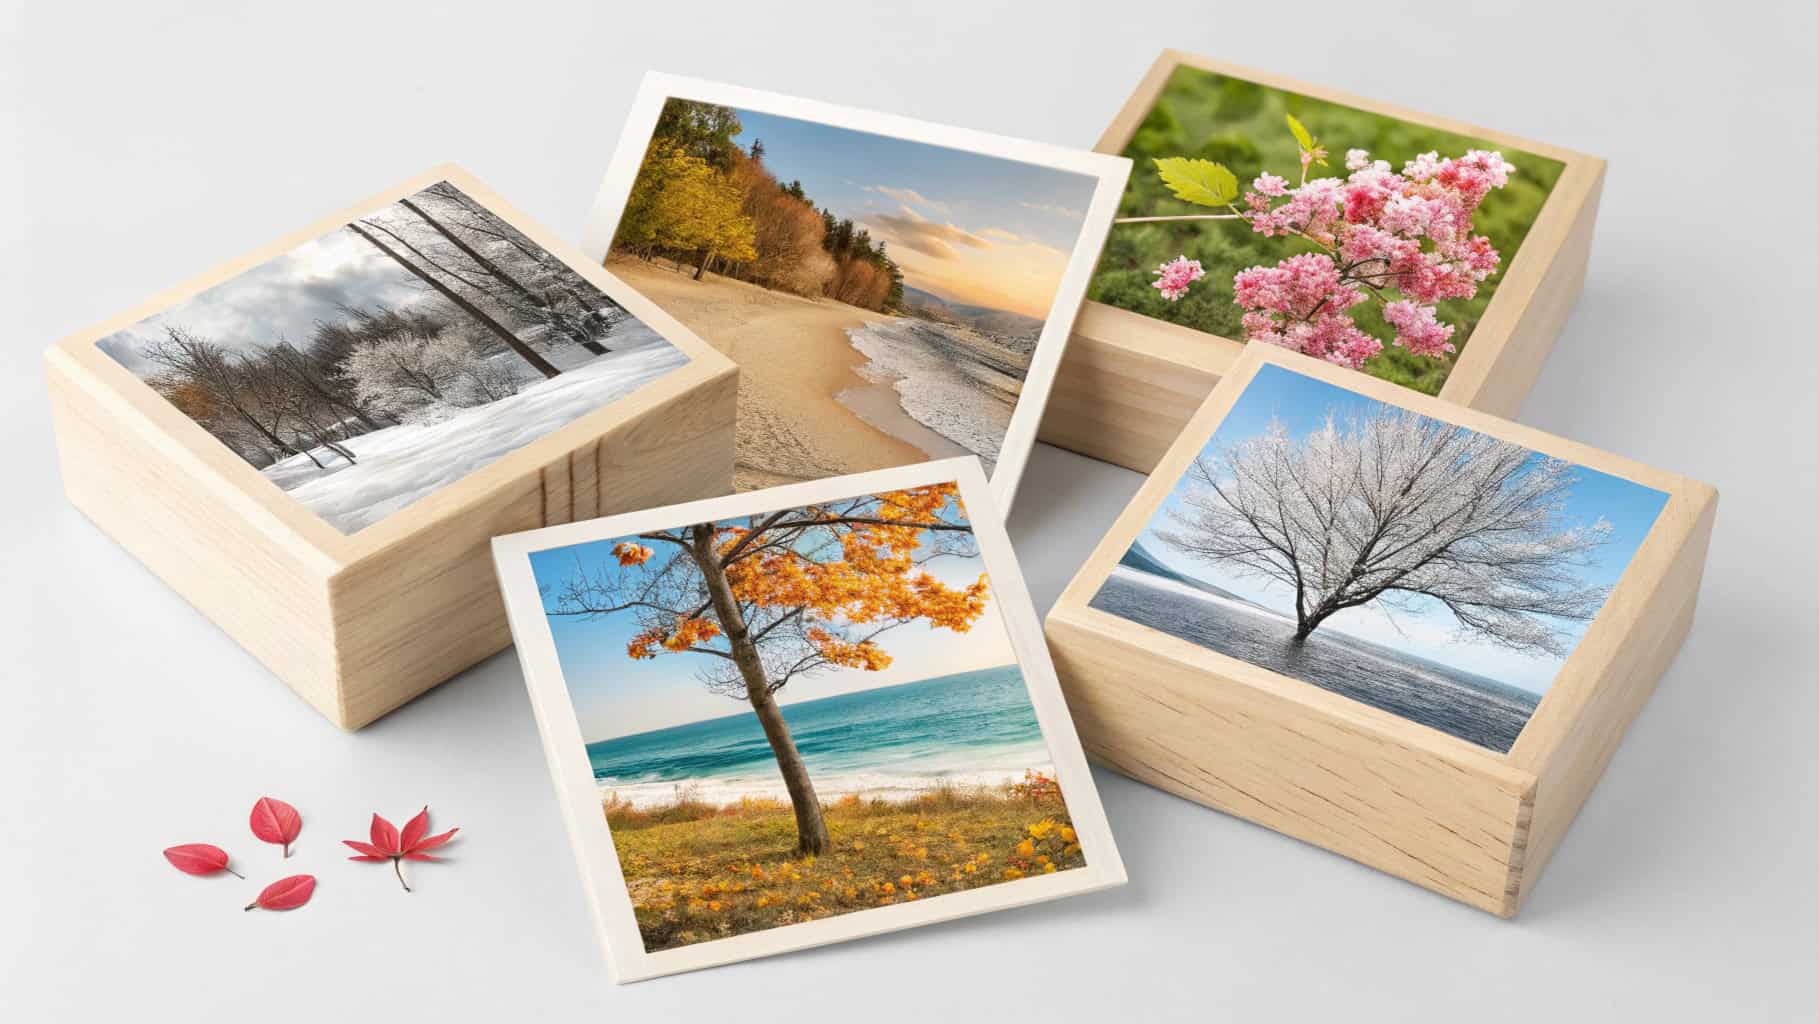
Christmas-Themed Wood Block Photo Transfer Projects
Christmas is the perfect time to get creative with wood block photo transfers. I love making personalized ornaments for my tree. Small wood slices work great for this. I transfer family photos or festive designs onto them, then add a ribbon for hanging. They make the tree feel extra special.
Another idea is creating holiday signs. A wood block with a snowy scene or a cheerful message like "Merry Christmas" adds charm to any room. You can even use these as gifts. People love receiving something handmade and meaningful during the holidays.
Tip: Use red and green accents in your photos for a festive touch. It makes the designs pop against the wood.
Summer Picnic-Inspired Wood Decor Ideas
Summer is all about sunshine and outdoor fun. Why not bring that vibe into your home? For a summer-themed transfer photo to wood project, I like using bright, cheerful images. Think of beach scenes, sunflowers, or picnic baskets.
One fun idea is making wood coasters with summer photos. They’re practical and add a seasonal touch to your table. Another project I’ve tried is creating a centerpiece for outdoor dining. I used a large wood block, transferred a photo of a sunny meadow, and added small vases for flowers. It turned out beautifully!
Pro Tip: Seal your summer projects with a waterproof finish. It keeps them safe from spills and humidity.
Autumn Maple Leaf and Photo Fusion Designs
Autumn is my favorite season for crafting. The warm colors and cozy vibes are so inspiring. For fall-themed wood transfers, I like combining photos with natural elements. One project I love is transferring a photo of a maple leaf onto a wood block. The texture of the wood makes the leaf look almost real.
Another idea is creating a fall gallery wall. Use wood blocks of different sizes and transfer photos of pumpkins, leaves, or family moments from a fall outing. Arrange them together for a cozy, seasonal display.
Note: Try using sepia-toned photos for a vintage autumn look. It pairs beautifully with the natural wood grain.
Selecting the Perfect Photo for Wood Transfers
Analyzing the Impact of High-Contrast Photos
When choosing a photo for your wood transfer, high-contrast images are your best friend. Why? They stand out beautifully on the wood’s textured surface. Photos with bold differences between light and dark areas create a striking effect. For example, a black-and-white photo of a tree with sharp shadows will look amazing once transferred.
I’ve noticed that subtle or low-contrast images, like pastel landscapes, don’t pop as much. The details can get lost in the wood grain. If you’re unsure about your photo, try increasing the contrast using a photo editing app. It’s a quick fix that makes a big difference.
Tip: Test your photo on a small piece of wood first. It helps you see how the contrast will look before committing to the full project.
When to Use Black-and-White vs. Color Photos
Deciding between black-and-white and color photos depends on the vibe you want. Black-and-white photos give a classic, timeless feel. They work especially well for vintage-style projects or when you want the wood’s natural tones to shine through.
Color photos, on the other hand, bring energy and vibrancy. They’re perfect for cheerful designs or when you want to highlight specific hues, like a bright red flower. I’ve found that color photos work best on lighter wood, as the colors appear more vivid.
Pro Tip: If your photo has a lot of colors, make sure they complement the wood’s natural shade. For example, warm tones like red and orange look great on pine.
Adjusting Photo Size to Fit Your Wood Block
Getting the right photo size is crucial for a polished look. Start by measuring your wood block. Then, resize your photo to match those dimensions. Most photo editing tools let you adjust the size easily.
If your photo is too large, important details might get cropped. Too small, and it could look awkward on the wood. I always print a test copy to check the fit before applying the transfer medium. It saves time and avoids mistakes.
Note: Keep a small border around the edges of your photo. It ensures the image doesn’t spill over the sides of the wood block.
With the right photo, your transfer photo to wood project will turn out stunning. Take your time selecting and preparing your image—it’s worth the effort!
Maintenance and Care for Wood Block Photo Transfers
Preventing Photo Fading Over Time
Keeping your wood block photo transfer vibrant takes a little effort. I’ve found that sunlight is the biggest culprit when it comes to fading. To protect your piece, avoid placing it in direct sunlight. Instead, display it in a shaded area or a room with indirect light.
Using a high-quality sealant also helps. I always recommend applying multiple coats of a UV-resistant sealant. It acts like sunscreen for your project, keeping the colors sharp and the image intact. If you’re displaying your piece near a window, consider adding a UV-blocking film to the glass. It’s a small step that makes a big difference.
Proper Cleaning Techniques for Wood Block Photos
Cleaning your wood block photo transfer is easy if you know what to do. I like to use a soft, dry cloth to gently wipe away dust. Avoid using water or harsh cleaners, as they can damage the sealant or the image.
For stubborn spots, a slightly damp cloth works well. Just make sure to wring it out thoroughly so it doesn’t leave watermarks. If you’ve sealed your project properly, cleaning should be a breeze. Remember, gentle care keeps your piece looking its best.
Long-Term Storage Tips for Wood Block Photos
If you need to store your wood block photo transfer, proper preparation is key. Wrap the piece in acid-free tissue paper to protect the surface. Then, place it in a sturdy box to shield it from dust and moisture.
Store the box in a cool, dry place. Extreme temperatures or humidity can warp the wood or damage the image. I always check on stored pieces every few months to make sure they’re in good condition. With these steps, your transfer photo to wood project will stay beautiful for years.
Enhancing Wood Block Photo Transfers with Technology
Improving Photo Quality with Printer Settings
To get great results for your photo transfer project, adjust your printer settings. First, set your printer to the highest quality or “photo” mode. This helps your image print with clear details and bright colors.
Next, choose the “plain paper” option in the paper type settings. Even though you’re using regular printer paper, this setting works best. It stops the ink from smudging or soaking too much into the paper.
Also, increase the brightness and contrast of your photo before printing. A small boost in contrast makes the image stand out on the wood’s surface. You can easily do this using any photo editing app.
Tip: Print a small test photo first. This way, you can check the settings without wasting materials.
Creating Unique Designs with Digital Tools
Digital tools make it easy to create special designs for your photo transfer. Free apps like Canva or GIMP let you add text, overlays, or combine photos into a collage.
One cool idea is to add a faded border around your photo. This gives your project a soft, vintage style. You can also try filters to match your theme. For example, a sepia filter works well for rustic designs.
Feeling creative? Try making geometric patterns or abstract shapes. These designs look modern and artistic when transferred onto wood. Don’t worry if you’re not a designer—these tools are simple to use!
Using AR Technology to Showcase Wood Block Photos
Augmented Reality (AR) makes your photo transfer projects even cooler. Imagine pointing your phone at a wood block and seeing a video or slideshow appear! Setting this up is easier than it sounds.
Apps like Artivive let you connect digital content to your wood block. You can add videos or animations to make your project interactive. I’ve used this for gifts, like linking a family photo to a video of a special memory. It’s like giving two gifts in one—something physical and something digital.
Pro Tip: Keep your AR content simple and meaningful. It should add to your project, not take away from it.
Transferring a photo onto a wood block is such a fun and rewarding project. It’s simple, creative, and lets you turn memories into something truly special. With the right materials and a little patience, you can make a piece of art that’s one-of-a-kind.
Tip: Don’t be afraid to experiment! Try different wood types or photos to see what works best.
Whether it’s for your home or a gift, this DIY project is a great way to add a personal touch. So, grab your supplies and start creating! 😊
FAQ
What happens if my photo transfer doesn’t turn out as expected?
Don’t worry—it happens! If the image looks uneven or incomplete, you can sand it down and start over. Sometimes imperfections add character, so embrace them! Practice on a scrap piece of wood first to build confidence.
Tip: Always test your materials before starting the main project.
Can I use photos printed with an inkjet printer?
Inkjet prints don’t work well for this technique. The ink tends to smudge or fade during the transfer process. I always recommend using a laser printer for crisp, clear results. If you don’t have one, most print shops can help.
How do I fix air bubbles under the photo?
Air bubbles can ruin the transfer, but they’re easy to avoid. Smooth the photo with your fingers or a ruler as you press it onto the wood. If bubbles appear, gently pop them with a pin and smooth the area again.
Is it safe to use Mod Podge indoors?
Yes, Mod Podge is non-toxic and safe for indoor use. However, I always work in a well-ventilated area to avoid strong odors. If you’re sensitive to smells, try using a low-odor or eco-friendly alternative.
Can I transfer photos onto painted wood?
Yes, but the paint must be fully dry and smooth. Sand the painted surface lightly to help the photo stick better. I’ve found that light-colored paint works best because it doesn’t overpower the image.
Note: Avoid glossy paint—it can make the transfer uneven.