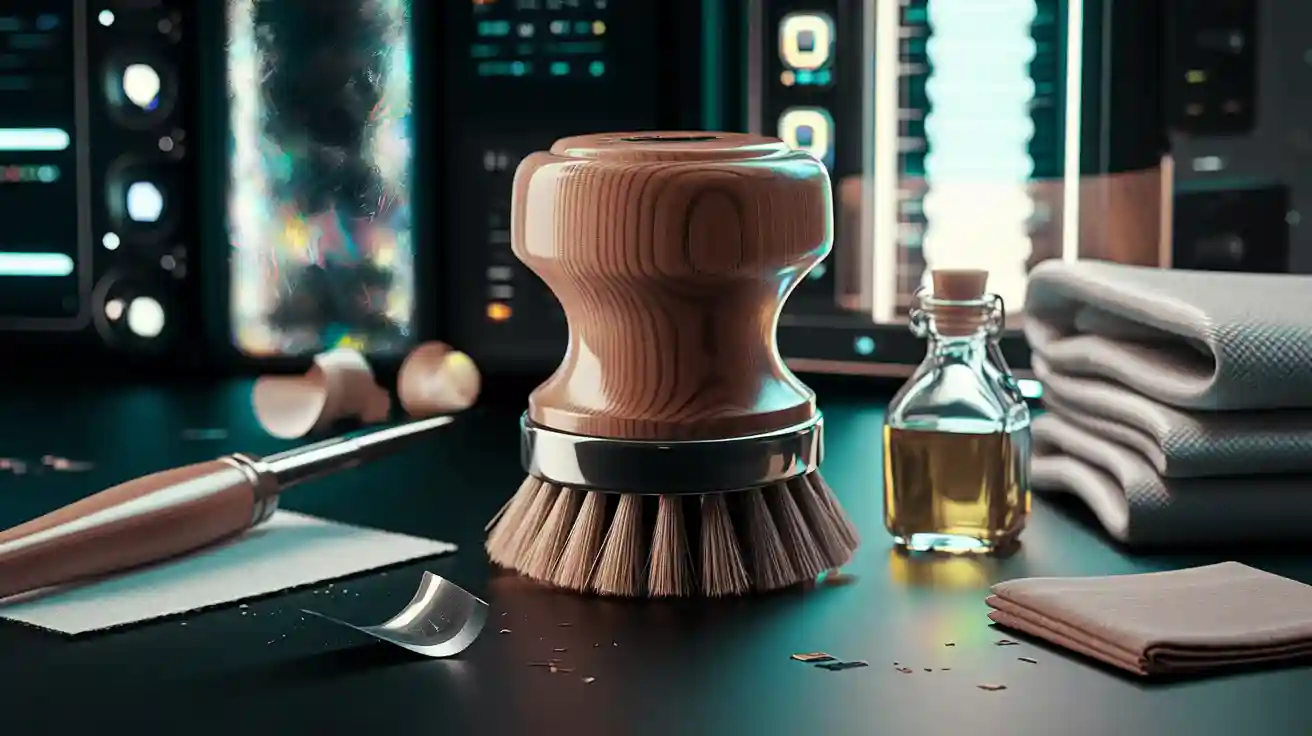
When picking the best paint brushes, handles are important too. Choosing brushes from top brands really makes a difference, especially when you opt for a top-rated paint brush. Wooster Brush Company is one of the best. Their strong, high-quality handles are made in the USA and last long. Purdy is another great choice I like. Their handmade alder wood handles feel great to hold and have a lifetime guarantee. For comfort and strength, Corona Brushes is a favorite. Their top-quality wooden handles make painting easy and fun.
In late 2024, Steve, the procurement manager at a leading paintbrush company, faced a wake-up call. His firm, churning out 10 million brushes a year for North American pros, had opted for a budget handle supplier to save a quick buck—$0.60 per handle instead of $0.80. The savings didn’t last. Within a month, painters reported splintered handles and worn grips after just a few uses, with 3% of brushes failing early. Steve knew poor manufacturing and neglected maintenance were to blame. At a Chicago trade fair, he met Darin Zhang, sales director of a Jinan, China-based manufacturer. Darin’s handles—made from kiln-dried birch, sealed with oil, and delivered in 18 days—cost $0.75 each. Steve ordered 5,000, and with a simple 5-step maintenance routine, they lasted three times longer than the cheap ones. That switch, paired with proper care, saved 15% in replacement costs and kept their tools in top shape.
Steve’s lesson? The right manufacturer and maintenance can make or break your brushes. Here’s your 5-step guide to maximizing wooden brush handle longevity.
Key Takeaways
Wipe your wooden brush handles after each use. This stops dirt and water from causing damage or cracks.
Smooth out rough or splintered spots on the handles. This makes them easier to hold and keeps them from breaking more.
Use oil or a protective coating every few months. This keeps water out and helps your brushes last longer.
Keep brushes in a cool, dry spot to stop water damage. Storing them right protects the wooden handles.
Check your brushes often for any damage. Finding cracks early lets you fix them fast and saves money.
Why Picking the Right Maker is Important
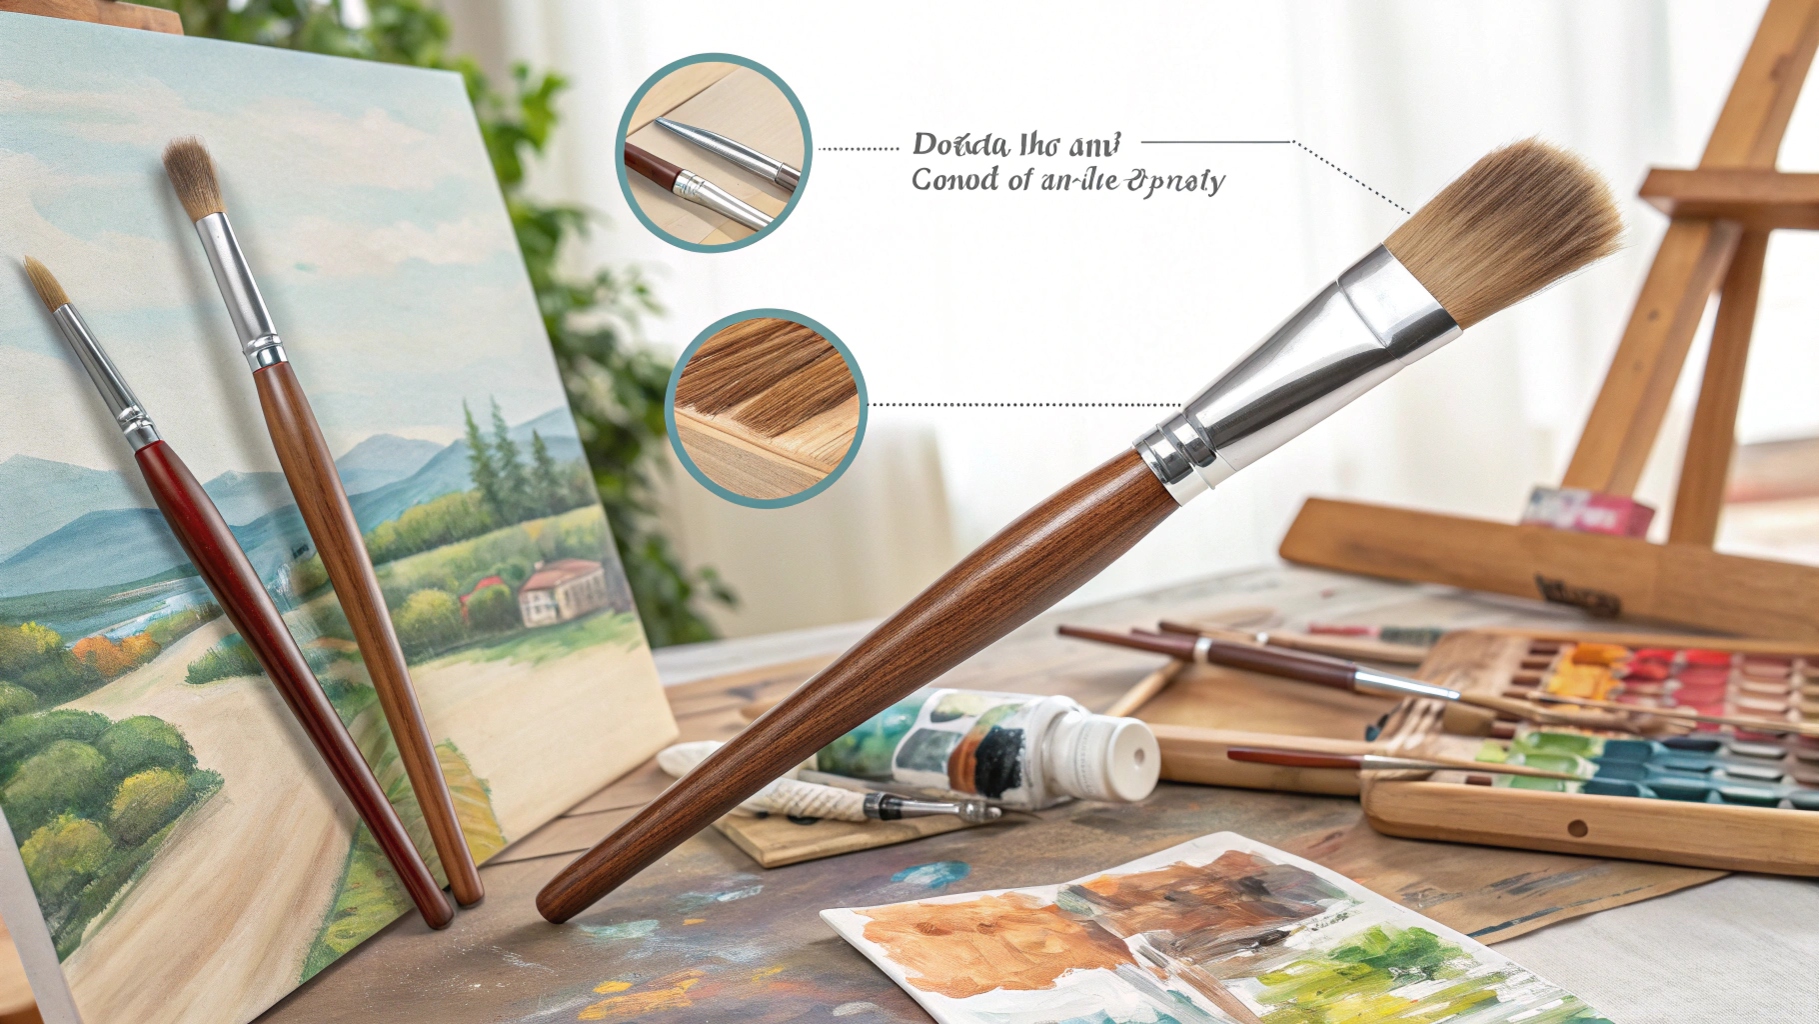
When painting, the brush handle matters more than you think. Picking the right maker gives you a tool that’s comfy, strong, and lasts long. Let me explain it simply.
How Handles Affect Painting
A good handle helps you paint better. A bad one feels clumsy and hard to use. A well-made handle gives you better grip and control. This is super helpful for tricky spots like corners or trim. For example, Fictiv worked with m’Chel Haircare to make a great brush. They made a base that’s easy to hold without hurting the bristles. This kind of care makes a good brush amazing.
Strong Handles Last Longer
Strong handles save money because they last longer. Makers like Wooster and Purdy make handles that resist damage. Tests prove this. For example:
Test Type | What Was Measured | Results |
|---|---|---|
Lab Tests | Hardness, Water Resistance, Wet Adhesion | Handles stayed strong and didn’t soak up much water. |
Real-life Use | Cracking, Flaking, Mold Growth | Top handles stayed perfect even after lots of use. |
This shows that buying a strong handle is worth it.
Matching Handles with Brushes
Not all handles fit every brush, so matching them is important. If you use Wooster or Purdy brushes, pick handles that fit their designs. Here’s a quick guide:
Brush Name | Works With |
|---|---|
All paints and stains | |
Wooster Brush Shortcut 2-Inch Angle | All paints |
Whether it’s for trim or angles, the right handle makes painting easier.
Profiles of Top Paint Brush Makers
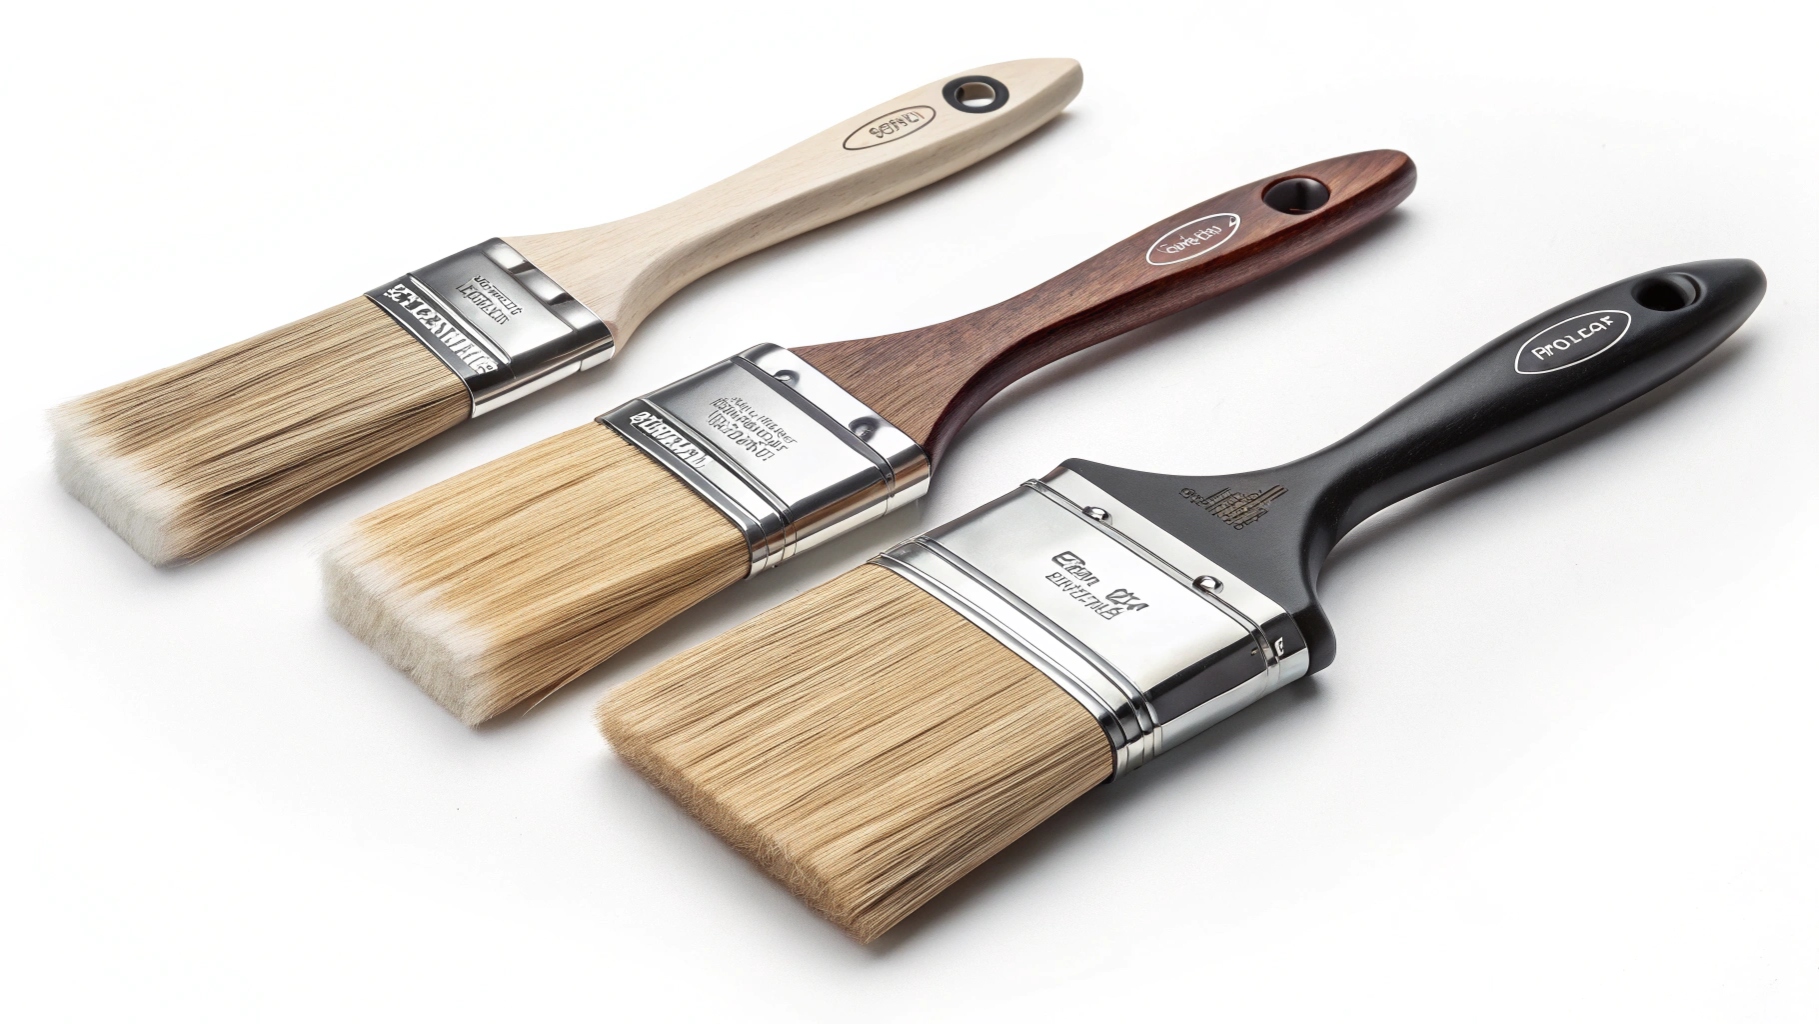
When choosing paint brushes, the maker really matters. Let me tell you about three top brands.
Wooster Brush Company

Wooster Brush Company is a trusted brand for many years. They focus on making strong, long-lasting brushes. Their handles are tough and work well even with heavy use. I’ve seen their attention to detail in every product. Whether painting walls or small trim, their brushes give great results.
Here’s how they compare to other brands:
Manufacturer | Market Share | Quality Focus |
|---|---|---|
Wooster Brush Company | N/A | |
Purdy | N/A | High-quality brushes, strong reputation |
Sherwin-Williams | N/A | Big brand with many stores |
PPG Industries | N/A | Known for new ideas and eco-friendly products |
Purdy

Purdy is all about making brushes by hand. Their alder wood handles are smooth and comfy to hold. This makes long painting jobs easier. They also offer a lifetime guarantee, showing they trust their quality. I’ve always found their brushes to work well with both paint and stain. Their strong name in the industry proves their dedication to great products.
Corona Brushes

Corona Brushes focus on comfort and strength. Their handles are made from hardwood that feels good to hold. The bristles, made of nylon and polyester, spread paint smoothly. I like their square stainless-steel ferrule, which keeps bristles in place. These features make their brushes easy and fun to use, even for detailed tasks.
Here’s what makes their brushes special:
Feature | Description |
|---|---|
Nylon and polyester mix for smooth paint application. | |
Handle | Hardwood beavertail for a comfy grip during long use. |
Ferrule | Square stainless steel to stop bristle loss and add durability. |
If you want brushes that are comfy and work well, try Corona Brushes.
Importance of Wooden Brush Handle Maintenance
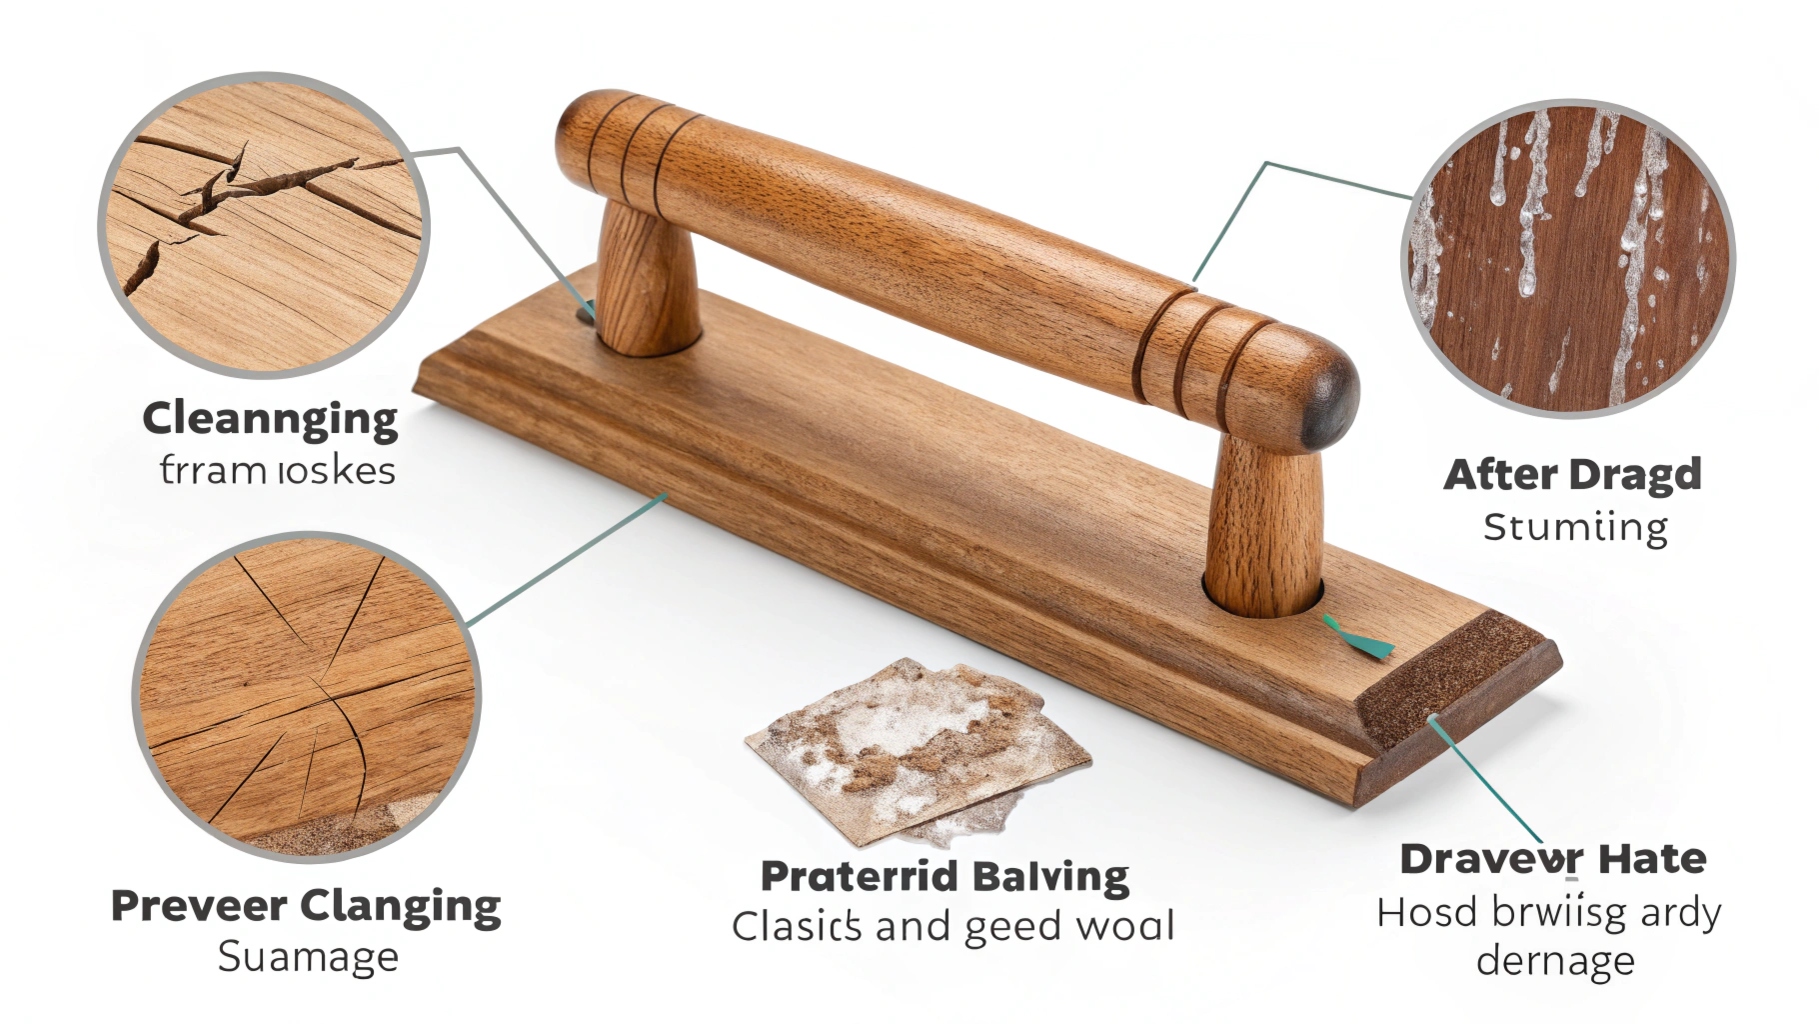
Taking care of wooden brush handles is simple but important. Let me explain why it matters.
Stopping Cracks and Splinters
Wooden handles are strong but can still get damaged. Over time, they might crack or splinter, especially if they get wet or are handled roughly. Cleaning and drying them after each use helps prevent this. Sanding rough spots keeps the surface smooth and safe. No one wants splinters while painting—it’s painful and annoying!
Keeping Comfort and Grip
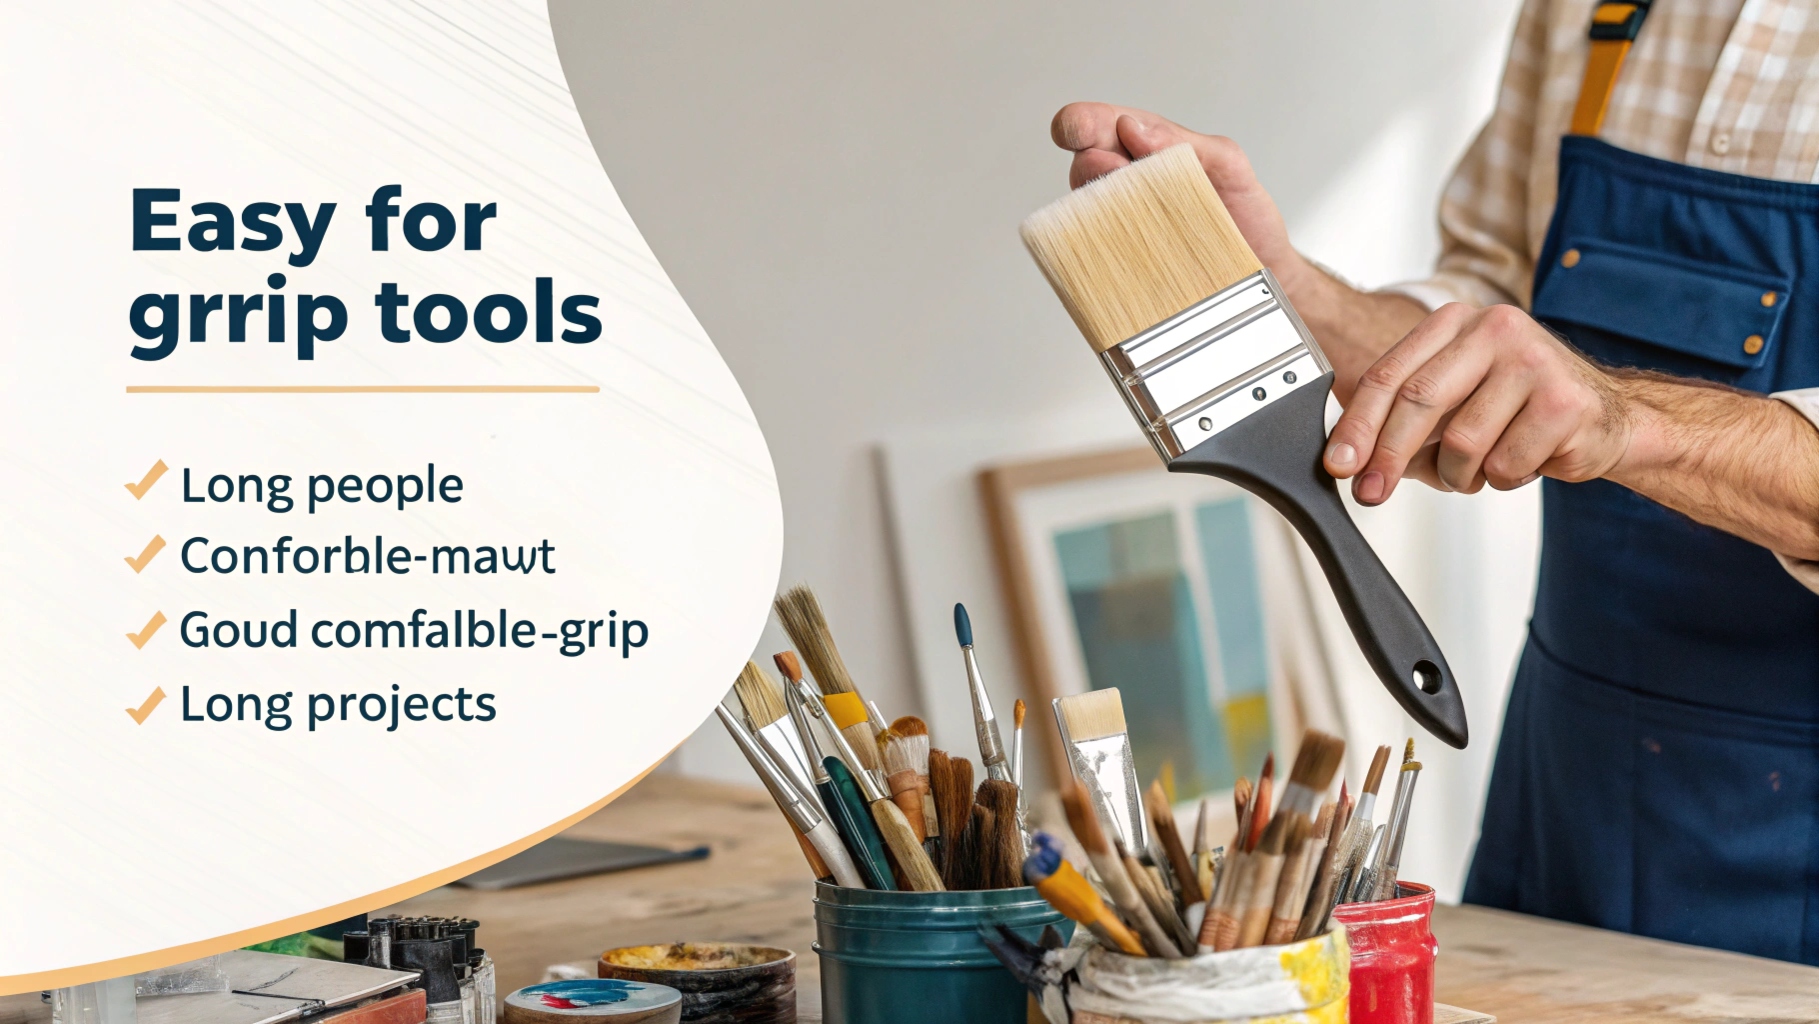
A good grip makes painting easier and more fun. Well-maintained handles feel better to hold, even during long projects. Studies show people pay more for comfy tools. Here’s why:
Strong handles last longer, so fewer replacements are needed.
Painters’ feedback helps improve handle designs over time.
Smooth finishes and ergonomic grips come from customer suggestions.
Taking care of your handles means better grip and a nicer painting experience.
Making Your Tools Last Longer
Taking care of tools saves money over time. Clean, sand, and oil wooden handles to make them last. Here’s how maintenance affects costs:
Cost Type | What It Means |
|---|---|
Buying Costs | The price of getting the tool. |
Use Costs | Money spent on repairs or upkeep. |
Preventive care that keeps tools working longer. | |
Replacement Costs | Money spent when tools wear out and need replacing. |
By maintaining your tools, you’ll save money and keep them working well for years.
5-Step Guide to Wooden Brush Handle Maintenance
Step 1: Clean Handles After Every Use
Cleaning your wooden brush handles after each use might seem like a small task, but trust me, it makes a big difference. Dirt, paint, and even moisture can build up on the handle, leading to cracks or splinters over time. I always keep a damp cloth handy to wipe down the handle as soon as I’m done painting. If there’s stubborn paint stuck on it, a gentle scrub with mild soap and water does the trick.
Why is this step so important? Think about how medical tools are cleaned after every use to prevent infections. While your brush handle isn’t a medical device, it still comes into contact with your hands, which can transfer oils and dirt. Regular cleaning keeps the handle in great shape and ensures it’s safe and comfortable to use.
Step 2: Sand Down Rough or Splintered Areas
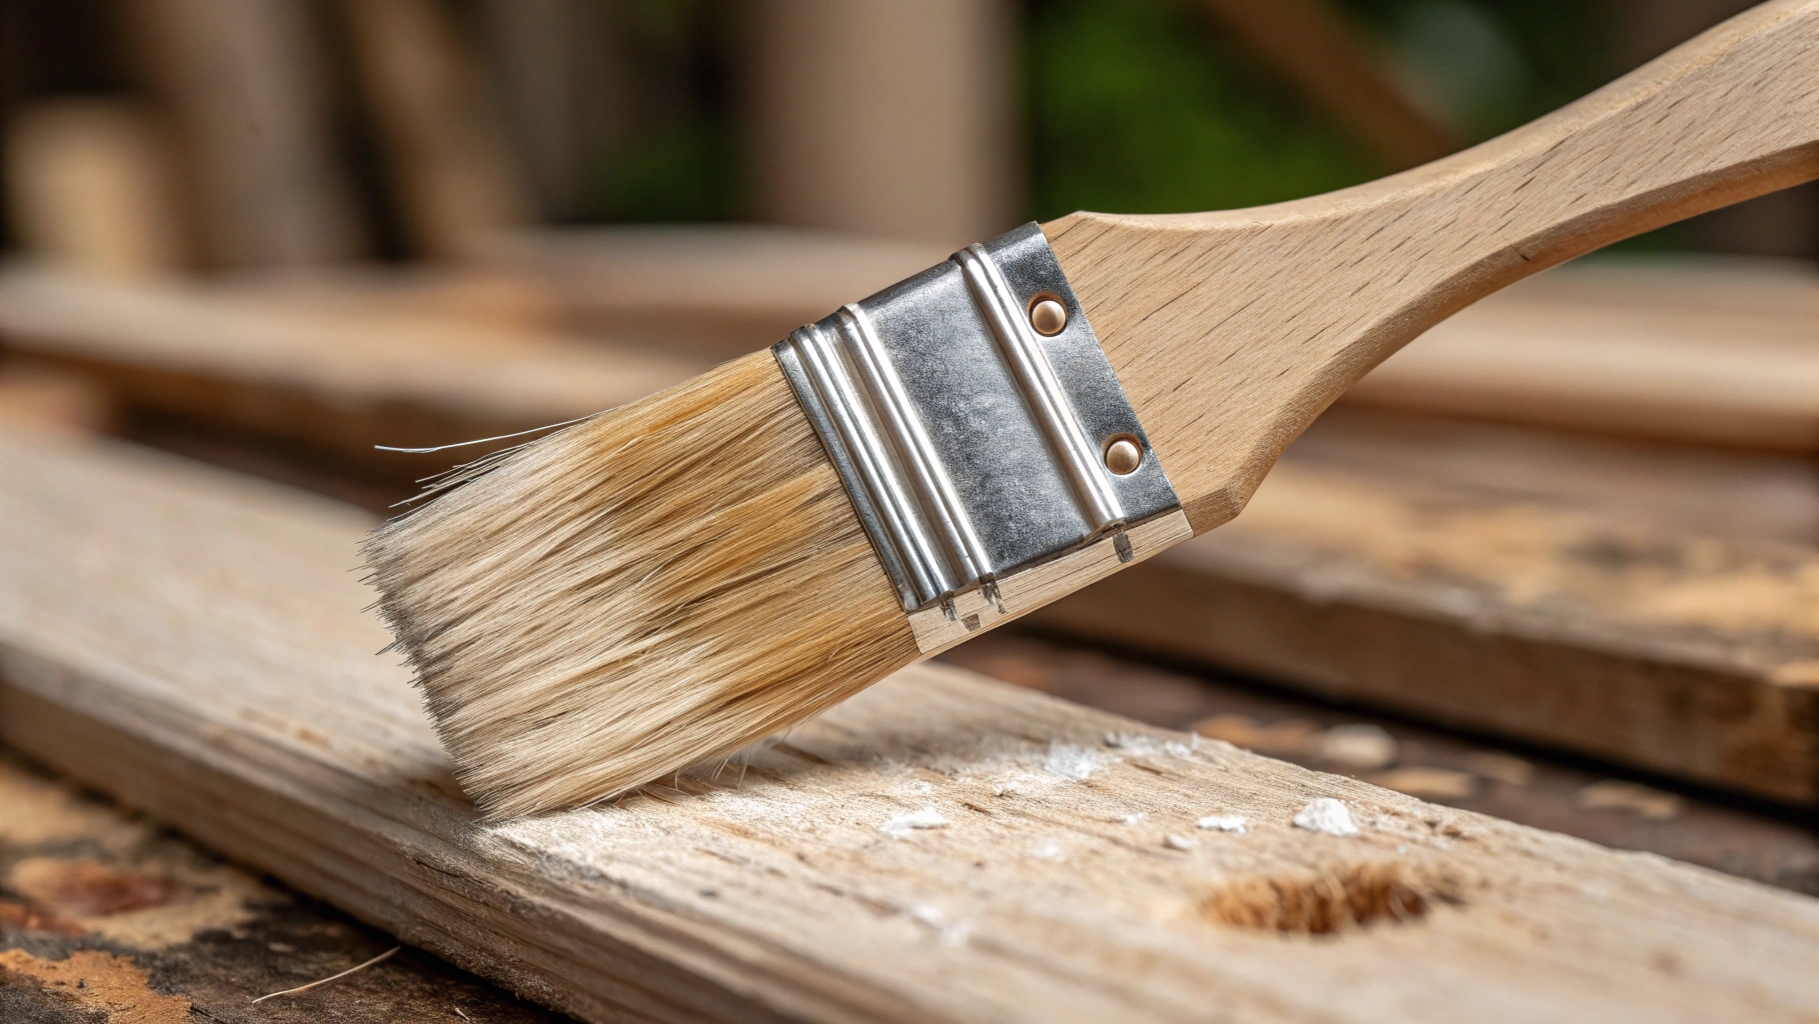
Ever grabbed a brush and felt a splinter digging into your palm? It’s the worst! That’s why I always check my wooden handles for rough spots before starting a project. If I find any, I grab a piece of fine-grit sandpaper and gently smooth them out. This not only makes the handle more comfortable to hold but also prevents further damage.
Here’s a tip: Sand in the direction of the wood grain to avoid creating new scratches. Once you’re done, wipe the handle with a clean cloth to remove any dust. It’s a quick fix that keeps your brush feeling like new.
Step 3: Apply a Protective Finish or Oil
Wood needs protection to stay strong and last longer. I like to apply a thin coat of linseed oil or a wood conditioner to my brush handles every few months. This helps seal the wood, keeping moisture out and preventing cracks. Plus, it gives the handle a nice, smooth finish that feels great in your hand.
If you’re wondering where to get these products, you can buy them at most hardware stores or online. Look for something specifically designed for wood care. Trust me, a little investment in a good finish goes a long way in extending the life of your tools.
Pro Tip: Always let the oil or finish dry completely before using the brush again. This ensures the handle stays non-slip and comfortable to grip.
Step 4: Store Brushes in a Dry, Cool Place
Where you store your brushes matters more than you might think. I’ve learned that keeping them in a dry, cool place can make a huge difference in how long they last. Moisture is the enemy of wooden handles. It can seep into the wood, causing it to swell, crack, or even grow mold. Nobody wants that!
I always make sure my brushes are completely dry before putting them away. Then, I store them in a spot with good air circulation, like a toolbox or a shelf in my garage. Avoid damp basements or areas near sinks. These places can trap humidity, which weakens the wood over time.
Here’s what research says about storage environments:
Section | Findings |
|---|---|
5.2.7 Brushes and Sponges | Controlling humidity helps maintain brush integrity. A dry environment is ideal. |
This table shows why a dry, cool place is best. It’s not just about avoiding damage—it’s about keeping your tools in top shape for the next project. If you’re short on space, try hanging your brushes by their handles. This keeps the bristles and wood safe from pressure or moisture.
Pro Tip: Never leave your brushes lying flat on a wet surface. It’s a surefire way to ruin the handle and bristles.
Step 5: Inspect Regularly for Damage and Repair Promptly
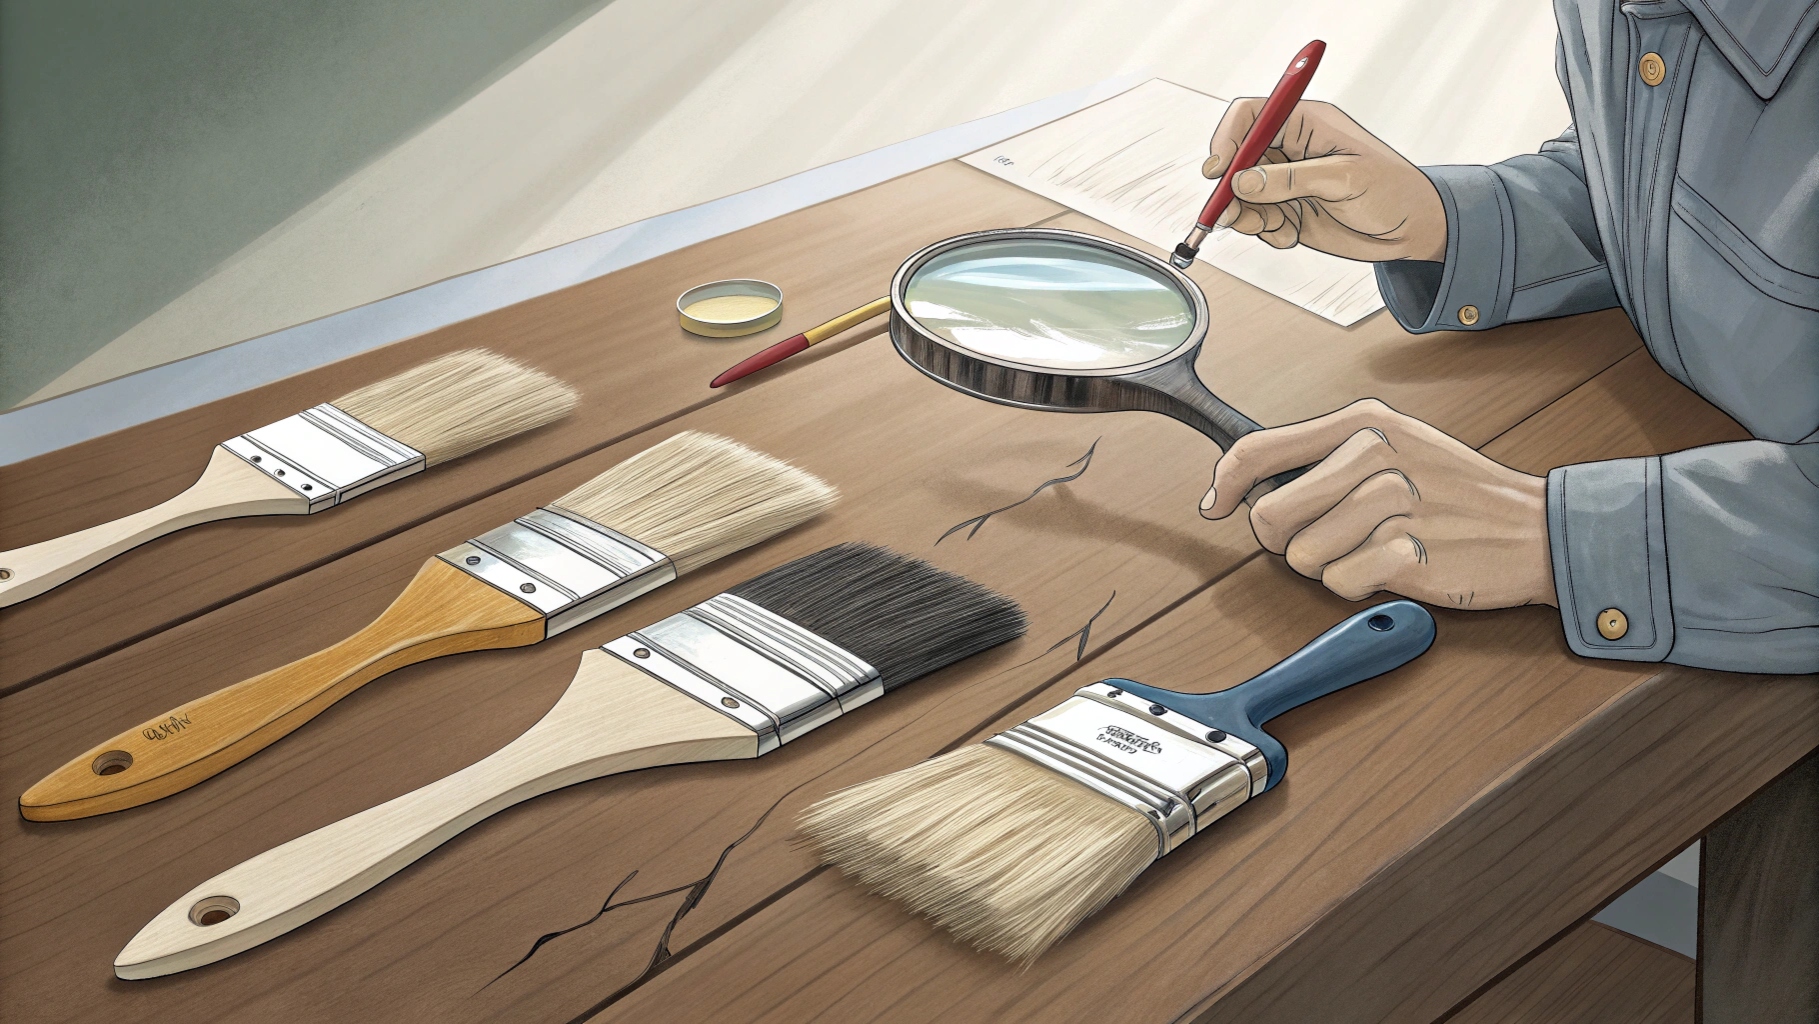
I can’t stress this enough—check your brushes often! A quick inspection before and after each use can save you a lot of trouble. Look for cracks, splinters, or signs of wear on the handle. If you catch these issues early, they’re usually easy to fix.
For small cracks, I use wood filler. It’s simple to apply and dries quickly. If the handle feels rough, a bit of sanding smooths it out. I also keep an eye out for loose ferrules (the metal part that holds the bristles). Tightening them with pliers takes just a minute and prevents bigger problems later.
Here’s my routine:
Run your fingers along the handle to feel for rough spots.
Check for any discoloration or swelling, which could mean moisture damage.
Fix minor issues right away to stop them from getting worse.
Taking a few minutes to inspect and repair your brushes keeps them in great condition. Plus, it saves you money in the long run. A well-maintained brush is always ready to tackle your next painting project!
Picking Wooden Handles for Better Care
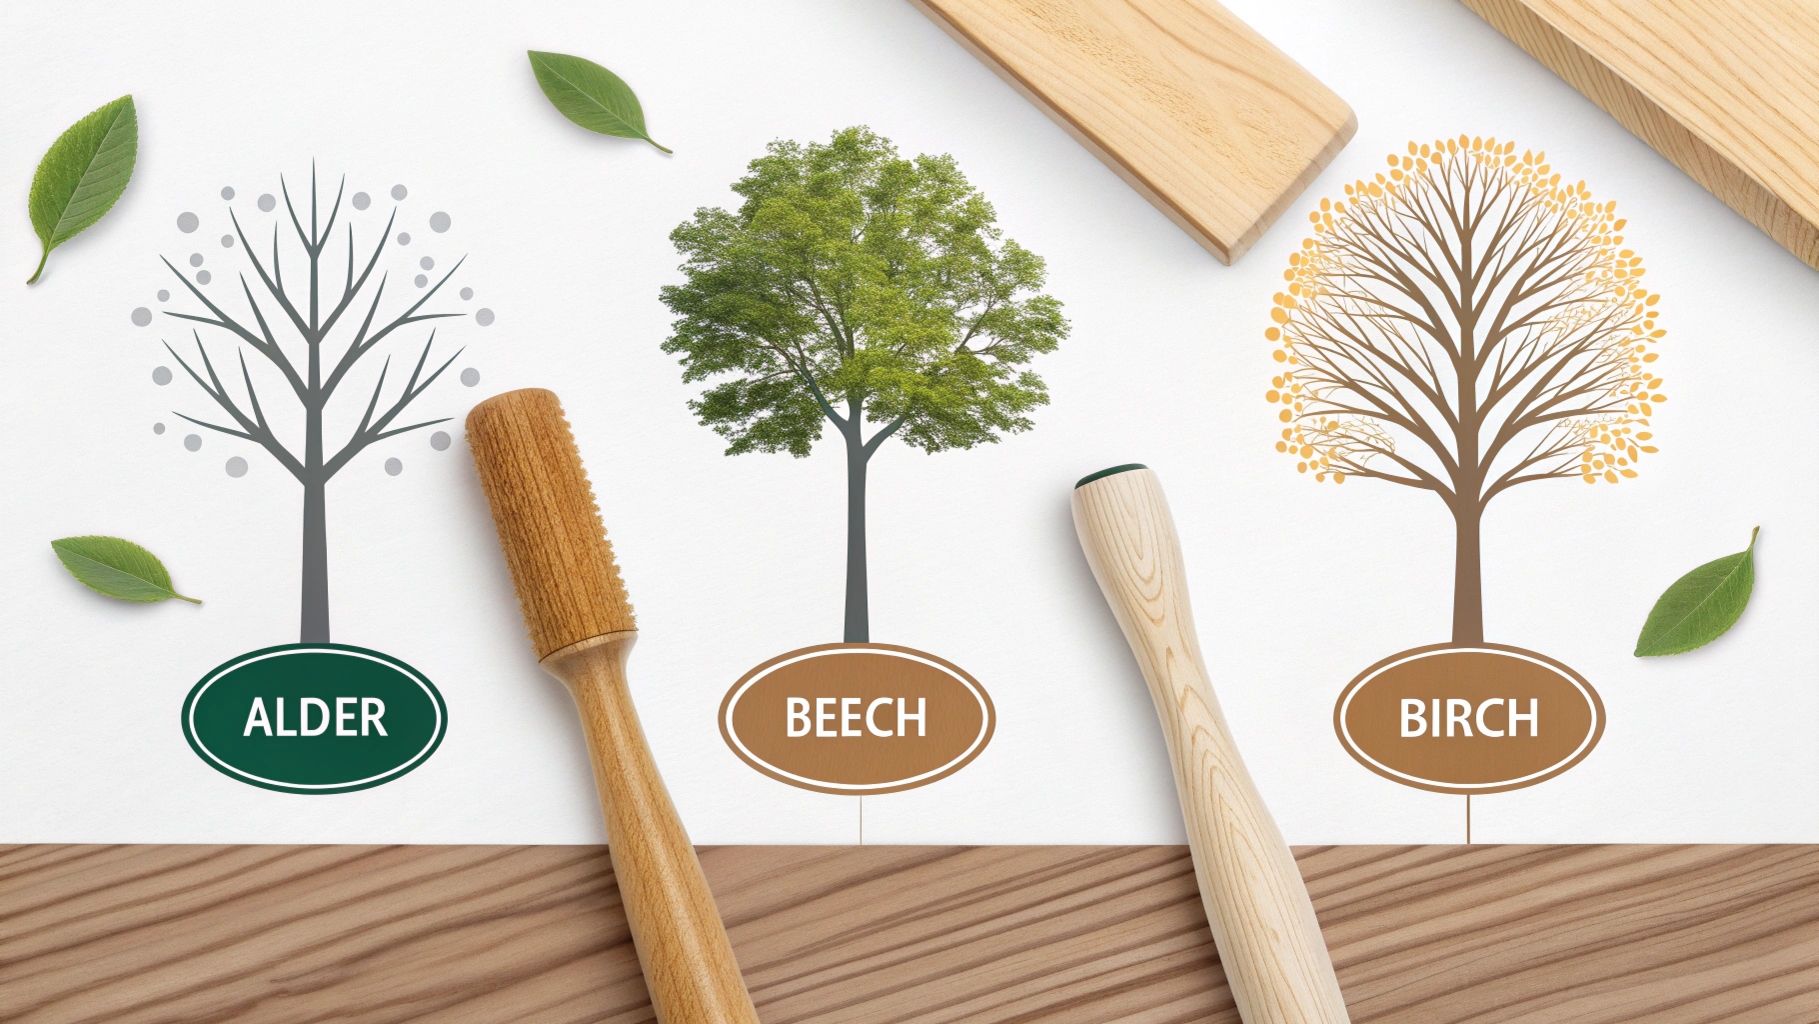
Selecting the Best Wood for Long Use
Not all woods are the same for brush handles. Hardwoods like alder and beech are great choices. They last longer and handle wear better than soft woods. If you want a lighter option, try birch. It’s strong but doesn’t make the brush heavy.
Here’s what I know about wood finishes and how they help:
Surface finishes like shellac or lacquer protect and keep wood looking natural.
Penetrating finishes, like oils, soak in and make wood stronger.
Water-based lacquers are eco-friendly and work as well as regular ones.
When I pick a handle, I think about the wood and finish. This helps my tools last longer.
Checking Finish Quality Before Buying
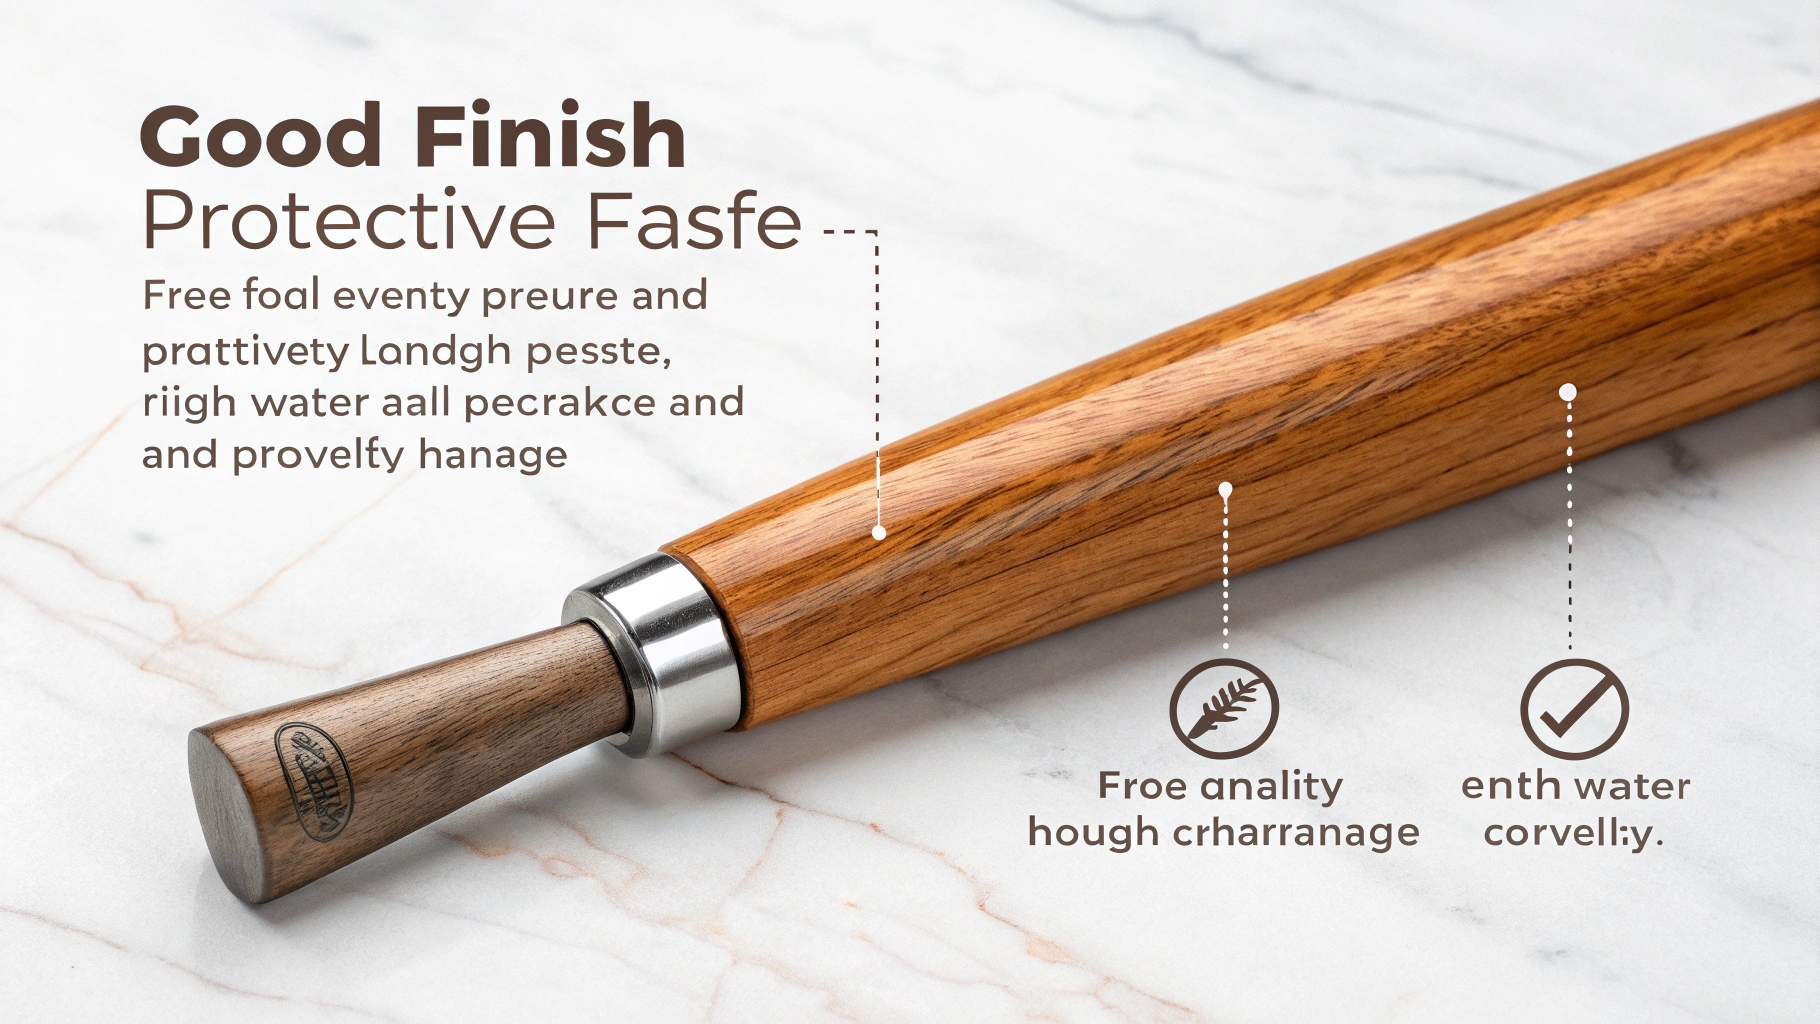
The finish on a handle isn’t just for looks—it protects the wood. A good finish keeps out water and stops cracks. I always feel the handle before buying. If it’s rough or uneven, I skip it. A smooth finish shows good quality.
I also look for water-resistant finishes. These are important if you paint in humid places. A bad finish lets water in, causing swelling or damage. Spending a bit more on a well-finished handle is worth it.
Tip: Handles with penetrating finishes like linseed oil are great. They protect the wood and make it look polished.
Looking for Comfortable Designs for Easy Care

Comfort is key, especially for long painting jobs. I choose handles with ergonomic designs. These reduce hand strain and make painting easier. Beavertail and fluted shapes are my favorites. They fit well in my hand and give a good grip.
Ergonomic handles are also simple to care for. Their smooth shapes make cleaning and oiling quick. If you need a brush for detailed work, pick one with a comfy handle. It’ll make painting much more enjoyable.
Pro Tip: Try holding the handle in-store if possible. See how it feels in your hand. A comfy handle can improve your painting experience.
Troubleshooting Common Wooden Handle Issues
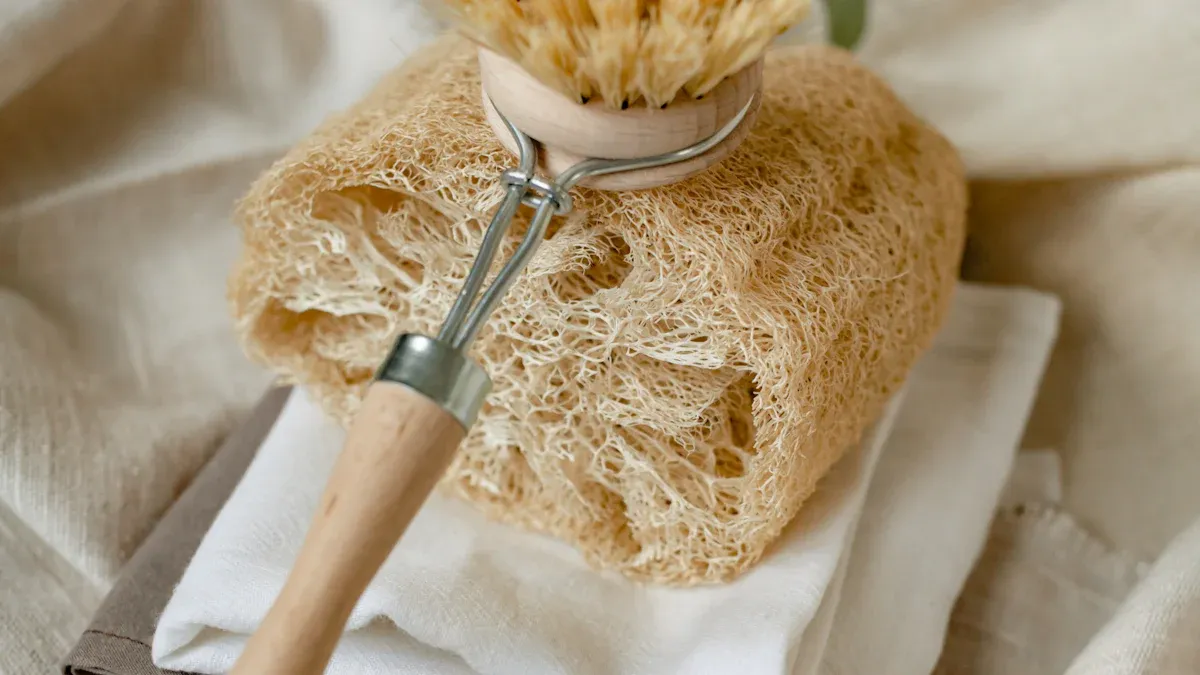
Fixing Minor Cracks with Wood Filler
Minor cracks in wooden handles can be annoying, but they’re easy to fix. I’ve dealt with this plenty of times, and trust me, it’s not as hard as it sounds. First, grab some wood filler from your local hardware store. Make sure it’s a type that matches the color of your handle. Using a small putty knife, press the filler into the crack. Smooth it out so it’s level with the surface. Let it dry completely—usually a few hours, depending on the product. Once it’s dry, sand the area lightly with fine-grit sandpaper until it feels smooth.
This quick fix keeps the handle strong and prevents the crack from spreading. It’s a small effort that makes a big difference in the lifespan of your tools.
Addressing Moisture Damage and Warping
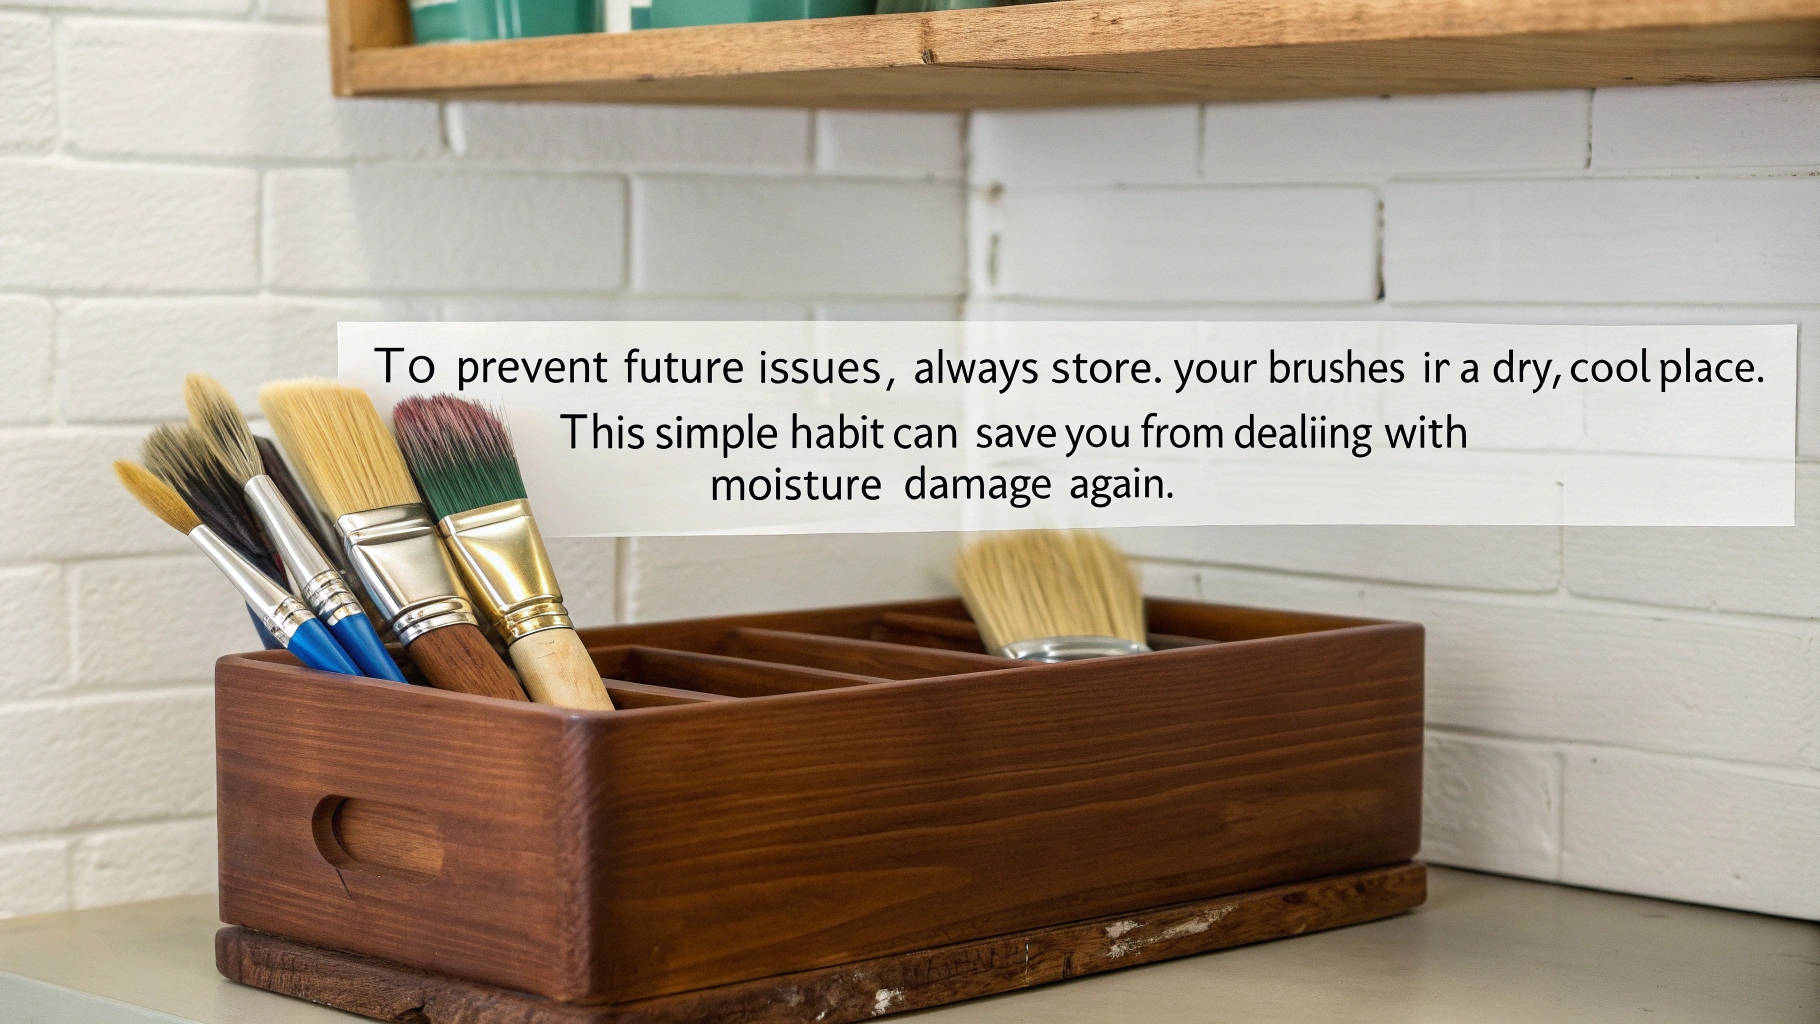
Moisture is a wooden handle’s worst enemy. I’ve seen handles warp or swell after being left in damp areas. If this happens, don’t panic. Start by drying the handle thoroughly. Place it in a warm, dry spot, but avoid direct sunlight, which can cause further damage. For minor warping, gently sand the affected area to restore its shape. If the handle feels rough afterward, apply a coat of linseed oil to smooth and protect it.
To prevent future issues, always store your brushes in a dry, cool place. This simple habit can save you from dealing with moisture damage again.
Restoring Grip After Wear and Tear
Over time, wooden handles can lose their grip, especially if they’re used often. I’ve found that sanding and refinishing the handle works wonders. Use fine-grit sandpaper to remove any worn-out finish. Then, apply a fresh coat of wood oil or a protective finish. Let it dry completely before using the brush again. This not only restores the grip but also makes the handle look and feel like new.
If you’re exploring paint brush options, choose ones with ergonomic handles. They’re easier to maintain and provide a better grip for longer projects.
Long-Term Benefits of Proper Handle Maintenance
Saving Money by Avoiding Replacements
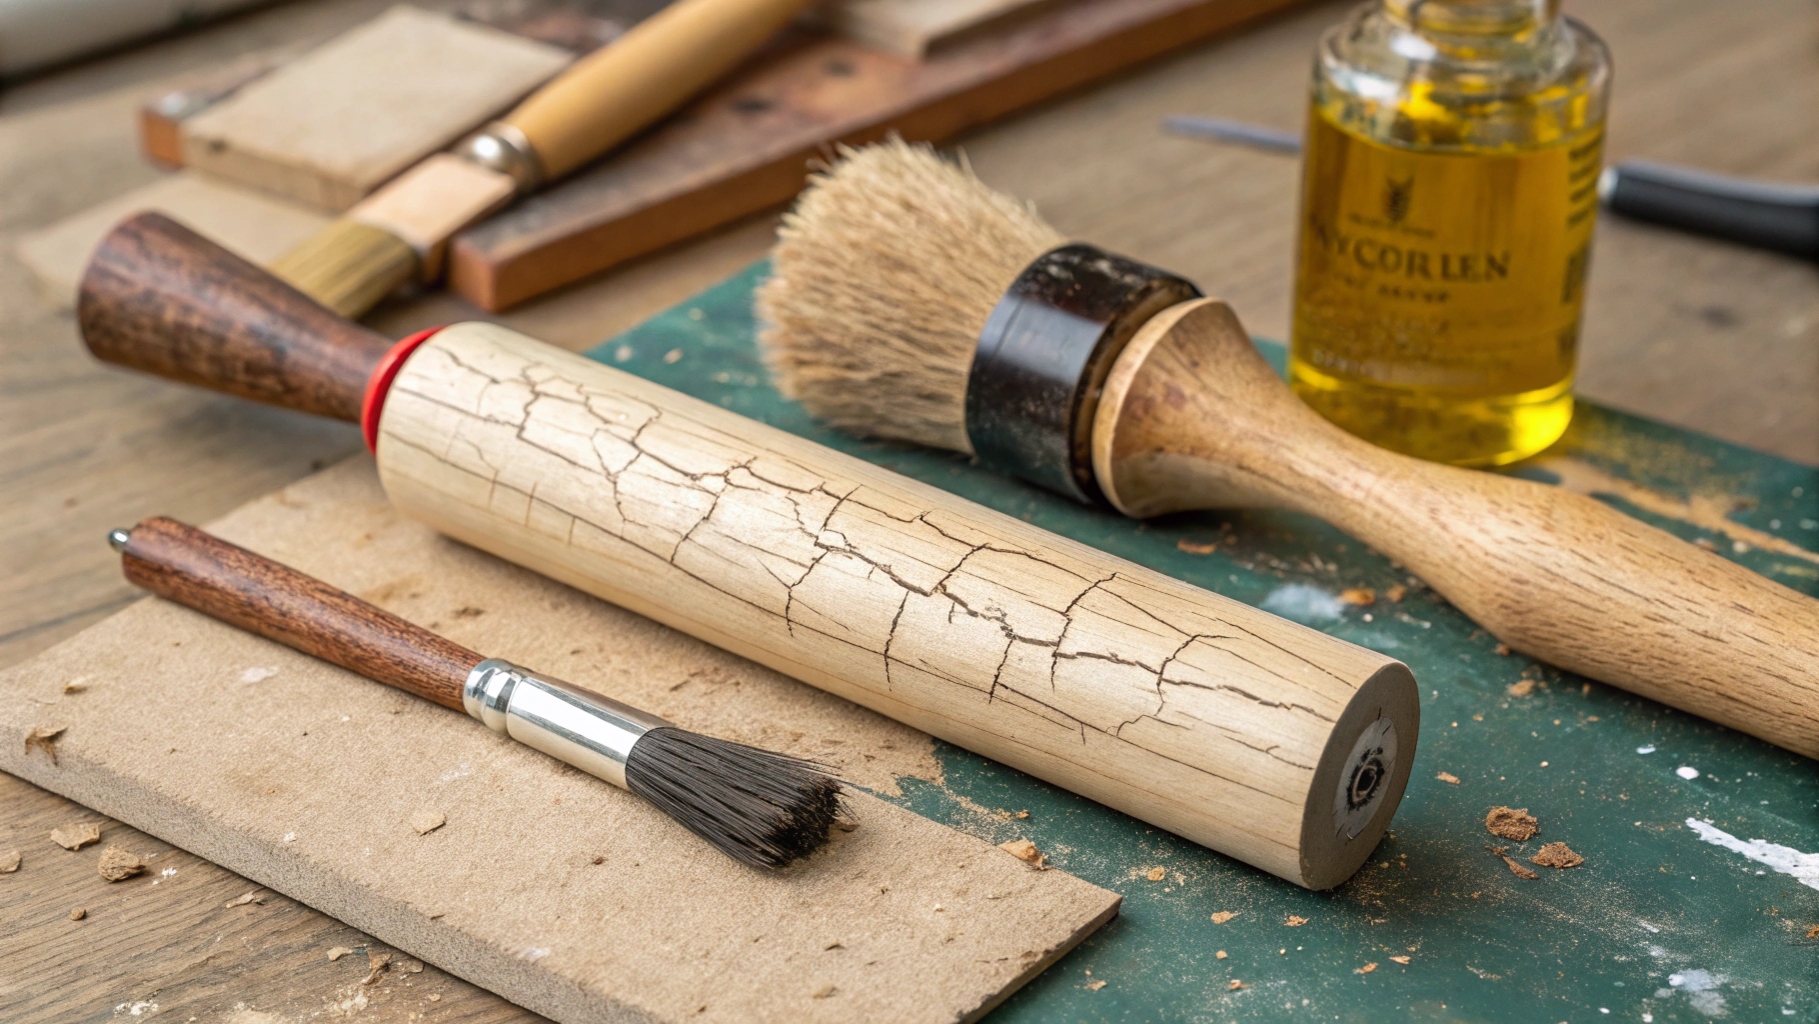
Taking care of wooden brush handles helps save money. I learned this after replacing brushes too often. Cracks, splinters, and water damage ruined them quickly. But when I started cleaning, sanding, and oiling them, they lasted much longer.
Think of it this way—buying a good brush is like an investment. If you take care of it, you won’t need to replace it often. A well-maintained brush can handle many projects, whether painting walls or detailed edges. This saves money for other tools or supplies.
Making Painting Easier and More Comfortable
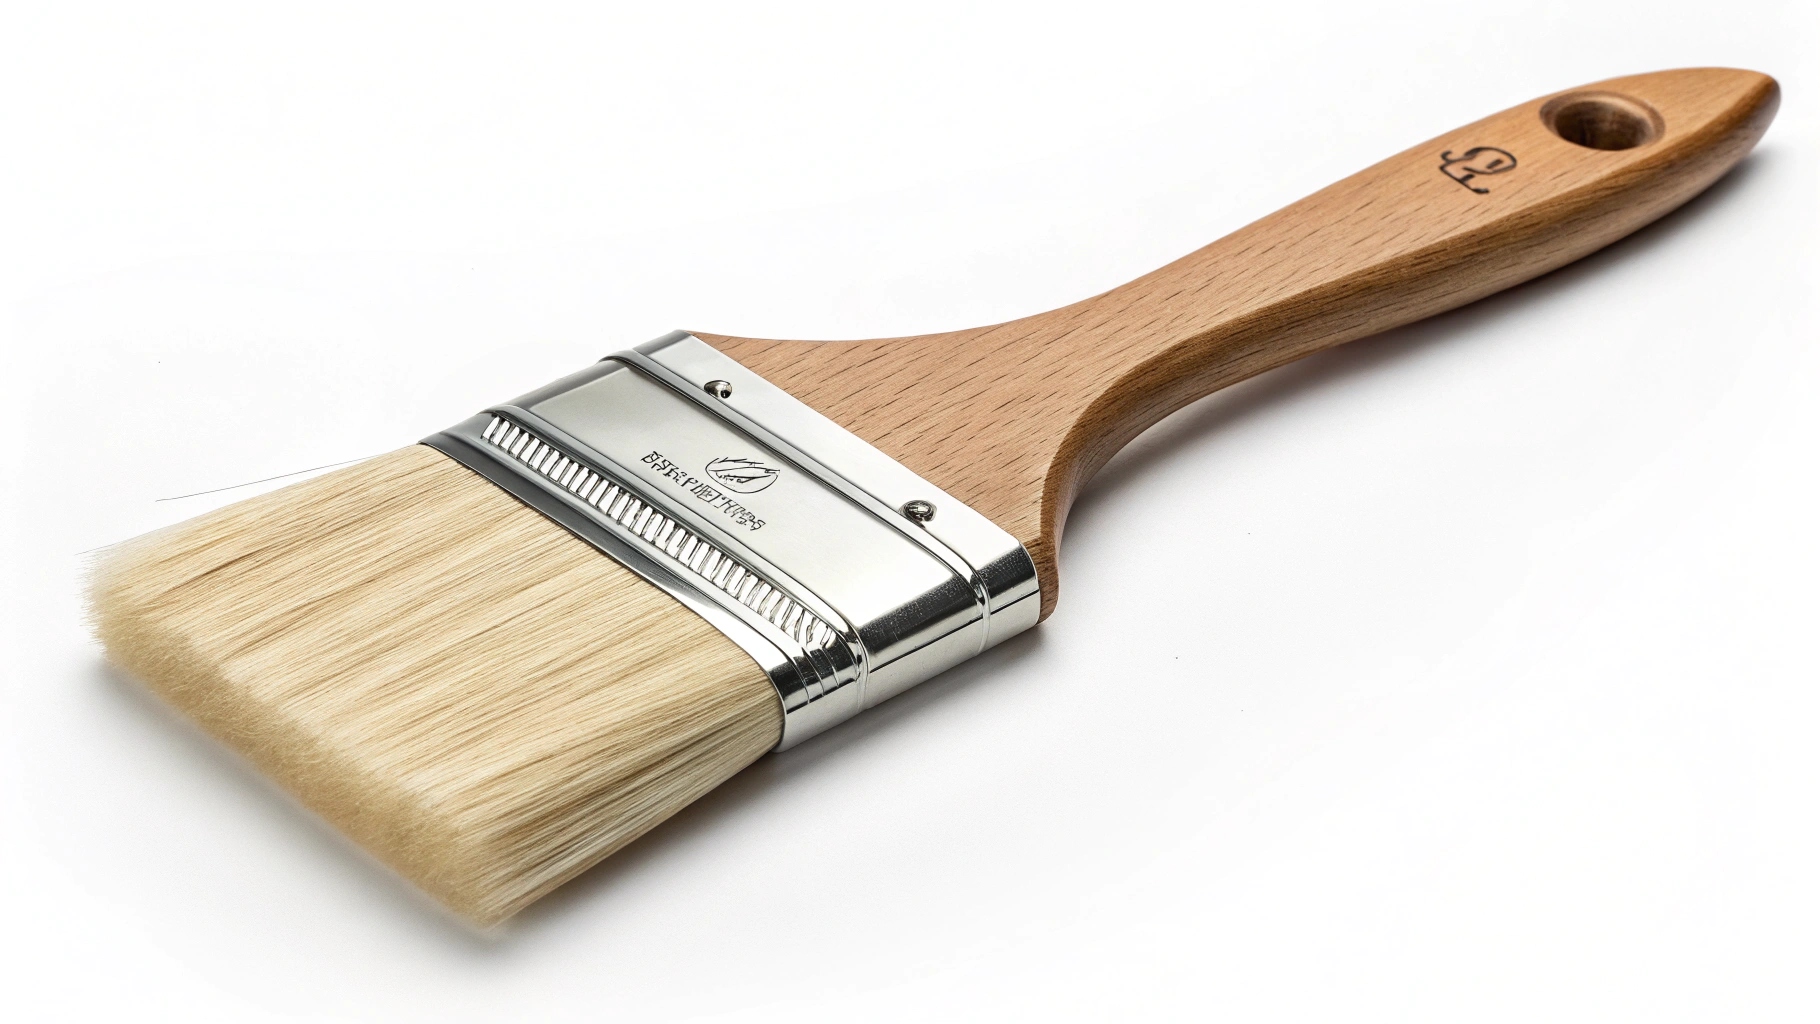
A smooth, well-kept handle makes painting more enjoyable. I’ve noticed that ergonomic handles reduce hand pain during long tasks. When the handle feels good, you can focus better on painting. This is especially helpful for tricky edges or large walls.
Here’s how good handles improve painting:
Lightweight designs reduce hand strain.
Advanced brushes, like the XL High Capacity, offer better grip.
Firm brushes make painting faster and smoother.
When tools are comfortable, painting feels less like hard work. Whether working on walls or edges, a good handle makes a big difference.
Helping the Environment by Using Tools Longer
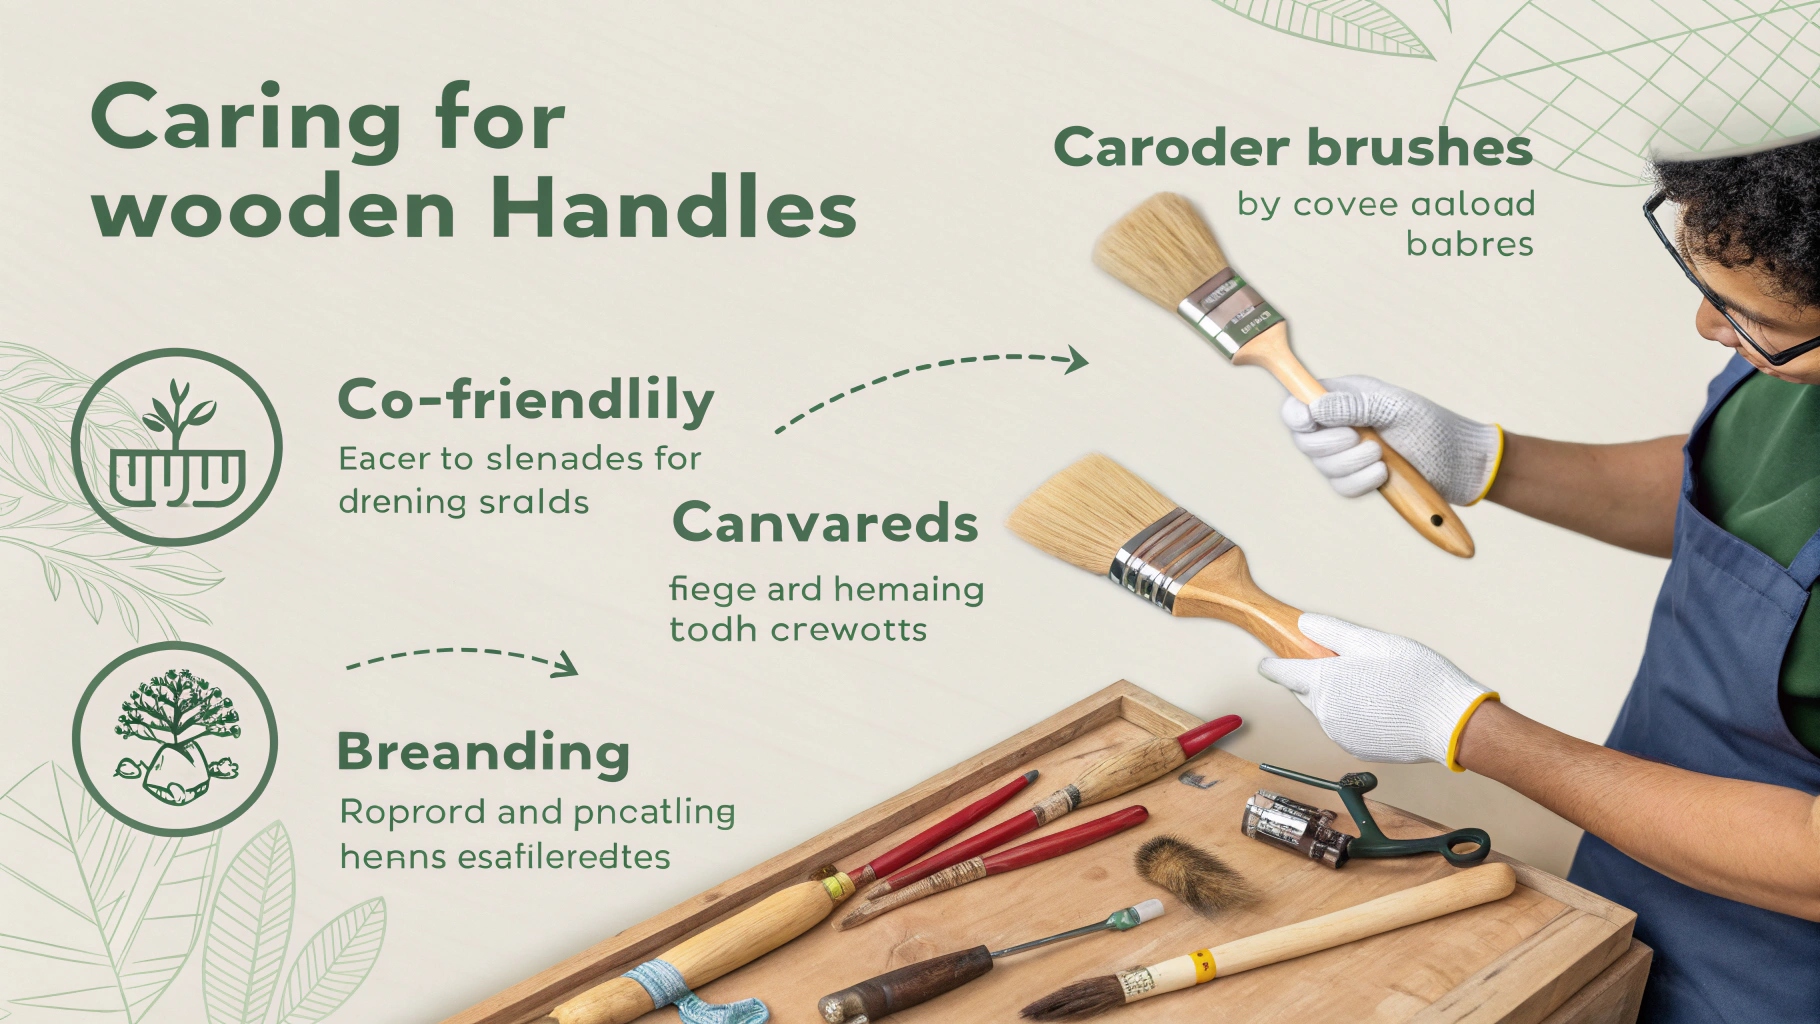
Caring for wooden handles isn’t just smart—it’s eco-friendly too. Fixing and reusing brushes means less waste. Instead of throwing away damaged brushes, you can repair them. This saves resources needed to make new ones.
Wooden handles are also better for the planet than plastic ones. They break down naturally over time. By making them last longer, you’re helping the environment. Plus, fewer trips to buy new brushes save time and energy. It’s good for you and the Earth.
Tip: Choose brushes with wooden handles and strong finishes. They’re easier to maintain and better for the planet.
Choosing high-quality manufacturers for wooden brush handles is one of the smartest decisions you can make. Brands like Wooster, Purdy, and Corona offer durable, well-crafted handles that make painting easier and more enjoyable. I’ve seen firsthand how investing in quality tools saves time and money in the long run.
Proper maintenance is just as important. Cleaning, sanding, and storing your brushes correctly keeps them in great shape for years. If you’re looking for a reliable brush or replacement handle, here’s a helpful link to buy from trusted brands. Don’t forget to check this link for more options that suit your needs.
Taking care of your tools isn’t just about saving money—it’s about making every project smoother and more satisfying. Trust me, your future self will thank you!
FAQ
How often should I clean my wooden brush handles?
I clean mine after every use. It’s quick and keeps the handles in great shape. A damp cloth works for most messes. If there’s dried paint, a little soap and water do the trick. Regular cleaning prevents cracks and splinters.
Can I use any oil to protect the wood?
Not all oils work well. I recommend linseed oil or a wood conditioner. These soak into the wood and keep it strong. Avoid cooking oils—they can go rancid and damage the handle. A small bottle of wood oil lasts a long time.
What’s the best way to store brushes?
Always store them in a dry, cool place. I hang mine by the handles to keep the bristles and wood safe. Avoid damp spots like basements. Moisture can ruin the wood and cause mold. A little care goes a long way here.
How do I fix a splintered handle?
Sand it down with fine-grit sandpaper. Always sand along the grain to avoid new scratches. Afterward, wipe off the dust and apply a protective oil. This smooths the handle and prevents further damage. It’s a quick fix that makes a big difference.
Are wooden handles better than plastic ones?
I think so! Wooden handles feel better in your hand and last longer with proper care. They’re also eco-friendly since they break down naturally. Plastic handles might be cheaper, but they don’t offer the same comfort or durability.


