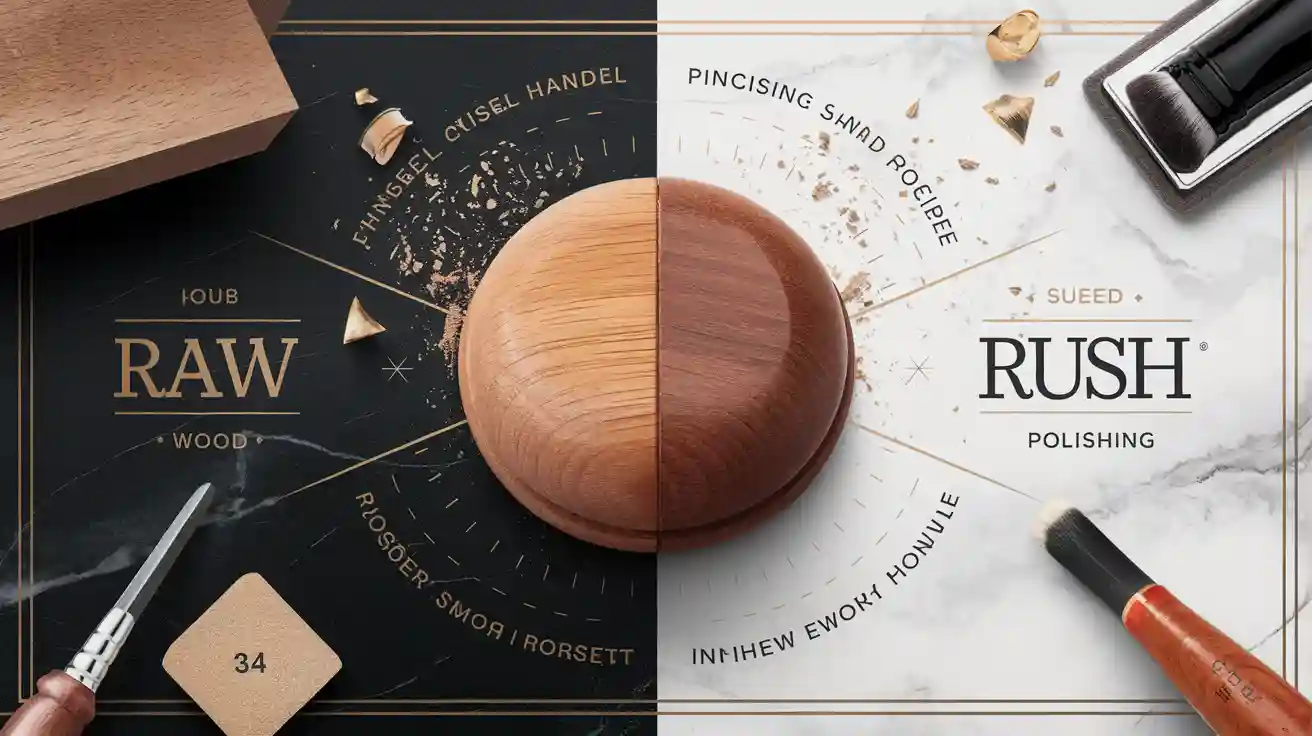
Crafting a high-quality wooden brush handle requires careful work and the use of Precision Processing Techniques. It’s not just about shaping wood; every detail is crucial. The surface must be smooth, and the handle should feel balanced. Special techniques transform plain wood into creative paintbrush handles. Did you know that new designs, enhanced by Precision Processing Techniques, make handles lighter and easier to hold? These changes not only improve your grip but also enhance the brushing experience.
Creating a fancy and special design involves more than just skill. Perfect methods, such as CNC cutting and meticulous polishing, utilize Precision Processing Techniques to make each handle unique. These steps blend traditional craftsmanship with modern technology. The result? A hairbrush that performs exceptionally well and looks stunning too.
In mid-2024, Steve, the procurement manager at a top-tier paintbrush company, was on a quest for perfection. His firm, producing 10 million brushes annually for North American professionals, needed wooden handles that stood out—durable, smooth, and flawlessly crafted. Their usual supplier delivered decent handles, but the process felt outdated: rough edges, inconsistent finishes, and a 2% defect rate were holding them back. At a Chicago trade fair, Steve met Darin Zhang, sales director of a Jinan, China-based manufacturer. Darin invited Steve to tour their facility, promising a glimpse into their 12-step precision process. Steve watched as raw birch logs were transformed—moisture-tested to 8% for stability, precision-milled to within 0.1mm tolerances, and laser-engraved with custom designs—all in under 20 days. The sample batch of 5,000 handles arrived with zero defects, 15% lighter than competitors, and a silky finish that painters raved about. That partnership redefined Steve’s standards, cutting production costs by 10% and elevating their product line.
Steve’s journey reveals the magic behind premium wooden brush handles. Here, we unveil 12 precision processing techniques that turn raw wood into a masterpiece, ensuring quality from start to finish.
Key Takeaways
Pick tough woods like maple or beech for strong handles.
Keep wood dry enough to stop bending and last longer.
Use exact tools like CNC machines and lasers for cool designs.
Add comfy shapes to handles to make them easy to hold.
Use green materials and methods to attract eco-friendly buyers.
Material Selection and Preparation
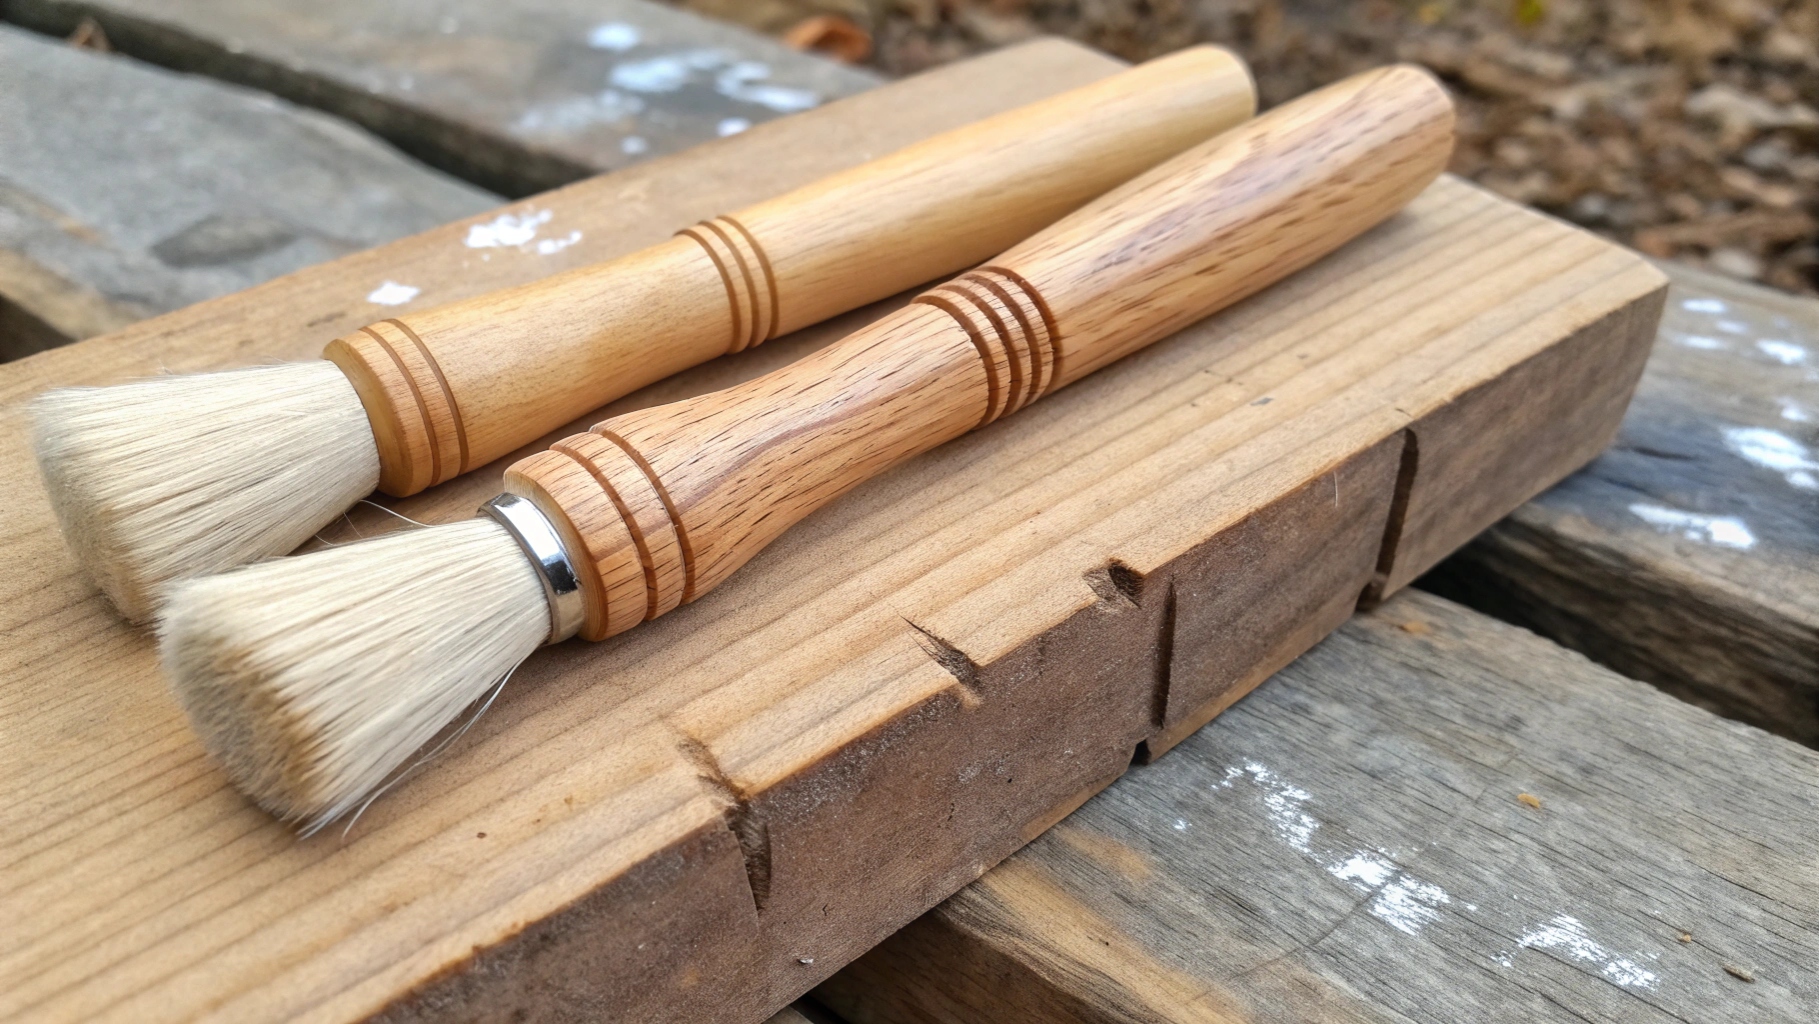
Picking Strong Wood for Paintbrush Handles
When choosing wood for paintbrush handles, I look for strong materials. Woods like beech and maple are my favorites. They last long and feel smooth. The handle should also feel good to hold. I check if the wood has natural patterns that make it strong and nice-looking.
Here’s what makes a great wooden paintbrush handle:
Material Selection: Hardwoods like maple and beech are tough and durable.
Ergonomic Design Features: Light handles with soft grips make painting easier.
Quality Control Measures: Regular checks ensure the wood is high-quality.
I also trust certifications to confirm the wood is excellent. Good Manufacturing Practices (GMP) help suppliers follow strict rules. National certifications prove the wood is safe and reliable. These steps make sure every handle feels high-quality and works well.
Checking Moisture for Strong Handles
Moisture in wood is very important. If the wood is too wet, it can bend or break later. I use tools to measure the moisture level before starting. The best range is between 6% and 8%. This keeps the handle strong and stable after it’s made.
Dry wood also makes the handle lighter, which helps during long painting jobs. Controlling moisture early prevents problems later. It’s a small step that makes the handle last longer.
Cutting and Sizing for Consistency
Cutting the wood is the first big step. I cut the wood into equal-sized blocks. This makes sure all handles are the same size and shape. Consistency is key, especially when making many handles.
I use sharp saws to make clean cuts without rough edges. Smooth cuts make shaping the handle easier later. Having uniform pieces also helps when adding curves for a better grip. This step sets a strong base for the final product.
Wood Grain Assessment for Strength and Aesthetics
When I work with wood, I always take a close look at its grain. The grain tells me a lot about the material's strength and beauty. Straight grains usually mean the wood is strong and less likely to crack. On the other hand, wavy or curly grains can add a unique, eye-catching design to the handle. It’s like nature’s artwork right there in the material.
To assess the grain, I hold the wood up to the light and inspect it from different angles. This helps me spot any imperfections or weak spots. If I find knots or uneven patterns, I set that piece aside for other uses. For brush handles, I want the grain to flow smoothly along the length. This not only makes the handle stronger but also gives it a polished, professional look.
Sometimes, I even use a magnifying glass to get a closer view. It might sound like overkill, but trust me, these small details make a big difference. A well-chosen grain can turn a simple handle into something truly special.
Pre-Treatment to Prevent Warping
Warping is one of the biggest challenges when working with wood. If the handle twists or bends after it’s made, it’s game over. That’s why I always pre-treat the wood before moving on to the next steps.
First, I dry the wood in a controlled environment. This ensures it has the right moisture level, which is key to preventing future warping. Then, I apply a special sealant to lock in the wood’s natural properties. This step acts like a shield, protecting the material from changes in humidity.
I also store the wood in a flat position during this process. Stacking it unevenly can cause stress on certain areas, leading to warping later. By taking these precautions, I make sure every handle stays straight and sturdy for years to come.
Shaping and Structuring
Rough Shaping for Ergonomic Brush Handles
When I start shaping a raw shape wooden handle, I focus on creating a design that feels natural in your hand. This step is all about rough shaping. I use tools like band saws or carving knives to remove excess wood and get the basic form. It’s like sketching the outline of a drawing before adding details.
The goal here is to make sure the handle fits comfortably in your palm. I often test the shape by holding it myself. If it doesn’t feel right, I adjust it. This process ensures the handle isn’t just functional but also ergonomic. A well-shaped handle makes tasks like brushing or painting much easier.
Precision Carving for a Luxurious and Unique Design
Once the raw shape wooden handle is ready, I move on to precision carving. This is where the magic happens. Using fine tools, I carve intricate details that make the handle stand out. Whether it’s a hairbrush handle or a paintbrush handle, this step adds a touch of luxury.
I love experimenting with patterns and textures. Sometimes, I create grooves for better grip. Other times, I add decorative elements to make the handle unique. This step transforms a simple piece of wood into something truly special. It’s like turning a blank canvas into a masterpiece.
Sanding Techniques for Smoothness and Comfort
After carving, the handle needs to be smooth. That’s where sanding comes in. I start with coarse sandpaper to remove rough spots. Then, I switch to finer grits for a silky finish.
Sanding isn’t just about looks. A smooth handle feels better to hold and reduces the risk of splinters. I often run my fingers over the surface to check for imperfections. If I find any, I sand them down until the handle feels perfect. This step ensures the final product is both comfortable and beautiful.
Contour Profiling for Perfect Grip
When I think about a great brush handle, the grip is the first thing that comes to mind. A handle should feel like it was made just for your hand. That’s where contour profiling comes in. This step is all about shaping the handle to fit comfortably in your palm. I use specialized tools to carve gentle curves and indentations that match the natural shape of a hand.
To get it right, I often test the handle by holding it myself. If it feels awkward or slips too easily, I go back and refine the shape. Sometimes, I even ask others to try it out. Everyone’s hands are different, so getting feedback helps me create a design that works for most people.
Here’s a tip: I always pay attention to the balance between comfort and functionality. A handle that’s too smooth might look nice, but it won’t provide a secure grip. Adding subtle textures or grooves can make a big difference. These small details ensure the handle feels just right, whether you’re painting a masterpiece or brushing your hair.
Pro Tip: A well-contoured handle doesn’t just improve grip—it also reduces hand fatigue during long use. That’s a win-win!
Hollowing Techniques for Lightweight Handles
Nobody wants a brush that feels like a brick. That’s why I use hollowing techniques to make handles lighter without sacrificing strength. This process involves removing excess material from the inside of the handle. It’s like carving out the core while keeping the outer structure intact.
I usually start by drilling small holes or using a router to hollow out sections. The key is to remove just enough wood to reduce weight while maintaining durability. It’s a delicate balance. If I take out too much, the handle might become weak or prone to breaking.
Lightweight handles are especially important for tools used over long periods. Imagine holding a heavy paintbrush for hours—it’s exhausting! By making the handle lighter, I ensure it’s easier to use and more comfortable to hold.
Fun Fact: Hollowing doesn’t just make the handle lighter. It can also improve the overall balance, making the brush feel more natural in your hand.
Advanced Precision Techniques
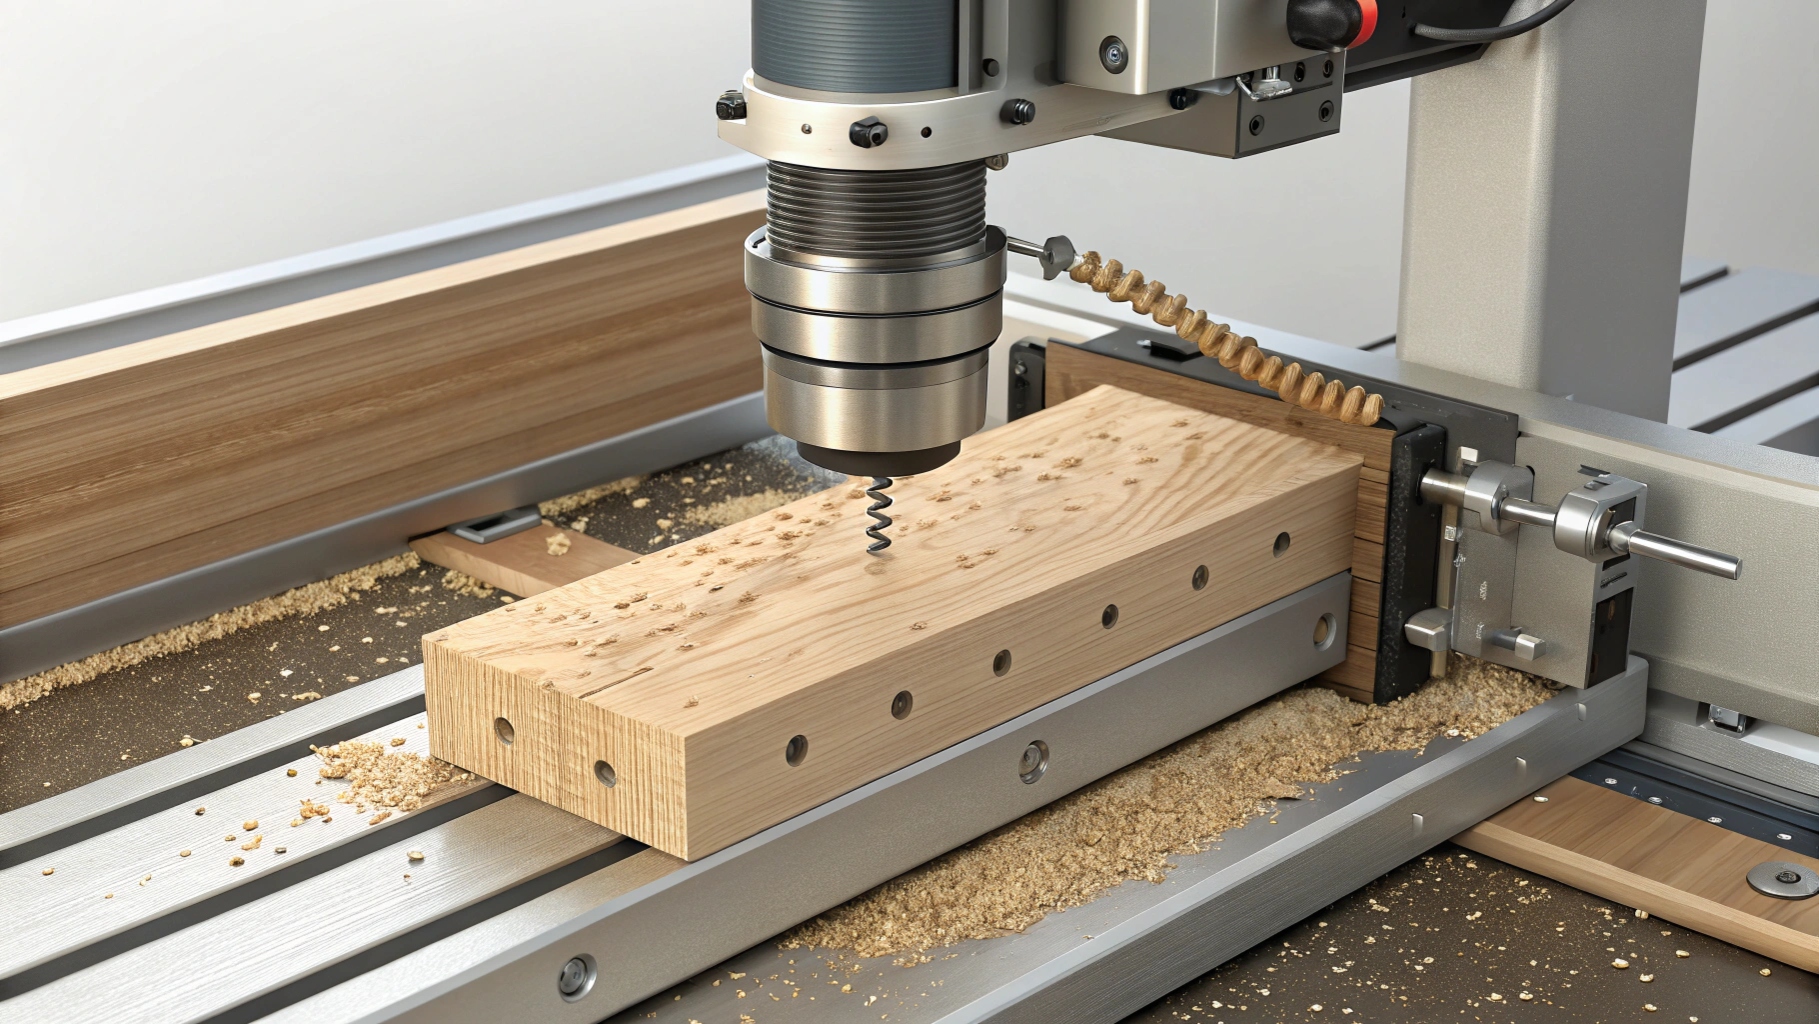
Milling for Uniform Paint Brush Handles
Milling is a great way to make handles uniform. I use a milling machine to shape the wood perfectly. This machine smooths out rough spots and evens the surface. It’s like giving the wood a fresh start for the next steps.
When making paint brush handles, I focus on consistency. Every handle should look and feel the same. Milling helps me achieve this, especially for large batches. The machine handles the tough work, so I can add special details later.
Pro Tip: Milling not only improves the handle’s look but also makes it more comfortable to use for long periods.
Vector Cutting for Detailed Designs
Vector cutting is where creativity shines. I use CNC machines to carve detailed patterns into the wood. These machines follow digital designs, creating shapes that are too hard to do by hand.
This method is perfect for adding unique designs to handles. From floral patterns to geometric shapes, vector cutting makes it possible. I enjoy trying new styles to make each handle unique.
The best thing about vector cutting is its precision. Every detail comes out sharp and clean. This step turns a plain handle into a work of art.
Laser Engraving for Personal Touches
Laser engraving makes handles extra special. It allows me to add names, logos, or cool designs. It’s like putting your signature on a masterpiece.
I use a laser to burn designs into the wood. It’s fast and very accurate. This works well on both smooth and textured surfaces. Customers love this option for a unique touch.
Laser engraving doesn’t just look amazing. It also adds depth to the design. The engraved parts catch light, making the handle stand out even more.
Fun Fact: Laser engraving is eco-friendly. It doesn’t use paints or chemicals, making it a sustainable choice.
CNC Machining for High-Volume Precision
CNC machining is one of my favorite tools for creating brush handles with precision. It’s like having a super-smart assistant that never makes mistakes. CNC stands for Computer Numerical Control, which means the machine follows a digital design to shape the wood. This process is perfect for making a lot of handles that are exactly the same.
When I use CNC machining, I can create handles with incredible accuracy. The machine carves the wood down to the tiniest detail. It’s great for high-volume production because it works fast and doesn’t get tired. I just load the design into the computer, and the machine does the rest.
Here’s why CNC machining is a game-changer:
Consistency: Every handle comes out identical, which is important for large orders.
Speed: It’s much faster than carving by hand.
Complex Designs: The machine can handle intricate patterns that would take hours to do manually.
Pro Tip: Always double-check the digital design before starting. A small mistake in the file can lead to a big problem later.
CNC machining doesn’t just save time. It also ensures that every handle meets the same high standards. That’s why I rely on it for large projects.
Thermal Shaping for Curved Designs
Sometimes, a straight handle just won’t do. That’s when I turn to thermal shaping. This technique uses heat to bend the wood into curved designs. It’s like giving the wood a gentle massage until it takes the shape I want.
To start, I heat the wood in a controlled environment. The heat softens the fibers, making them flexible. Then, I use molds or clamps to guide the wood into the desired curve. Once it cools, the wood hardens and holds its new shape.
Thermal shaping is perfect for creating ergonomic handles. A curved design can fit more naturally in your hand, making it more comfortable to use. I also love how it adds a touch of elegance to the final product.
Fun Fact: Did you know that thermal shaping has been used for centuries? Boat builders used similar techniques to bend wood for ship hulls!
This method takes patience, but the results are worth it. A well-shaped curve can turn a simple handle into something truly special.
Surface Treatment and Finishing
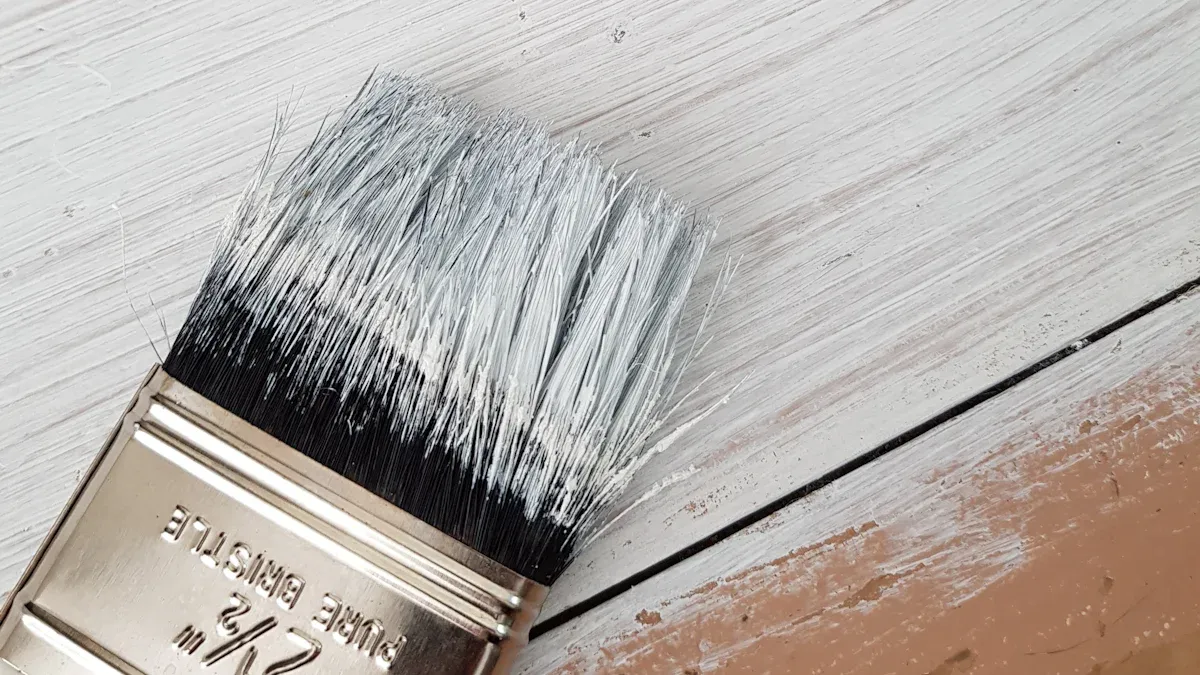
Applying Sealants for Longevity
Sealants are like a protective shield for wooden brush handles. I always make sure to apply a high-quality sealant to every handle I work on. This step locks out moisture and prevents the wood from cracking or warping over time. It’s a simple process, but it makes a huge difference in how long the handle lasts.
I usually use a brush or a cloth to spread the sealant evenly across the surface. Then, I let it dry completely before moving on to the next step. This ensures the wood is fully protected. Sealants also enhance the natural beauty of the wood, giving it a subtle shine that looks amazing. Trust me, this step is worth the effort.
Pro Tip: Always apply sealant in a well-ventilated area. It helps the sealant dry faster and keeps the workspace safe.
Staining and Coloring for Aesthetic Appeal
Staining is where the magic happens. It’s my favorite part because it brings out the wood’s natural grain and adds a pop of color. Whether I’m going for a rich mahogany or a light oak finish, staining transforms the handle into something truly special.
I start by choosing a stain that complements the wood’s natural tone. Then, I apply it with a soft cloth, working it into the grain. After letting it sit for a few minutes, I wipe off the excess to reveal a smooth, even color. This step not only makes the handle look beautiful but also adds a layer of protection.
Fun Fact: Staining isn’t just about color. It can also highlight unique finishes in the wood, making each handle one of a kind.
Polishing for a Premium Finish
Polishing is the final touch that takes the handle from good to great. After all the hard work, I want the handle to shine—literally. I use a soft cloth and a high-quality polish to buff the surface until it gleams. This step gives the handle a smooth, premium finish that feels amazing to hold.
Polishing also enhances the durability of the handle. It creates a barrier against dirt and wear, keeping the handle looking new for longer. I always take my time with this step because it’s the last chance to make the handle perfect.
Did You Know? Polishing can bring out the depth of the wood’s color, making it look richer and more vibrant.
UV Coating for Extra Protection
UV coating is a great way to protect wooden brush handles. It acts like a shield, keeping the wood safe from sunlight damage. UV rays can fade or discolor wood over time. This coating also adds a shiny finish, making the handle look fancy and high-quality.
I spread the UV coating in a thin layer over the handle. Every part of the surface needs to be covered for full protection. After applying, I use UV light to harden the coating. This step locks in the wood’s natural beauty and makes the handle stronger. The result is a durable and beautiful brush handle.
Pro Tip: UV coating doesn’t just protect—it makes cleaning easier. A quick wipe keeps the handle looking fresh!
One thing I enjoy about UV coating is how it works with all designs. Whether the handle has a plain wood look or bright colors, the coating makes it better. It’s like adding the final touch to a piece of art.
Texturing for Enhanced Tactile Feel
A brush handle should feel good in your hand, not just look nice. That’s why adding texture is important. Texturing creates small patterns or grooves that improve grip and make the handle more comfortable to hold.
I use different tools to add texture based on the design. Sometimes, I carve tiny lines or press patterns into the wood. Other times, I stamp designs onto the surface. These textures make the handle easier to use and give it a unique style.
Fun Fact: Textured handles help reduce tired hands during long use. They stay easy to grip, even if your hands are sweaty or wet!
Texturing isn’t just useful—it’s also fun to design. I like trying out new patterns, from simple lines to fancy shapes. These details make each handle special, as if it’s made just for you.
Quality Control and Final Touches
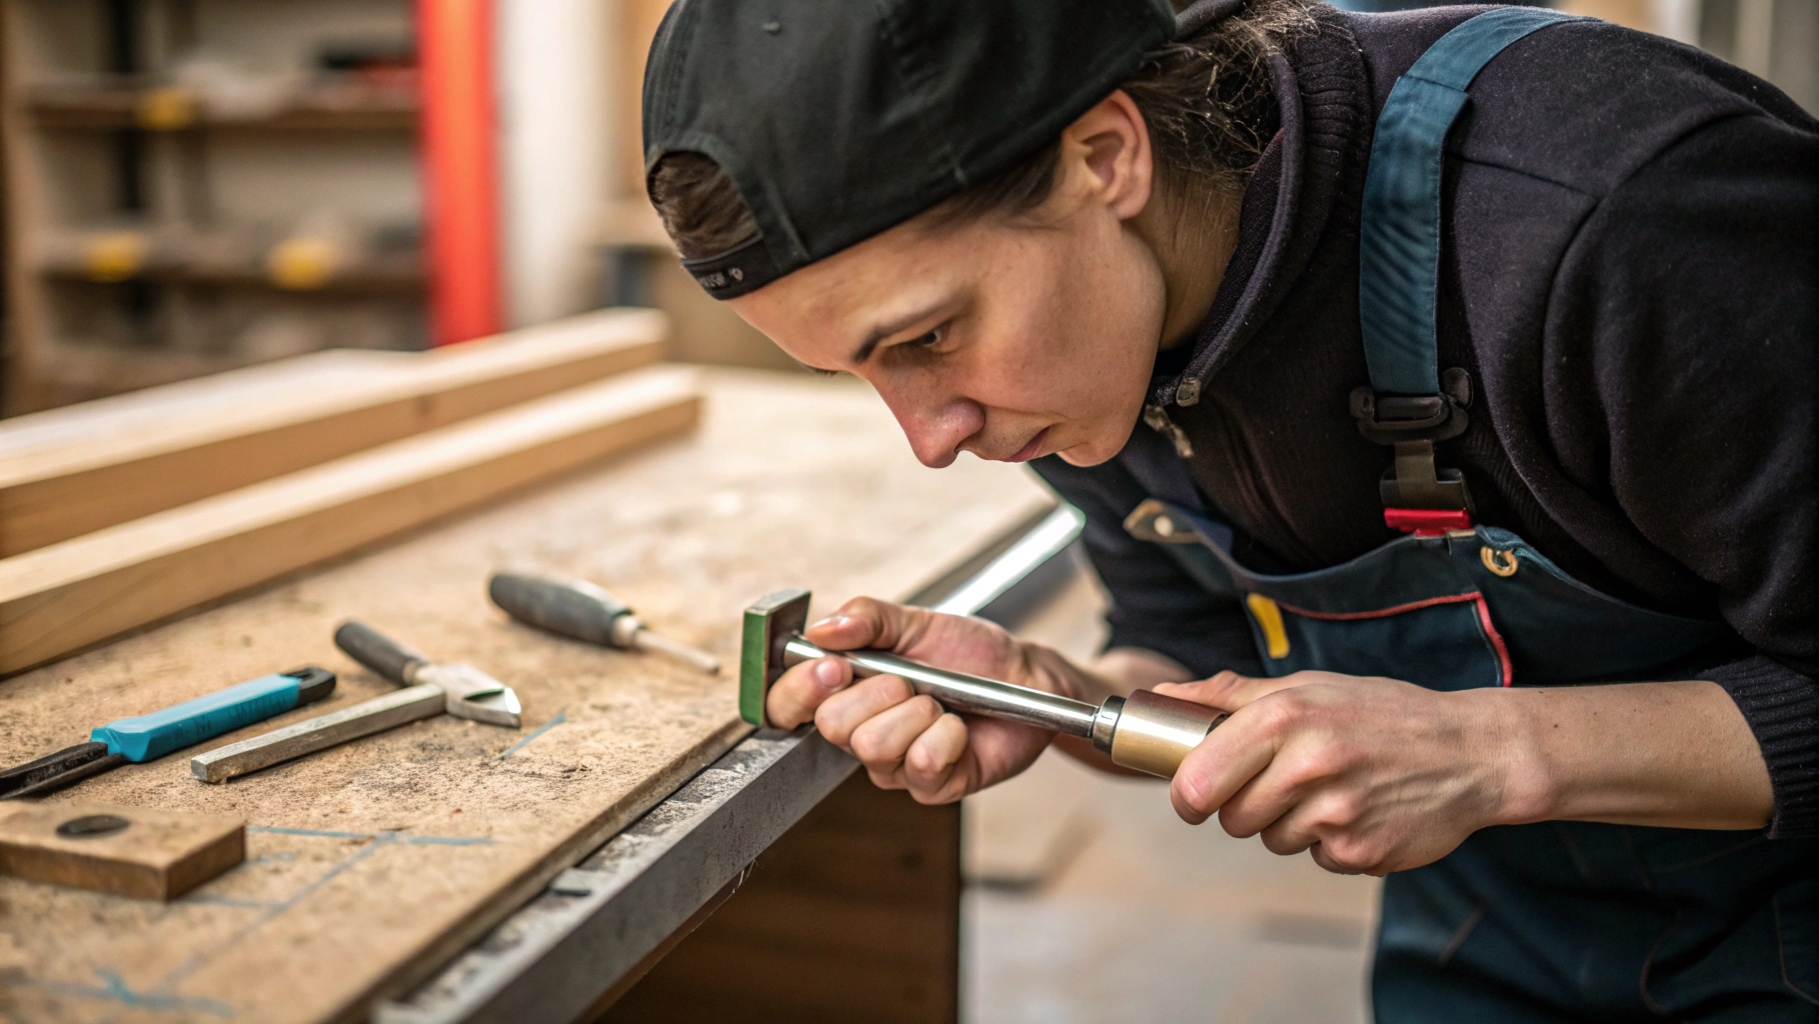
Checking for Problems in Paintbrush Handles
After making a paintbrush handle, I carefully check it. This step is super important to make sure it’s perfect. I look for cracks, bumps, or any bending. Even tiny problems can change how the handle works or feels.
I use my eyes and hands to inspect every part. Sometimes, I run my fingers over it to find rough spots missed earlier. If I see any issues, I fix them right away. Paying attention to these details makes sure every handle is top quality.
Pro Tip: Careful checks improve quality and make customers trust your product.
Personalizing Handles for Special Products
Adding unique touches to a wooden brush handle makes it special. I enjoy offering options like engraving names, adding logos, or creating cool designs. These extras make the handle feel one of a kind.
Why is customization important?
Unique designs make products feel rare and valuable.
People are willing to pay more for special items.
Customization boosts customer happiness by 25%.
Most people prefer brands that offer personal options.
Personal touches can increase sales by over 20%.
When I personalize handles, I’m not just making a product—I’m creating something meaningful. Customers love knowing their handles are truly unique.
Wrapping for Safety and Style
Once the handle is done, I focus on wrapping it. Good wrapping doesn’t just look nice; it keeps the handle safe during shipping. I use strong materials to stop scratches or damage.
I also think wrapping should match the product’s quality. Fancy boxes or pretty paper make it feel extra special. It’s like the final touch on a great product. Customers notice these small details, and it makes opening the package more fun.
Fun Fact: Wrapping isn’t just for safety—it creates a great first impression. A nicely wrapped handle leaves a lasting memory for the buyer.
Stress Testing for Durability Assurance
When I finish crafting a handle, I don’t stop there. I want to make sure it can handle real-world use. That’s where stress testing comes in. This step is all about pushing the handle to its limits to ensure it’s tough enough for daily tasks.
I start by applying pressure to different parts of the handle. This helps me check if it can withstand bending or twisting without cracking. For hairbrush handles, I also test how well they hold up under repeated use. I simulate brushing motions to see if the handle stays sturdy over time. If it doesn’t pass these tests, I go back and make adjustments.
Another thing I do is test the handle’s resistance to moisture. Since many handles come into contact with water, this is crucial. I soak a sample in water for a set period and then check for swelling or warping. This ensures the handle stays in great shape, even in humid conditions.
Pro Tip: Stress testing isn’t just about durability—it’s about building trust. A handle that passes these tests gives users confidence in its quality.
Final Buffing for Flawless Appearance
The last step in my process is final buffing. This is where the handle truly shines—literally! After all the hard work, I want the handle to look and feel perfect. Buffing smooths out any tiny imperfections and gives the surface a polished, premium finish.
I use a soft cloth and a buffing wheel to gently polish the handle. For hairbrush handles, this step is especially important. A smooth, glossy finish not only looks beautiful but also feels great in your hand. I often hold the handle under different lighting to make sure it gleams from every angle.
Buffing isn’t just about looks. It also adds a protective layer to the surface, making the handle more resistant to wear and tear. I take my time with this step because it’s the final touch that brings everything together.
Fun Fact: Did you know buffing can enhance the natural patterns in the wood? It’s like revealing a hidden masterpiece within the material.
Sustainability in Handle Production

Using Eco-Friendly Timber
When picking wood for brush handles, I think about the environment. Using eco-friendly timber helps the planet and makes customers happy. Many people now want products made from sustainable materials. It’s good for business and nature.
I choose wood with certifications like FSC or PEFC. These prove the wood comes from forests that are responsibly managed. For every tree cut, another is planted. This keeps forests healthy and protects animals living there.
Why does eco-friendly timber matter?
Evidence Type | Description |
|---|---|
Certifications | FSC and PEFC ensure safe forestry and worker protection. |
Environmental Benefits | Sustainable practices replant trees and protect biodiversity. |
Consumer Demand | More people want products made from responsibly sourced wood. |
Energy Efficiency | Efficient machines save energy during wood production. |
Transportation Emissions | Local production reduces travel distances and carbon emissions. |
Choosing eco-friendly timber helps make better handles and supports the planet.
Reusing Wood Waste
Wood waste doesn’t have to be thrown away. I find ways to reuse it. Leftover shavings can be mulch for gardens or fuel for heating. Small scraps can become materials for other products.
Recycling wood waste cuts down trash and saves resources. It also costs less. Giving wood a second life feels great. It’s surprising how useful leftovers can be.
Saving Energy in Production
Making handles uses energy, but I try to use less. Energy-saving machines help a lot. They work faster and need less power, which is better for the planet and my wallet.
I also keep production near where I get the wood. This reduces transportation and lowers carbon emissions. Small changes make a big difference. Using less energy helps the planet while making great brush handles.
Pro Tip: Energy-efficient machines save money and help the environment!
Scaling Production for Premium Handles
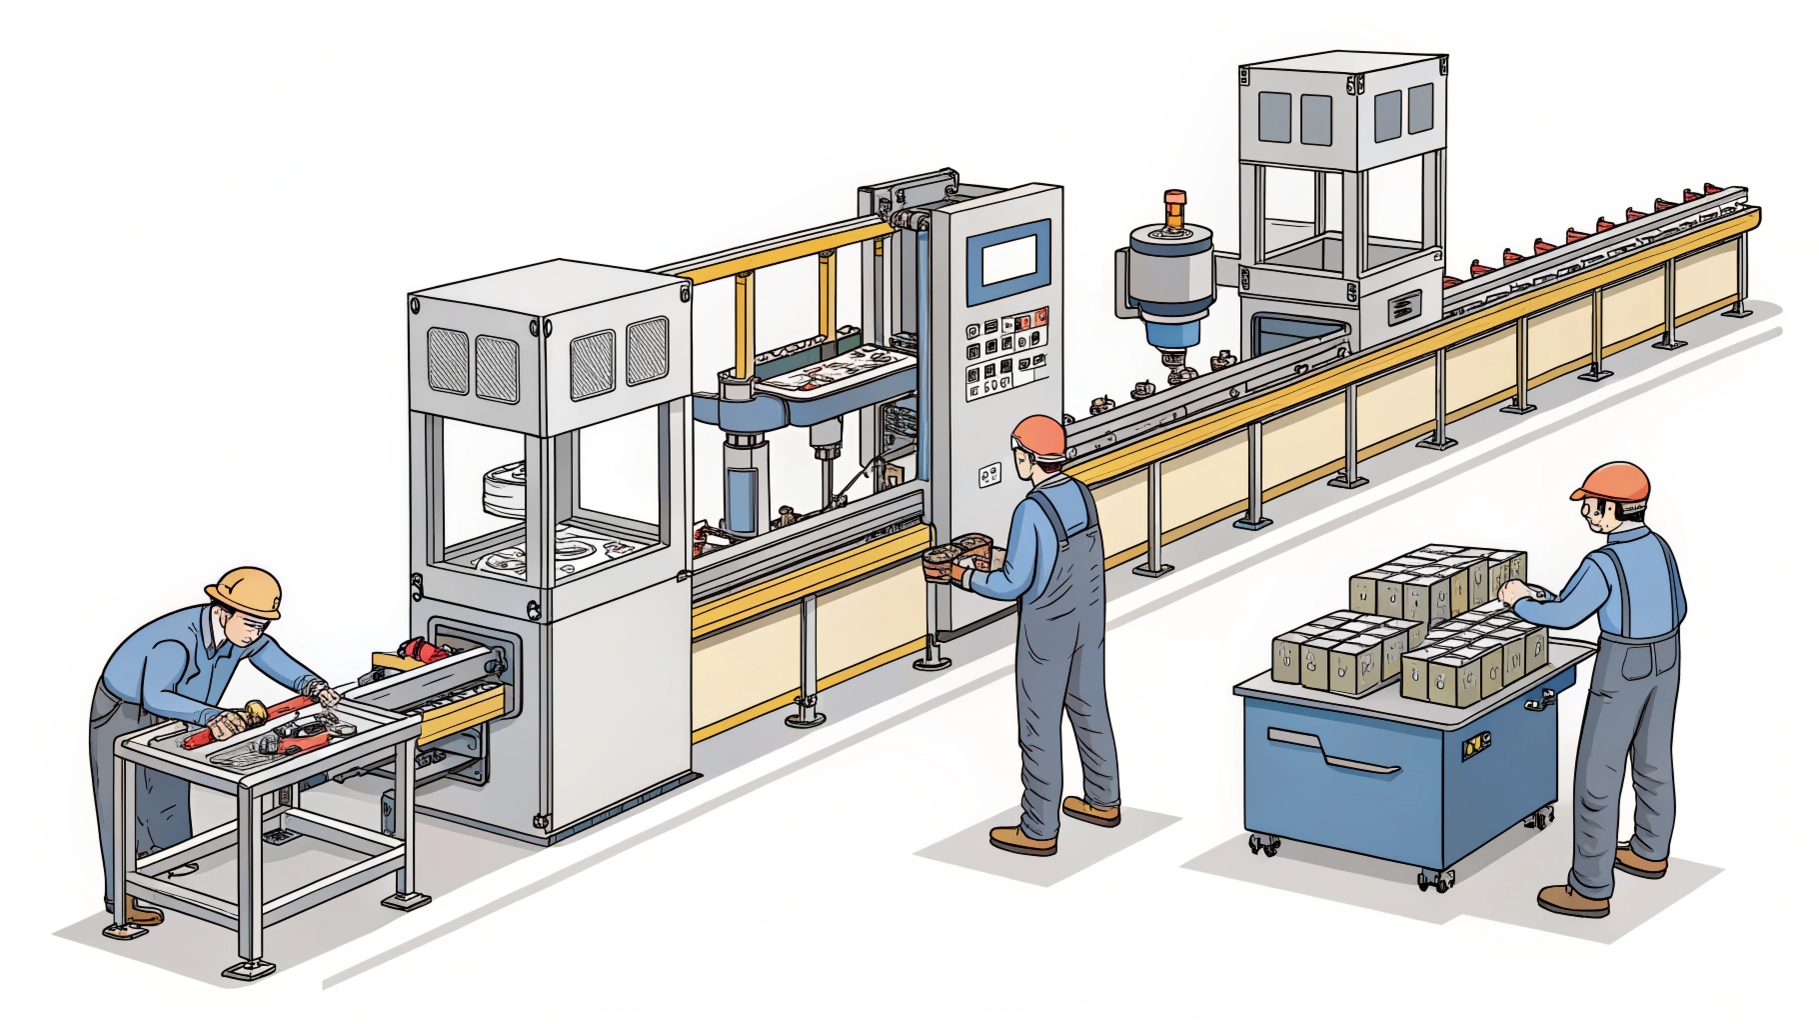
Using Machines for Consistency
When making more handles, I use machines to keep things consistent. Machines don’t get tired or make mistakes like people can. They follow instructions exactly, so every handle looks and feels the same. For example, I use sanding machines to smooth surfaces. These machines work faster than doing it by hand and make sure every handle is silky smooth.
Cutting is another step I automate. Computer-guided saws cut wood blocks to the perfect size. This saves time, reduces waste, and makes shaping easier later.
Using machines doesn’t just speed things up. It also lets me focus on creative tasks, like designing patterns or testing new materials. While machines handle boring jobs, I can work on details that make each handle special.
Pro Tip: Machines don’t lower quality—they make sure every product is top-notch.
Mixing Handcrafting with Machine Work
Making more handles isn’t just about speed—it’s about keeping them high-quality. I always mix handcrafting with machine work. Machines help with big tasks, but some steps need a personal touch. For example, I still carve fancy designs by hand for premium handles. This adds a unique feel that machines can’t copy.
I split the work into two parts. Machines do the heavy jobs, like cutting and sanding. I focus on details, like shaping and adding textures. This way, I can make lots of handles without losing the special craftsmanship.
Here’s a tip: Teamwork between machines and people works best. Machines bring precision, and skilled hands add creativity. Together, they make amazing handles that are both strong and beautiful.
Fun Fact: Mixing machines with handcrafting can cut production time by nearly 40%!
Adjusting for Custom Orders
Custom orders are fun because they let me be creative. But they also need flexible production methods. To handle these, I’ve changed my techniques to fit special requests. For example, I use tools that can quickly switch between designs. This helps me make handles with unique shapes or finishes.
I also work closely with suppliers to get the right materials on time. Whether it’s rare wood or a specific stain, good suppliers help me avoid delays.
Why are custom orders important?
They let me create unique designs, like special hairbrush shapes or packaging.
Advanced tools, like CNC machines, make custom orders easier to handle.
Customers love knowing their handles are one-of-a-kind.
Custom orders aren’t just different—they’re meaningful. By adjusting my methods, I can turn every request into something special.
Pro Tip: Offering custom options makes customers happier and more loyal.
Tools and Equipment for Precision Processing
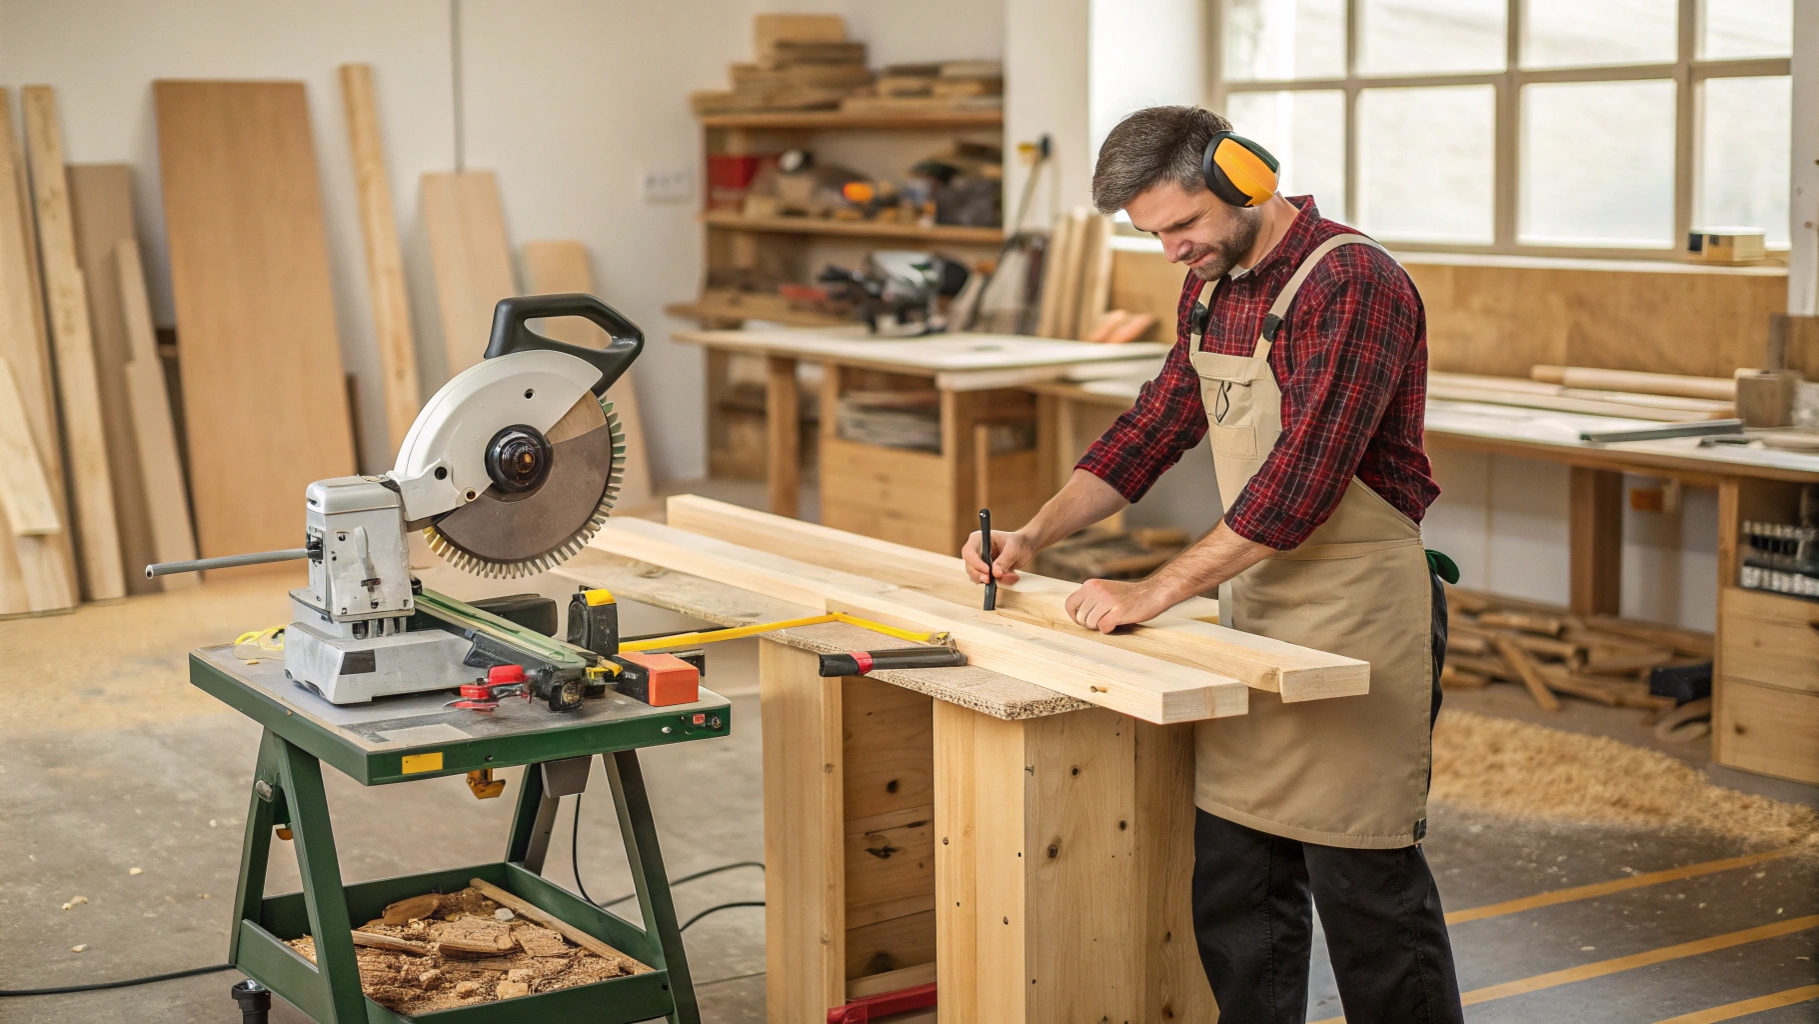
Selecting the Right Saws for Initial Cuts
When I start working with raw wood, the first tool I grab is a saw. Choosing the right saw makes all the difference. For initial cuts, I prefer a table saw or a band saw. These tools give me clean, straight cuts that set the stage for the rest of the process. A good saw doesn’t just save time—it also ensures the wood pieces are uniform, which is key for crafting a perfect handle.
I always check the blade before cutting. A sharp blade slices through wood like butter, while a dull one can leave rough edges. I also adjust the saw’s settings to match the thickness of the wood. This helps me avoid mistakes and reduces waste.
Pro Tip: Always wear safety goggles when using a saw. It’s a simple step that keeps your eyes safe from flying wood chips!
Using High-Speed Sanders for Efficiency
After cutting, the next step is sanding. This is where high-speed sanders come in handy. These machines smooth out rough surfaces quickly, saving me hours of manual work. I use a belt sander for large areas and a detail sander for tight corners.
Sanding isn’t just about making the wood look nice. It also prepares the surface for the next steps, like staining or sealing. A smooth handle feels better in your hand and looks more professional. I often test the surface by running my fingers over it. If it doesn’t feel silky smooth, I keep sanding.
Fun Fact: Did you know high-speed sanders can remove up to 90% of surface imperfections in just a few minutes?
Laser Systems for Detailed Customization
When it’s time to add intricate designs, I turn to laser systems. These machines are amazing for detailed customization. They can engrave names, logos, or patterns with pinpoint accuracy. Whether I’m working on a hairbrush or a paintbrush handle, lasers help me create something truly unique.
The best part? Laser systems are fast and eco-friendly. They don’t use chemicals or paints, which makes them a sustainable choice. Plus, the designs they create are permanent, so they won’t fade or wear off over time.
Did You Know? Laser systems can engrave designs as small as a grain of rice. That’s how precise they are!
Making high-quality brush handles isn’t just about tools or steps. It’s about mixing careful techniques with true craftsmanship. From picking the right wood to carving fine details, every step counts. These 12 methods—like sanding, shaping for grip, and laser engraving—turn plain wood into something amazing.
“Using your hands is a source of pride,” said Pierre-Alexis Dumas of Hermès. I feel the same when crafting handles. The hands-on work and skill make each handle special and elegant.
Here’s why focusing on details is important:
Handmade items feel more personal and connected to quality.
Skilled techniques keep old traditions alive and ensure excellence.
Creative designs make the product more than just a tool.
I hope this encourages you to try these methods in your own projects. You might create something truly unique!
FAQ
What type of wood works best for brush handles?
I prefer hardwoods like maple or beech. They’re durable, smooth, and look great. These woods also resist warping and cracking, which makes them perfect for long-lasting handles.
Tip: Always choose wood with a straight grain for extra strength and a polished appearance.
How do I prevent wooden handles from warping?
Controlling moisture is key. I dry the wood to 6-8% moisture content and apply a sealant to lock in its natural properties. Storing the wood flat also helps.
Fun Fact: Pre-treated wood stays straight even in humid conditions!
Can I customize brush handles at home?
Absolutely! You can use tools like sandpaper for shaping and a wood-burning pen for engraving. Adding a stain or polish gives it a professional finish.
Pro Tip: Practice on scrap wood first to perfect your technique.
Why is sanding so important?
Sanding smooths the surface, making the handle comfortable to hold. It also prepares the wood for staining or sealing, ensuring a flawless finish.
Did You Know? Sanding with finer grits creates a silky texture that feels amazing in your hand.
Are eco-friendly materials worth it?
Yes! Eco-friendly timber supports sustainable forestry and appeals to environmentally conscious buyers. It’s a win for the planet and your product’s value.
Fun Fact: Certified woods like FSC or PEFC ensure responsible sourcing and reforestation efforts.


