How to Choose the Right Replacement Wooden Handle for Your Brush?
Is your brush handle broken, loose, or just worn out? Finding the right replacement can be tricky, with different sizes, fittings, and wood types to consider. Let's simplify the choice.
Choosing the right replacement involves matching the handle's connection type (threaded, tapered) and size to your brush head, selecting the appropriate length for the task, and ensuring it's made from durable wood.
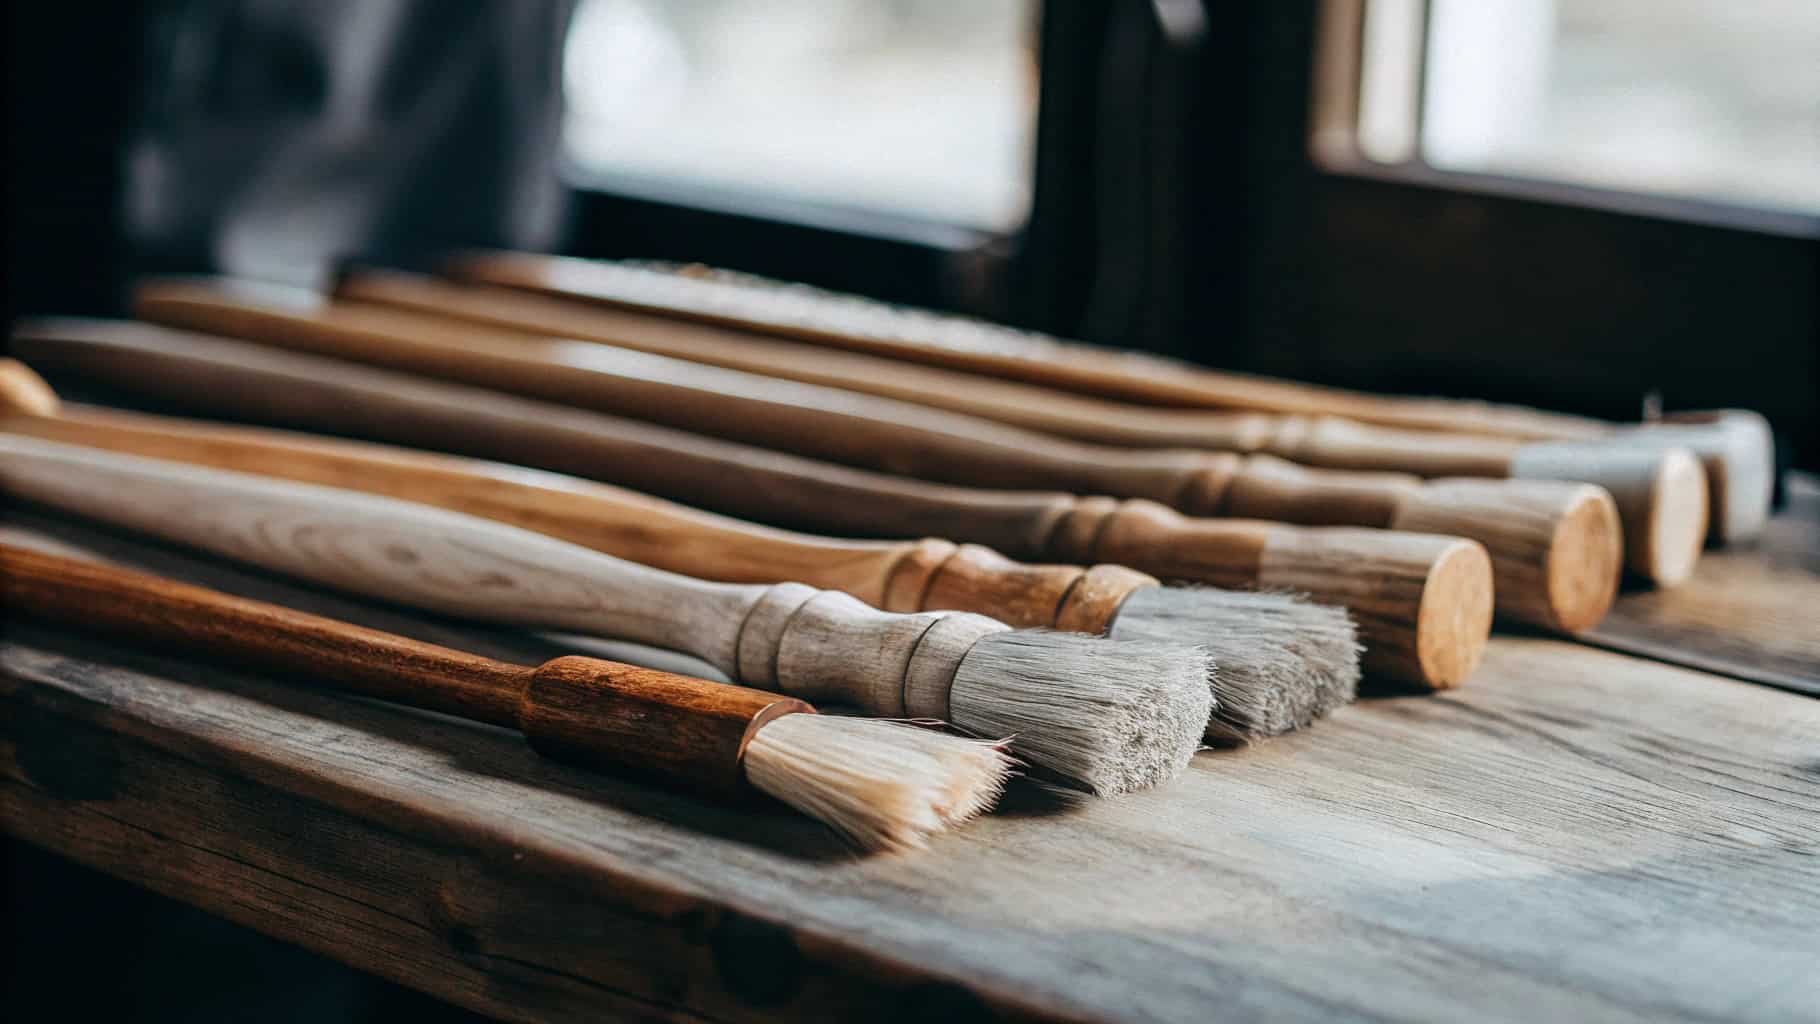
A good handle is essential for any brush, broom, or mop to function correctly and comfortably. Whether it's a household broom, a workshop scrub brush, or a specialized tool, the handle provides leverage and control. As someone who manufactures wooden components like handles at JDW, I know that fit and material quality are key. Let's look at how to select the best replacement wooden handle for your needs.
What are the Different Types of Brush Handles?
Confused by terms like threaded, tapered, or straight handles? Choosing the wrong type means it simply won't fit your brush head, wasting time and money.
Common types include threaded handles (metal or plastic tips that screw in), tapered handles (cone-shaped ends for friction fit), and straight-cut handles (requiring screws or clamps, like for paintbrushes).
Diving Deeper into Brush Handle Types
Understanding the different ways handles attach to brush heads is the first step in finding the right replacement. The connection method is critical for a secure fit.
Threaded Handles
- Description: These handles have a threaded tip, usually made of metal or hard plastic, designed to screw into a corresponding threaded socket on the brush head (broom, mop, scrub brush, paint roller frame, etc.).
- Common Sizes: Threads come in various standards. In the US, ACME threads are common for janitorial supplies. Diameter is also key (e.g., 3/4 inch). It's crucial to match the thread type and diameter.
- Pros: Easy to attach and detach tools, provides a secure connection.
- Cons: Threads can strip (especially plastic ones) or cross-thread if forced. Socket on the brush head can crack. Need exact thread match.
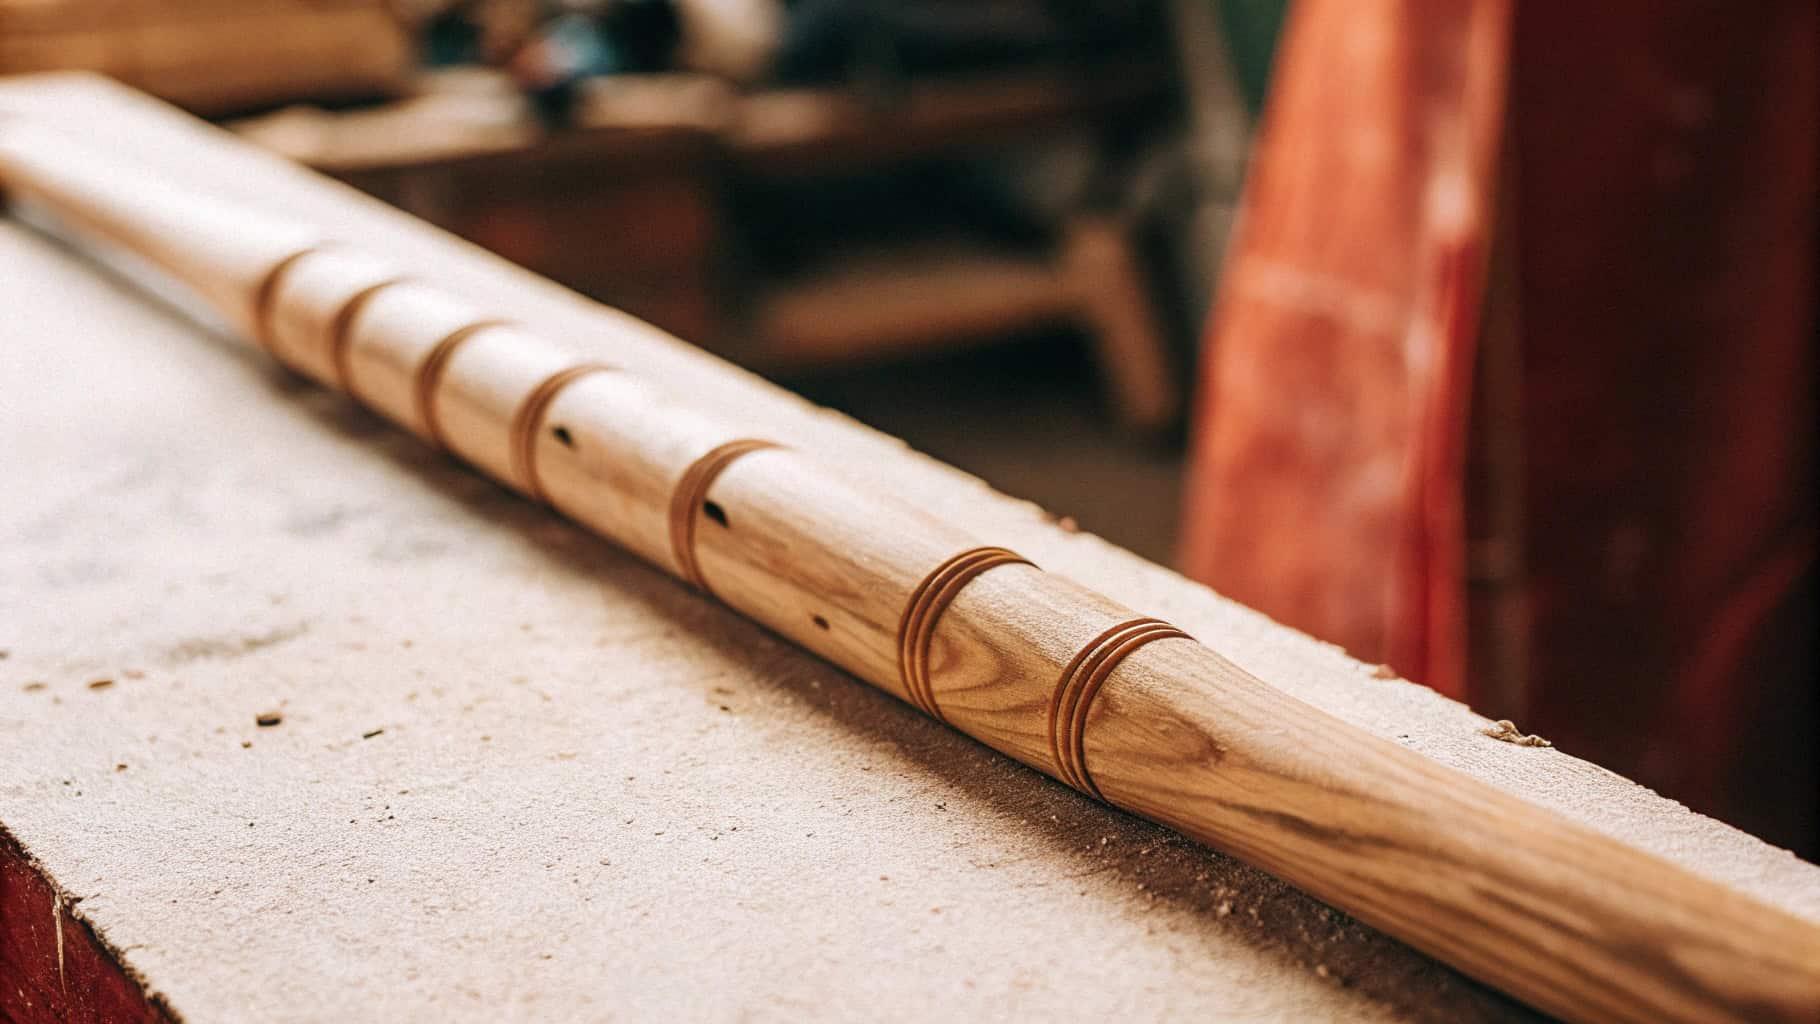
Tapered Handles (Friction Fit)
- Description: These handles have one end smoothly tapered to a smaller diameter. This tapered end is forced into a matching tapered hole (socket) in the brush head (very common for traditional brooms, push brooms, some mops, and outdoor tools). The fit relies on friction.
- Common Sizes: The diameter of the main handle shaft (e.g., 15/16", 1", 1-1/8") and the degree/length of the taper are important.
- Pros: Simple design, can provide a very tight fit if sized correctly, often more economical.
- Cons: Requires a precise match between handle taper and socket taper. Can loosen over time with wood shrinkage/swelling or heavy use. May require extra securing (screw/nail).
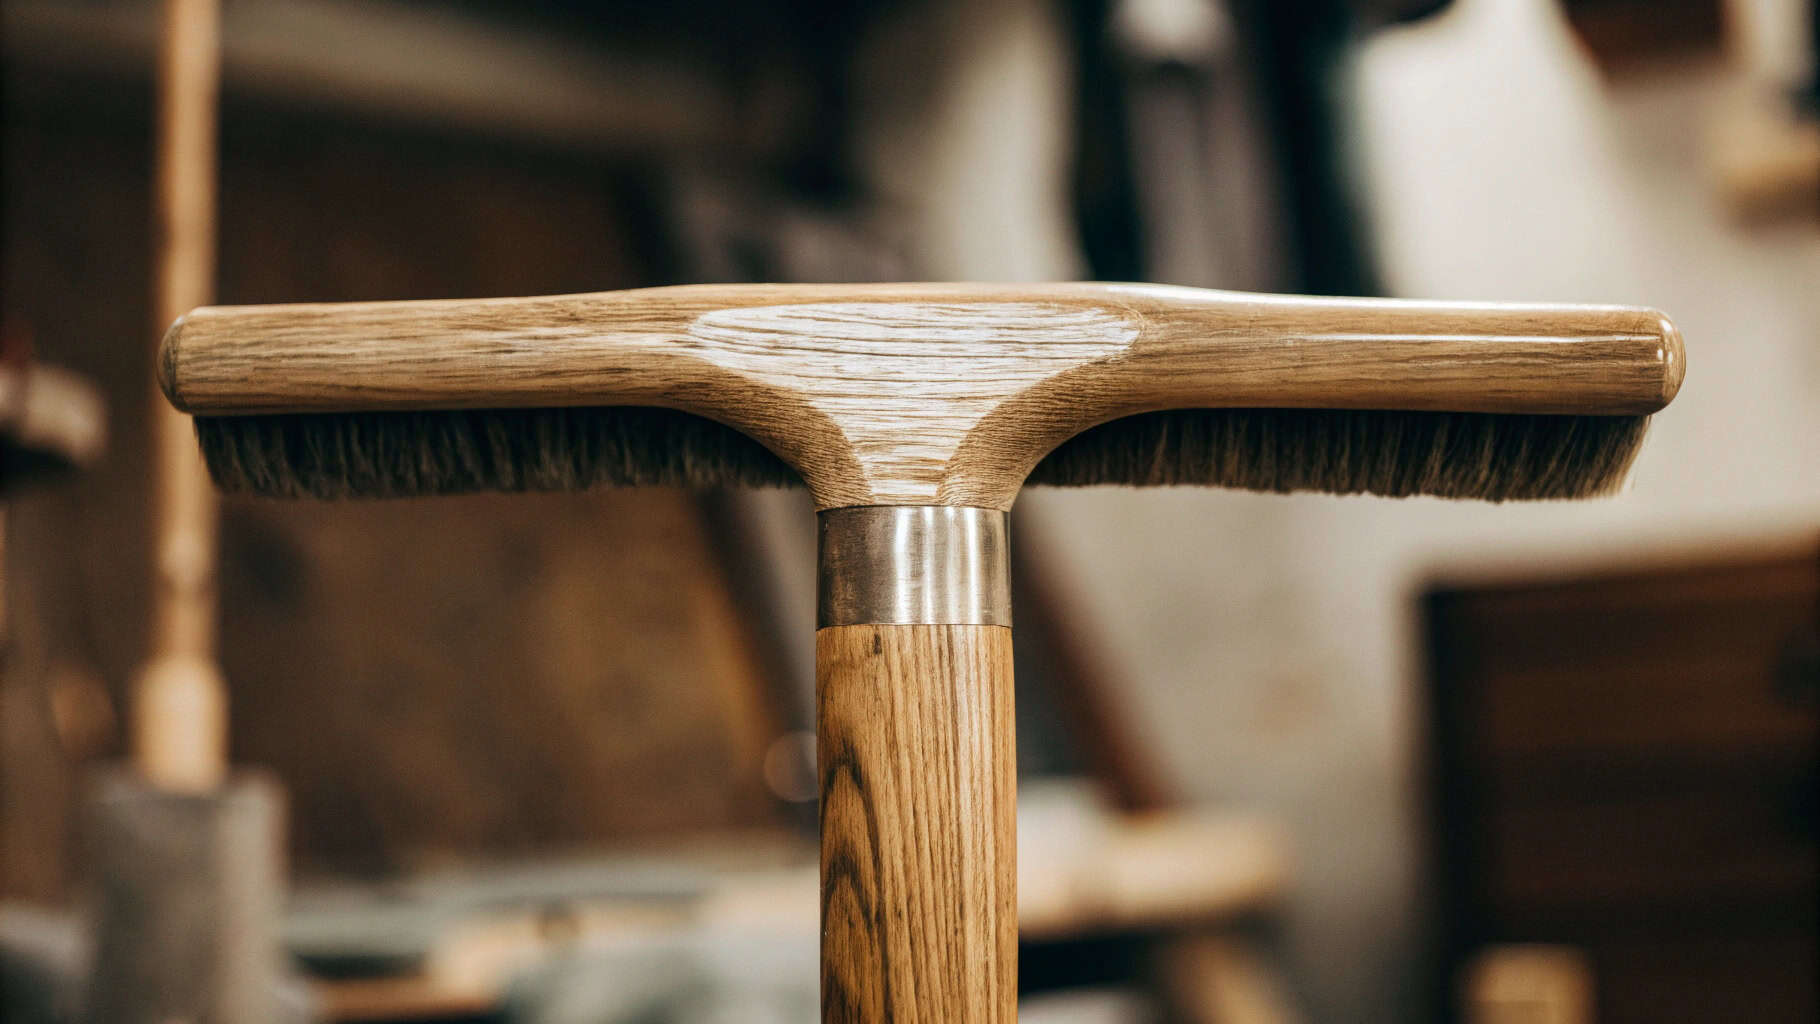
Straight-Cut Handles (Fixed)
- Description: These handles have a straight end without threads or tapers. They are designed to be inserted into a socket or ferrule on the tool head and permanently fixed, usually with screws, nails, rivets, or strong adhesives/epoxy.
- Common Uses: Paintbrushes (artist and house painting), some types of scrub brushes, wire brushes, file handles, some garden tools.
- Pros: Can provide a very strong, permanent connection. Design flexibility for the handle shape.
- Cons: Not easily replaceable. Requires tools and effort to attach securely. Diameter match is critical.
Specialized Handles
- Ergonomic Shapes: Some handles have molded grips or specific curves for comfort.
- Extension Poles: Often telescopic, made of metal or fiberglass, but sometimes wood sections are used. Used for painting, window washing, etc.
- Material Variations: While we focus on wood, handles also come in metal (aluminum, steel) and plastic/fiberglass, each with different properties (weight, durability, cost, feel). Common woods for utility handles include Pine (economical), Poplar, Beech (good value hardwood), Ash, and Hickory (strongest, for heavy-duty tools). At JDW, we often use Beech or Poplar for general handles due to their good balance of cost, strength, and smooth finish.
Handle Type Comparison
| Handle Type | Connection Method | Common Tools | Pros | Cons |
|---|---|---|---|---|
| Threaded | Screws into socket | Brooms, Mops, Rollers, Deck Scrubs | Easy on/off, Secure | Needs exact thread match, Can strip/crack |
| Tapered | Friction fit in socket | Brooms, Push Brooms, Garden Tools, Mops | Simple, Economical, Tight fit | Needs exact taper match, Can loosen, May need screw |
| Straight-Cut | Fixed with screw/nail | Paintbrushes, Scrub Brushes, Files | Strong permanent bond, Design flex | Not easily replaceable, Requires fixing |
Knowing the connection type of your existing brush head is the essential first step.
How Do You Fit a Wooden Broom Handle?
Got a new wooden handle but struggling to attach it securely to your broom head? Forcing it might break something, while a loose fit makes sweeping impossible.
For tapered handles (most common), ensure the taper matches the broom socket. If slightly large, carefully shave it. Secure by firmly tapping the broom head onto the handle. Add a screw for extra security.
Diving Deeper into Fitting Techniques
Fitting a replacement wooden handle, especially the common tapered type found on many brooms and heavy-duty brushes, requires a bit of technique to ensure a tight, secure connection that won't wobble or fall out during use.
Step 1: Remove the Old Handle Stub (If Necessary)
- Often, a piece of the old broken handle remains wedged in the socket. This must be completely removed.
- Methods:
- Drilling: Use a drill bit slightly smaller than the socket diameter to drill out the center of the stub, weakening it. Then use pliers or a chisel to break out the remaining pieces.
- Sawing: If accessible, carefully saw across the stub inside the socket, then pry out the pieces.
- Driving Out: Sometimes, tapping firmly on the stub from the opposite side (if possible) can dislodge it.
- Caution: Be careful not to damage the broom head socket itself during removal.
Step 2: Prepare the New Handle (Tapered Type)
- Check the Fit: Insert the tapered end of the new handle into the clean socket. It should fit snugly partway in.
- Assess Taper Match: Does the angle of the handle taper seem to match the angle of the socket? If the handle only goes in a tiny bit or wobbles significantly, the taper might be wrong.
- Adjust if Slightly Too Large: If the handle fits snugly but doesn't go in far enough, the taper might be slightly too large. You can carefully remove a small amount of wood using a wood rasp, file, spokeshave, or even coarse sandpaper. Work slowly, removing material evenly around the taper, and test the fit frequently. The goal is a snug fit that goes most of the way into the socket depth. Do not remove too much wood.
- If Too Small: A handle that is too small or loose is generally unusable unless you use shims, which is not ideal for a strong connection. It's better to get the correct size handle.
Step 3: Secure the Handle (Tapered Type)
- Friction Fit Method: Once the fit is snug, the traditional method is to use impact to seat the taper firmly.
- Place the handle taper loosely into the socket.
- Turn the broom upside down (bristles up).
- Firmly tap the end of the handle straight down onto a hard surface (like a concrete floor or solid workbench). Do this several times. The inertia of the heavier broom head drives it down onto the taper, creating a very tight friction fit.
- Alternative: Some people prefer to tap the broom head onto the handle using a mallet, but tapping the handle end down is often more effective.
Step 4: Add Mechanical Fastener (Recommended)
- For Extra Security: While a good friction fit can be strong, adding a small screw or nail provides extra insurance against the head loosening, especially with heavy use or changes in humidity affecting the wood.
- Method: Drill a small pilot hole through the side of the broom head socket and into the wooden handle taper. Then, drive in an appropriate-sized screw (or nail). This mechanically locks the handle in place.
Fitting Threaded Handles
This is much simpler: ensure the threads match, then simply screw the handle firmly into the brush head socket until tight. Avoid over-tightening, especially with plastic threads/sockets.
Proper fitting ensures your brush or broom is safe and effective to use. Taking the time to get a snug fit, especially with tapered handles, makes a big difference.
How Long is a Standard Brush Handle?
Buying a replacement handle online but unsure which length is "standard"? Choosing a handle that's too short or too long can lead to discomfort and inefficiency during use.
"Standard" varies by tool, but common lengths for brooms/mops are 48", 54", or 60". Hand brushes are much shorter. There isn't one single standard; length depends on the intended use.

Diving Deeper into Handle Lengths
The term "standard handle length" can be misleading because the optimal length depends heavily on the type of brush or tool and how it's used. There are common lengths for specific categories, however.
Long Handles (Brooms, Mops, etc.)
These are designed for tasks performed while standing, allowing the user to maintain an upright posture and cover larger areas.
- Common Lengths:
- 48 inches (4 feet / ~122 cm): A common length for household brooms and mops. Can feel short for taller individuals.
- 54 inches (4.5 feet / ~137 cm): Offers a bit more reach, comfortable for average-height users.
- 60 inches (5 feet / ~152 cm): Often considered the standard for commercial/janitorial brooms, push brooms, deck scrubs, and floor squeegees. Provides good reach and leverage for most adults.
- Factors Influencing Choice:
- User Height: Taller individuals generally prefer longer handles (54" or 60") for better ergonomics.
- Task: Push brooms or deck scrubs often benefit from longer handles for leverage.
- Storage Space: Longer handles require more vertical storage space.
Short Handles (Handheld Brushes)
These are designed for tasks requiring close control and manual dexterity.
- Common Lengths: Typically range from 6 inches to about 18 inches (~15 cm to ~45 cm).
- Examples:
- Scrub Brushes: Usually 6-10 inches long.
- Dustpan Brushes: Often 8-12 inches.
- Vegetable Brushes: Very short, around 4-6 inches.
- Paintbrushes (House/Artist): Vary greatly but fall into the shorter range compared to brooms. File handles are also short.
- Factors Influencing Choice: The specific task dictates the need for close control versus reach.
Intermediate and Specialized Lengths
- Garden Tools: Hoes, rakes often use handles similar in length to brooms (e.g., 54-60 inches). Shovels and spades have shorter, thicker handles often with D-grips.
- Extension Poles: Used for painting, window cleaning, etc. These are often adjustable/telescopic, ranging from a few feet to over 20 feet when extended.
Measuring for Replacement
If replacing an existing handle, the easiest way to determine the right length is to measure the old one (if possible). If buying new or the old one is missing, consider the primary user's height and the intended task. For general purpose brooms/mops, 54" or 60" are often safe bets for average adult users.
Typical Handle Length Guide
| Brush/Tool Type | Typical Length Range (Inches) | Primary Use Factor |
|---|---|---|
| Household Broom/Mop | 48" - 54" | General Cleaning |
| Commercial Broom/Mop | 54" - 60" | Janitorial Use |
| Push Broom/Deck Scrub | 60" | Heavy Duty/Leverage |
| Hatchet/Small Axe | 12" - 18" | Handheld Chopping |
| Felling Axe | 28" - 36" | Standing Use/Power |
| Hand Scrub Brush | 6" - 10" | Close Control |
| Dustpan Brush | 8" - 12" | Handheld Sweeping |
Always check the product description for the exact length when purchasing a replacement handle.
What is a Short Handle vs Long Handle Brush?
Deciding between a short or long handle for a cleaning task? Using the wrong length can make the job awkward, inefficient, and put unnecessary strain on your body.
Short handles (under ~18") offer close control for handheld tasks like scrubbing. Long handles (48"+) provide reach and leverage for standing tasks like sweeping or mopping, promoting better posture.

Diving Deeper into Short vs. Long Handles
The fundamental difference between short and long handle brushes lies in their intended use and the ergonomics they offer. Choosing the right one depends entirely on the task at hand.
Short Handle Brushes
- Definition: Generally designed to be held directly in the hand, typically less than 18 inches long.
- Characteristics:
- Direct Control: Allows for precise movements and application of pressure directly where needed.
- Close Proximity: Requires the user to be close to the surface being worked on.
- Portability: Small and easy to store or carry.
- Common Examples:
- Hand Scrub Brushes: For cleaning sinks, tubs, tires, grout lines.
- Dustpan Brushes: For sweeping small piles into a dustpan.
- Vegetable Brushes: For cleaning produce.
- Detail Brushes: For cleaning intricate items or applying substances precisely (glue, paint).
- Shoe Brushes: For polishing or cleaning footwear.
- Advantages: Excellent control, good for detailed or forceful scrubbing in confined areas.
- Disadvantages: Limited reach, often requires bending, kneeling, or awkward postures for floor-level or hard-to-reach tasks.
Long Handle Brushes
- Definition: Designed to be used while standing, typically 48 inches (4 feet) or longer.
- Characteristics:
- Extended Reach: Allows cleaning floors, ceilings, or distant surfaces without excessive bending or stretching.
- Leverage: The long handle provides leverage for tasks like scrubbing decks or pushing heavy debris with a broom.
- Upright Posture: Promotes better ergonomics, reducing strain on the back and knees during extended use.
- Common Examples:
- Brooms (Push Brooms, Angle Brooms): For sweeping floors and large areas.
- Mops (Wet Mops, Dust Mops): For washing or dusting floors.
- Deck Scrubs: For heavy-duty floor scrubbing.
- Floor Squeegees: For removing water from floors.
- Long-Reach Dusters: For cleaning ceilings, fans, high shelves.
- Paint Rollers (with extension poles): For painting walls and ceilings.
- Advantages: Saves back and knees, efficient for large areas, provides leverage.
- Disadvantages: Less precise control than short handles, can be cumbersome in tight spaces, requires more storage.
Choosing Based on Task
| Task Characteristic | Best Handle Type | Why? |
|---|---|---|
| Large Floor Area | Long | Reach, Efficiency, Ergonomics |
| Detailed Scrubbing | Short | Control, Pressure Application |
| Ceiling/High Reach | Long / Extension | Reach |
| Working in Tight Space | Short | Maneuverability |
| Applying Force (Floor) | Long | Leverage |
| Working at Bench Height | Short | Control, Proximity |
Understanding the ergonomic and functional differences between short and long handles ensures you select the most appropriate tool for comfort and efficiency. This principle applies whether choosing a finished brush or specifying handle components like those JDW manufactures.
Conclusion
Choose replacement brush handles by matching the connection type (threaded/tapered), selecting the right length for the task (short for control, long for reach), and ensuring quality wood construction.
About Me (Darin Zhang)
I'm Darin Zhang, founder of JDW. With over 10 years in wood product manufacturing, I started on the factory floor and eventually built my own company. My brand's slogan is "Professional Wooden Product Manufacturer For Your Custom Wooden Product," and you can find us at https://woodenbrushhandle.com/. We manufacture a wide variety of wooden handles to meet diverse needs.
My journey in this industry brought me financial independence and allowed me to help many clients grow their businesses. Now, through JDW, I aim to share knowledge about wood products and manufacturing. Our mission is to make this expertise accessible to everyone, from beginners to professionals. I'm grateful for what the industry has given me, and I want to give back by helping others succeed in the field.
Understanding the Designer's Perspective (Jacky)
To better understand the challenges faced by those specifying and buying handles, let's consider someone like Jacky.
Jacky is a 35-year-old Wood Product Designer in Canada with a decade of experience. Working for a mid-sized furniture manufacturer, he focuses on high-quality furniture and custom wood components. His role involves ensuring that designs meet both aesthetic and functional requirements while being optimized for efficient production and craftsmanship.
While Jacky designs furniture, understanding the functional aspects of different handle types and lengths (like brush handles) informs his broader design thinking. Concepts like matching connection types (similar to hardware fittings), choosing appropriate lengths for ergonomics and reach (relevant for cabinet pulls or furniture legs), and selecting materials for specific functions are universal design principles. Knowing the standards and variations in components like handles helps designers like Jacky communicate effectively with manufacturers like JDW when specifying custom parts for their own unique products.