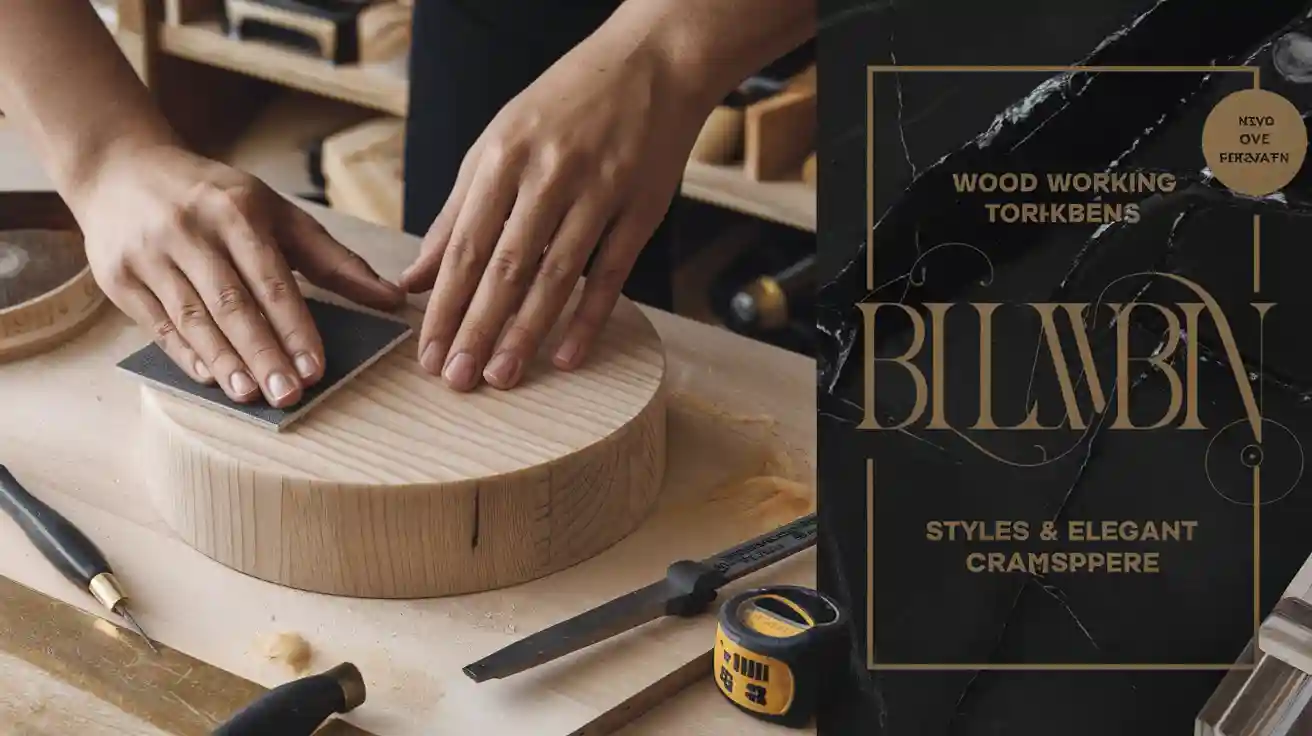
Round wooden blocks are small, round pieces of wood. They are used for crafts, toys, and home decorations. Their smooth feel and classic look make them useful and pretty. You can turn them into fun toys or beautiful decorations. Making your own wooden blocks lets you be creative and enjoy a fun project.
Key Takeaways
Choose the right wood for your blocks. Pine is great for beginners due to its softness and ease of use.
Use non-toxic finishes certified for child safety. Always check labels to ensure your blocks are safe for kids.
Follow a simple five-step process: select wood, cut shapes, sand surfaces, apply finishes, and personalize with designs.
Essential Tools & Materials Breakdown
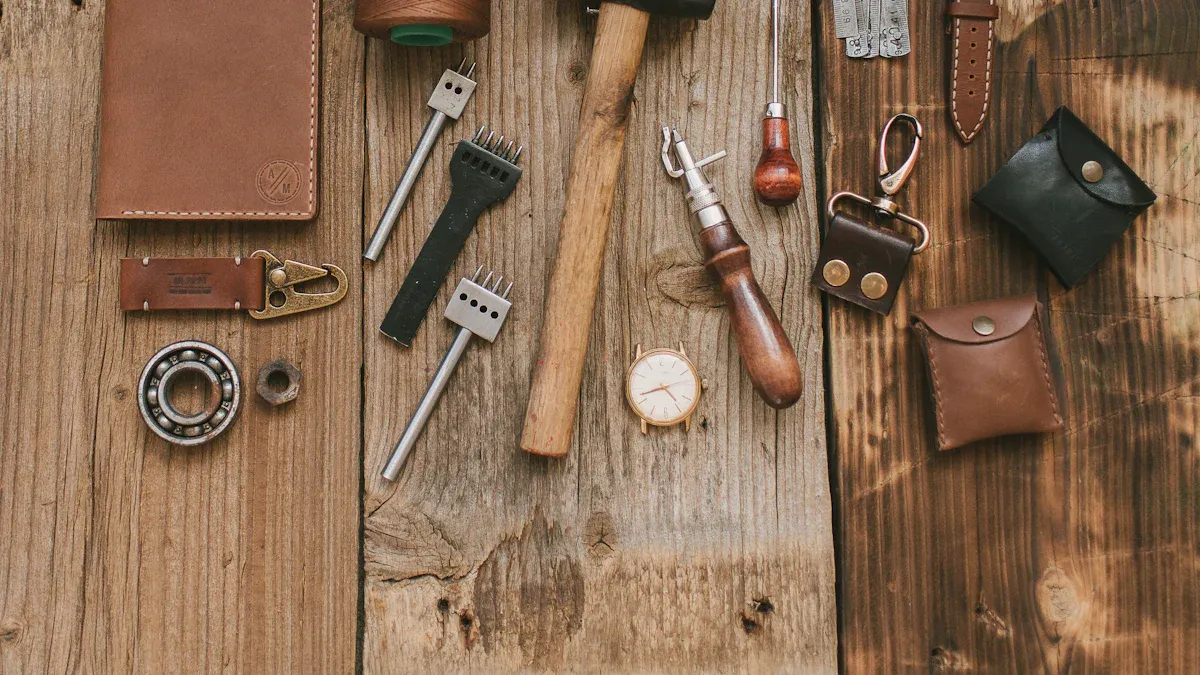
10 Budget-Friendly Tools Under $150 (Starter Kit)
You don’t need pricey tools to start crafting. A starter kit under $150 works great for beginners. Here are ten tools you’ll need:
Hand Saw: Cuts wood into smaller pieces easily.
Clamps: Keeps wood steady while you work on it.
Sandpaper (Various Grits): Makes wood smooth for a clean finish.
Measuring Tape: Helps you measure wood accurately.
Wood Glue: Sticks wooden pieces together firmly.
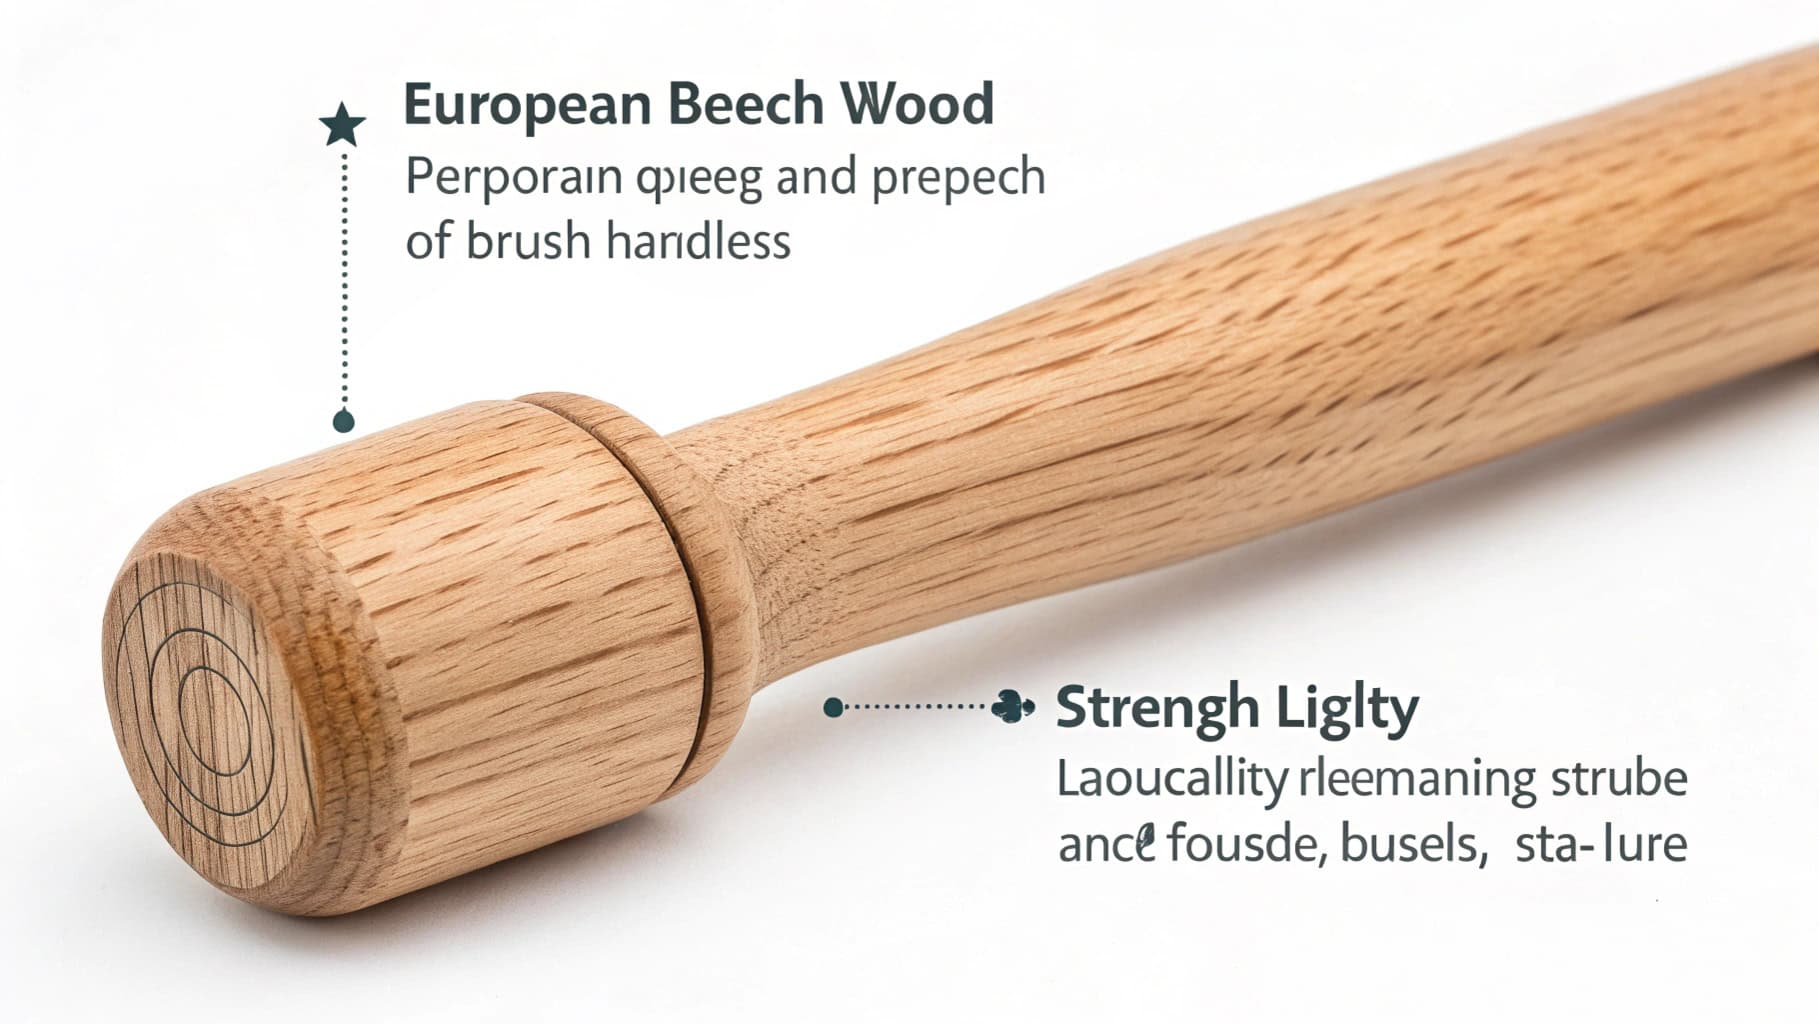
Chisels: Shapes and adds details to your wood.
Mallet: Helps chisels carve with control.
Safety Goggles: Shields your eyes from wood dust.
Dust Mask: Stops you from breathing in tiny particles.
Paintbrushes: Spreads finishes evenly on the wood.
These tools are cheap and easy to use, perfect for starters.
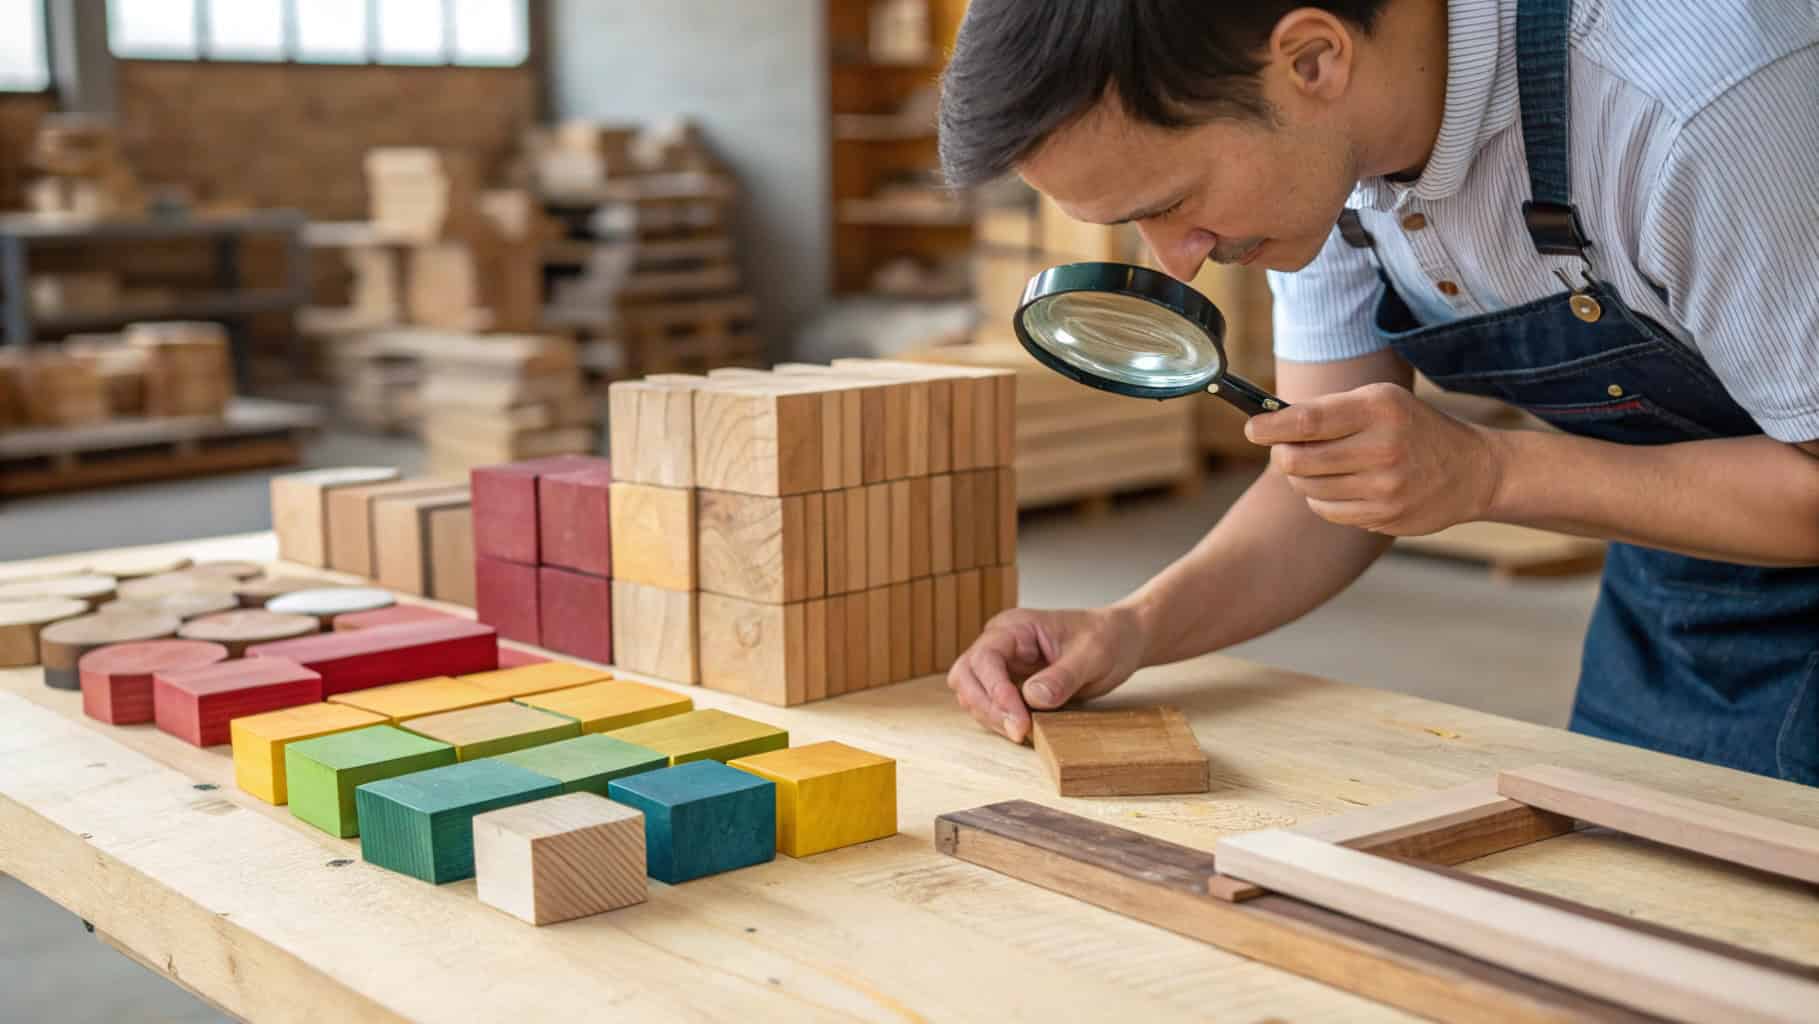
Wood Hardness Chart: Pine vs. Oak vs. Bamboo
Picking the right wood makes your blocks last longer. Here’s a simple chart comparing three common types:
Wood Type | Hardness (Janka Scale) | Best Use |
|---|---|---|
Pine | 380 | Light toys and decorations |
Oak | 1,290 | Strong blocks and furniture |
Bamboo | 1,410 | Green, tough, and stylish projects |
Pine is soft and simple to work with, great for beginners. Oak is sturdy, and bamboo is strong and eco-friendly.
Non-Toxic Finishes Certified for Child Safety (ASTM/EN71 Guide)
Safety matters when making blocks for kids or decor. Non-toxic finishes keep your blocks safe for children. Look for ASTM or EN71-certified finishes. Popular choices include:
Food-Safe Oils: Like beeswax or mineral oil for a natural look.
Water-Based Polyurethane: Adds a clear, tough coating.
Shellac: Made from natural resins, safe and simple to use.
These finishes protect wood and are safe for kids. Always check labels for safety certifications before using them.
Foolproof 5-Step Production Process
Step 1: Wood Selection Hacks – Avoid Cracks & Warping
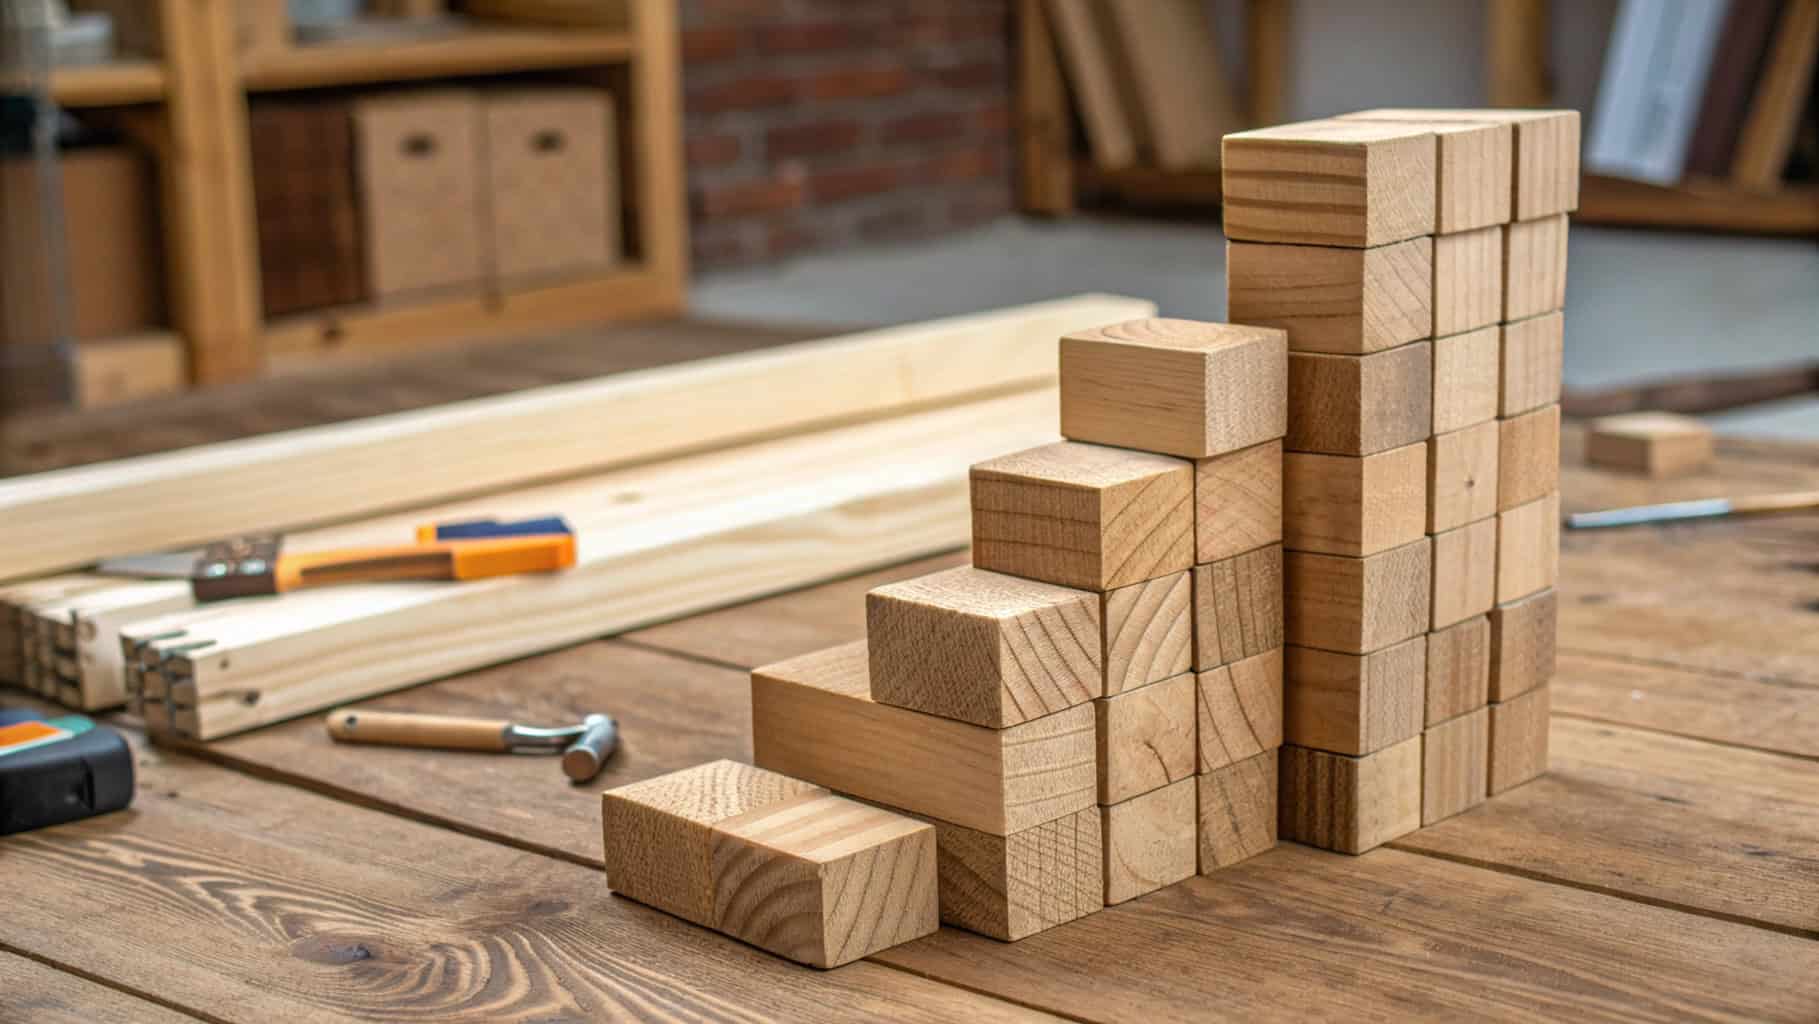
Choosing the right wood is the first step to crafting durable blocks. Always inspect the grain pattern. Straight grains reduce the risk of cracks. Avoid wood with knots or uneven textures. These flaws can weaken your blocks over time. If you live in a humid area, pick kiln-dried wood. It resists warping better than air-dried options. Pine is a great choice for beginners. It’s soft and easy to work with. For tougher projects, oak or bamboo works well.
Step 2: Lathe-Free Cutting – 3 Handheld Tools for Perfect Circles
You don’t need a lathe to cut pieces into perfect circles. A coping saw is a simple tool for small, precise cuts. A jigsaw works faster for larger circles. For the cleanest edges, try a hole saw attachment on a drill. Always secure the wood with clamps before cutting. This keeps your hands safe and ensures accuracy.
Step 3: Sanding Secrets – Mirror Finish in 15 Minutes
Sanding makes your blocks smooth and safe to handle. Start with coarse sandpaper (80 grit) to remove rough edges. Gradually switch to finer grits, like 220, for a polished finish. Use a sanding block for even pressure. Wipe the surface with a damp cloth between grits to remove dust. In just 15 minutes, you’ll have a mirror-like finish.
Step 4: Food-Safe Oils vs. Epoxy – Durability Test Results
Finishing your blocks protects them from wear and tear. Food-safe oils, like mineral oil, are easy to apply and safe for kids. They give a natural look but need reapplication over time. Epoxy creates a glossy, durable coating. It’s water-resistant and lasts longer. Choose the finish based on how you plan to use your blocks.
Step 5: Laser-Engraved Customization – AR Template Library
Personalizing your blocks adds a unique touch. Laser engraving is a precise way to add designs or text. You can use an augmented reality (AR) template library to preview designs before engraving. This tool helps you align patterns perfectly. Engraved blocks make great gifts or decorative pieces.
Safety & Compliance Bible
OSHA-Approved Workshop Setup Checklist
A safe workspace is important for woodworking projects. Following OSHA rules lowers risks and meets safety standards. Here’s what to include in your workshop:
Keep tools and machines in good condition.
Wear safety gear like goggles and gloves while working.
Use air filters or vents to control dust and pollution.
Have first aid kits, fire extinguishers, and washing stations nearby.
Follow lockout/tagout steps when fixing machines with dangerous energy.
Secure heavy machines to stop them from tipping over.
These tips make your workshop safer and prevent accidents.
CPSIA Lead Testing – Home Lab $50 Hack
If you make wooden blocks for kids, they must be lead-free. CPSIA rules say toys need to meet strict lead limits. You can test for lead at home with a $50 kit. The kit comes with swabs that check for lead on surfaces. Rub the swab on the block and watch for color changes. This easy test makes sure your blocks are safe for children.
Ventilation Systems – DIY Air Filtration Blueprint
Woodworking creates dust that can harm your lungs. Good dust control keeps you healthy and follows safety rules. Make a DIY air filter with a box fan and HEPA filter. Tape the filter to the fan’s intake side. Put it near your work area to catch dust in the air. This simple setup improves air quality and protects your health.
Tip: Wear a dust mask when sanding or cutting for extra safety.
Pro Customization Techniques
Geometric Patterns – CNC vs. Hand-Carving Time Comparison
Adding shapes to wooden blocks makes them look better. You can use CNC machines or carve by hand. CNC machines are fast and very accurate. They can make detailed designs in just a few minutes. Hand-carving takes longer but adds a personal, artistic touch. Each block will feel special and unique.
Here’s a simple comparison:
Method | Time Needed | Best For |
|---|---|---|
CNC Machines | 5-10 minutes | Fast, detailed, and bulk designs |
Hand-Carving | 20-30 minutes | Artistic, custom, and unique pieces |
Pick the method that fits your project’s size and style.
Eco-Staining with Coffee/Turmeric – Free Color Swatch Book
Eco-staining is a safe way to color your blocks. Coffee gives soft brown shades, and turmeric makes bright yellows. Brew strong coffee or mix turmeric with water. Use a brush to apply the liquid and let it dry. Add more layers for darker colors.
This method is natural and great for toys or decor. Try different mixes to create new shades. Keep a swatch book to save your color ideas for later.
Tip: Use a non-toxic finish to protect the colors on your blocks.
Magnetic Layer Integration – STEM Toy Upgrade Guide
Magnets can turn blocks into fun learning toys. Drill small holes in the blocks and insert magnets. Cover the magnets with wood filler to hide them. These blocks can teach kids about magnets and building skills.
Magnetic blocks are strong and useful. Kids can build structures or moving designs with them. This upgrade makes your blocks both fun and educational.
Note: Make sure magnets are secure to keep them safe for kids.
Monetization & Scaling Strategies
Etsy Success Tips – Eye-Catching Block Designs
Making wooden blocks look great helps them sell on Etsy. Buyers often pick items based on photos. Smooth finishes and bright colors make blocks stand out. Use natural light to show off the wood’s texture and grain. Try eco-friendly stains like coffee or turmeric for unique shades.
Arrange blocks in fun ways for photos. Stack them, scatter them, or show them as toys or decor. Use a plain background to keep attention on your blocks. Simple editing tools can brighten and sharpen images. Good pictures can turn your blocks into top sellers.
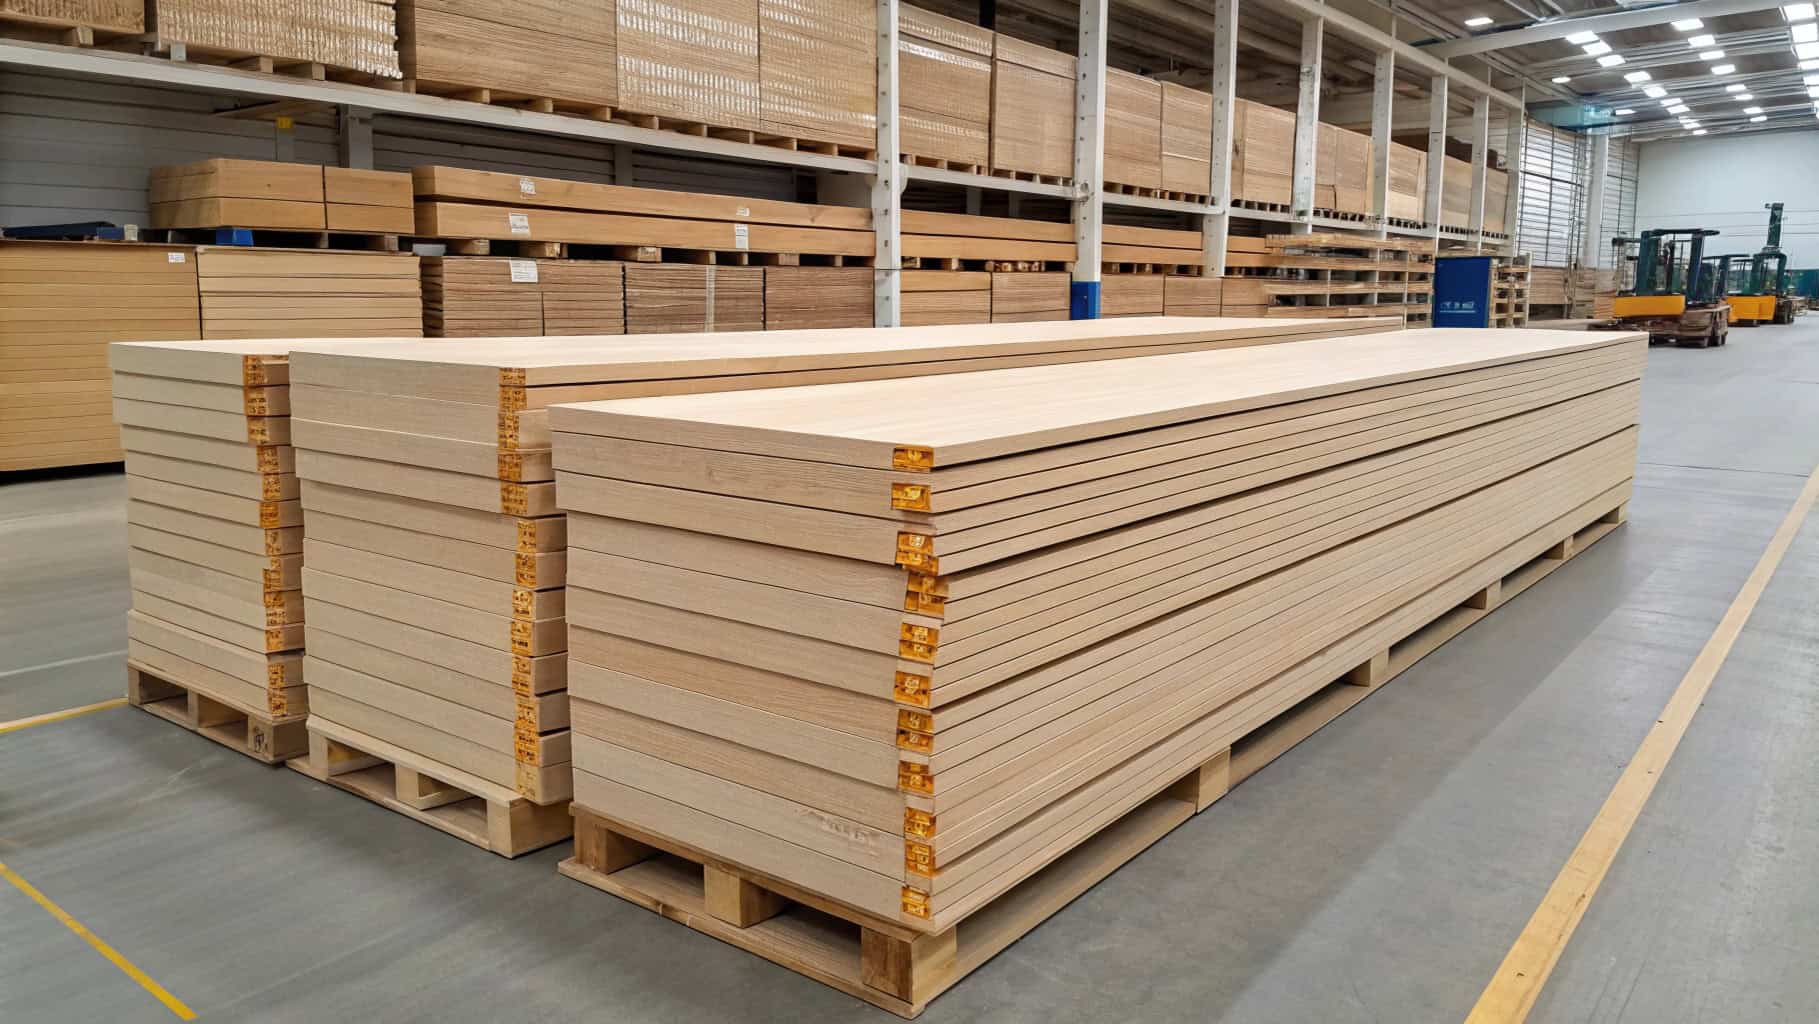
Bulk Cutting Plans – Reduce Wood Waste by 30%
Making lots of blocks needs smart planning. Bulk cutting templates let you cut many blocks from one piece of wood. This saves up to 30% of material. Create layouts that use wood efficiently. Tools like CNC machines or hole saws cut shapes quickly and neatly.
Save leftover wood for small projects or practice pieces. This method saves money and helps the environment. Using wood wisely gives you more value from each piece.
Eco-Friendly Certification – LEED/FSC Approval Steps
Big buyers often want eco-friendly products with certifications like LEED or FSC. These prove your blocks meet green standards. To get certified, buy wood from suppliers who use sustainable methods. Keep track of where your wood comes from and how you make your blocks.
Certifications can help you reach bigger markets and partnerships. They also make your brand trustworthy to buyers who care about the planet.
Disaster Prevention & Fixes

Quick Fix for Splintered Edges (No Sanding Needed)
Splintered edges can make blocks unsafe, especially for kids. Fix them fast without sanding. Add a little wood glue to the splintered spot. Spread the glue evenly with a toothpick or small brush. Push the splintered pieces back into place. Hold them steady with tape or a clamp for five minutes. Once dry, the edge will feel smooth and safe. This quick fix is great for small damage and saves time.
Cracks from Humidity – Easy Repair Steps
Humidity can crack wooden blocks, especially in changing weather. To fix cracks, mix wood glue with sawdust or use wood filler. Press the mixture into the crack with a putty knife. Make sure the gap is completely filled. Let it dry for at least an hour. After drying, sand the area lightly to smooth it out. Store blocks in a dry place to avoid future cracks. These steps keep your blocks strong and long-lasting.
Bubbles in Coating – Simple Microwave Fix
Bubbles in the coating can ruin how blocks look. A microwave vacuum chamber can fix this fast. Put the coated block inside and run it for a few minutes. The vacuum pulls out trapped air, removing bubbles. No vacuum chamber? Use a heat gun to warm the surface gently. This pops the bubbles and smooths the finish. Always work in a space with good airflow to stay safe.
Note: Natural disasters like hurricanes or wildfires can harm your workshop. In 2017, hurricanes caused over $200 billion in damages. Protect your tools and materials by storing them in safe spots.
Advanced Engineering Insights
Moisture Content Calculator – Kiln vs. Air-Drying Data
Knowing how much moisture wood has is important. If wood is too wet or dry, it can crack or bend. Two ways to dry wood are kiln drying and air drying.
Kiln drying is quick and lowers moisture to 6%–9%. This is great for indoor items like toys or furniture. Air drying takes longer and leaves wood with 15%–20% moisture. It depends on the weather, so it’s less reliable.
Here’s a simple chart:
Drying Method | Moisture Content Range |
|---|---|
Air Drying | 15% - 20% |
Kiln Drying | 6% - 9% |
Air-dried wood dries naturally, so it swells less in moisture. But kiln drying gives steady results, which is better for exact projects.
Resin-Infused Crack Repair – Lab-Tested Strength Gains
Cracks make wooden blocks weaker. Filling cracks with resin can fix this. Resin makes the block strong and durable again. Tests show resin-filled wood holds up better than untreated wood.
To fix cracks, pour resin into the damaged spot. Let it harden completely. The resin sticks to the wood fibers, making a smooth and strong repair. This method also stops future cracks. Resin-filled blocks work well for toys or decorations that get used a lot.
Thermal Expansion Coefficients – Climate-Proof Design
Wood changes size with heat and cold. Knowing how much wood expands helps you make sturdy blocks. Different woods react differently to temperature. Bamboo expands less than pine, so it’s better for changing climates.
Pick wood with low expansion rates for extreme weather. Adding a protective finish also helps. This keeps your blocks strong and in shape, no matter the weather.
Tip: Check your workshop’s humidity to stop wood from moving while you work.
Global Market Compliance

EU EN71-3 Chemical Limits – 2025 Update
To sell wooden blocks in the European Union, you must follow EN71-3 safety rules. These rules make sure toys are safe for kids. The 2025 update has stricter limits on harmful chemicals like phenol and bisphenol A. These substances can leak from materials and harm health.
Here’s a simple summary of the new rules:
Standard | Description |
|---|---|
EN 71-18:2024 | Toy Safety – Phenol in water-based and plastic materials |
EN 71-19:2024 | Toy Safety – Bisphenol A migration from toy materials |
EN 71-3:2019+A2:2024 | Migration of 19 elements under EU Toy Safety Directive 2009/48/EC |
Following these rules ensures safety and allows access to the EU market. The European Union Deforestation-free Regulation (EUDR) also requires using sustainable wood. Meeting these rules makes your products more trusted and popular.
California Prop 65 Warning Label Generator Tool
If you sell wooden blocks in California, you must follow Proposition 65. This law requires warnings about harmful chemicals in products. Use a Prop 65 label generator to create correct labels for your materials.
Tip: Check your materials for chemicals listed under Prop 65. This ensures your labels are correct and meet legal rules.
Clear labels help you follow the law and build customer trust. Shoppers value honesty, especially about safety.
Amazon FBA Packaging – Humidity Control Hacks
Selling wooden blocks on Amazon FBA needs good packaging. Humidity can damage wood during shipping or storage. Use vacuum-sealed bags or silica gel packets to keep moisture away. These materials protect your blocks from damage.
Pro Tip: Store blocks in a climate-controlled space before shipping. This helps prevent cracks or warping.
Amazon also requires strong, eco-friendly packaging. Following these rules keeps your products safe and improves your seller rating.
Free Resources & Tools
Download: CNC Cutting Templates (DWG Files)
Save time by using CNC cutting templates in DWG format. These templates help you make accurate and uniform wooden block designs. From simple shapes to detailed patterns, they make crafting easier.
To use, upload the DWG file to your CNC software. Adjust the size for your project, and let the machine cut it for you. This tool is great for both beginners and experts.
Tip: Search online or join woodworking groups for free DWG files. Many creators share their work at no cost!
7-Day Workshop Safety Audit PDF Checklist
Keep your workshop safe with this free safety checklist. The PDF guides you through a week of workspace checks. Each day focuses on a key area like tools, air quality, or safety gear.
Here’s a quick look at the checklist:
Day 1: Check tools for damage or wear.
Day 2: Make sure ventilation works well.
Day 3: Sort and label dangerous materials.
Print the checklist and use it to keep your workshop safe. Follow it to meet safety rules and avoid accidents.
🛠️ Pro Tip: Do this safety check every six months to stay safe.
Live Demo: AR-Assisted Woodburning Tutorial ▶️
Learn to create amazing designs on wooden blocks with this demo. It shows how to use augmented reality (AR) to guide your woodburning projects. AR displays a digital design on your block, helping you trace it perfectly.
You’ll need a woodburning tool and a device with AR features. Follow the demo steps to make professional-looking engravings.
Note: This method is great for making gifts or unique decorations.
Watch the demo now and improve your woodburning skills!
Trend Forecast & Innovations

NASA-Inspired Vacuum-Stable Coatings
NASA’s work in materials has led to tough coatings. These vacuum-stable coatings protect wooden blocks from moisture, heat, and scratches. They make blocks last longer in any weather, wet or dry.
More people want eco-friendly and durable toys. Using these coatings keeps blocks strong and looking good. Wooden toys are becoming more valuable, with sales expected to grow from $100 million in 2024 to $171.82 million by 2033, increasing by 8% each year.
Self-Healing Nanocoatings – Commercial ETA 2026
Think of blocks that fix themselves. Self-healing nanocoatings, coming by 2026, can do this. Tiny particles in the coating fill cracks or scratches on their own. This keeps blocks looking fresh for years.
Parents and teachers like toys that last longer and save money. These blocks also cut down on waste, making them eco-friendly. As people learn more about how toys help kids grow, self-healing coatings will likely become common in high-quality wooden toys.
AR-Enhanced Finishes – Metaverse-Compatible Kits
Augmented reality (AR) is changing how you design wooden blocks. AR lets you see designs on blocks before adding them. This makes projects more creative and accurate.
Themed block sets with learning features are trending. AR tools help create detailed or custom designs easily. These kits also prepare blocks for the metaverse, where digital and real play mix. As educational toys grow in demand, AR finishes will keep your products competitive.
Tip: Use AR tools with eco-friendly materials to attract modern buyers.
Crafting round wooden blocks is a simple yet rewarding process. You can choose wood, shape it, sand it, and finish it to create unique pieces. Experiment with designs or finishes to make your blocks stand out. Whether for toys or decor, diy wooden blocks offer a fun, creative outlet for everyone.
FAQ
What type of wood is best for beginners?
Pine is the best choice for beginners. It is soft, easy to cut, and affordable. Its smooth surface makes it ideal for crafting simple wooden blocks.
How do I ensure my blocks are safe for children?
Use non-toxic finishes certified by ASTM or EN71. Sand the blocks thoroughly to remove splinters. Test for lead using a home kit to ensure safety.
Can I make round blocks without expensive tools?
Yes! Use a coping saw, jigsaw, or hole saw attachment. These handheld tools create perfect circles without needing a lathe or costly equipment.
Tip: Always secure your wood with clamps before cutting for better precision and safety.