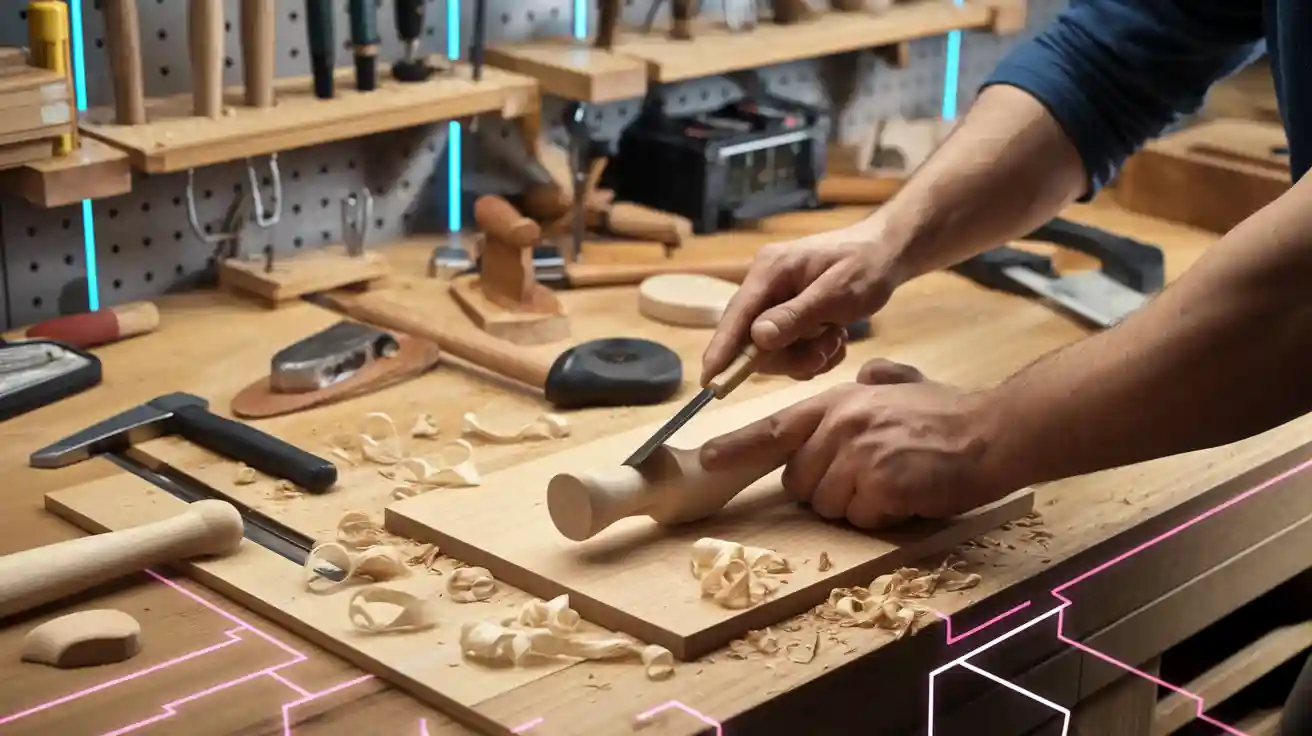
Have you ever thought about how a wooden handle affects a tool? It’s not just about how it looks—it’s also about strength and ease of use. For tools like hammers or paintbrushes, the right handle matters a lot. That’s why making custom wooden handles is both an art and a skill.
The type of wood you pick is very important. Some materials weaken when the weather changes, but others stay strong. Wood is popular because it’s naturally tough and flexible. However, not all wood is the same. Things like grain and hardness decide if a handle will last or break under stress.
Wooden handles are great for customization. They can be shaped to fit tools perfectly, giving comfort and better use. Whether it’s for a paintbrush or a hammer, a good handle improves how it feels and makes your product more trusted.
Key Takeaways
Picking the right wood is important. Choose strong woods like hickory or hornbeam for lasting handles.
Use hand tools and power tools together. Hand tools give accuracy, and power tools work faster.
Safety gear is a must. Wear goggles, gloves, and ear protection to stay safe while working.
Wedges hold handles firmly. They stop movement and keep tools safe to use.
Take care of handles often. Clean them and add protective finishes to make them last longer.
Essential Tools for Making Strong Wooden Handles
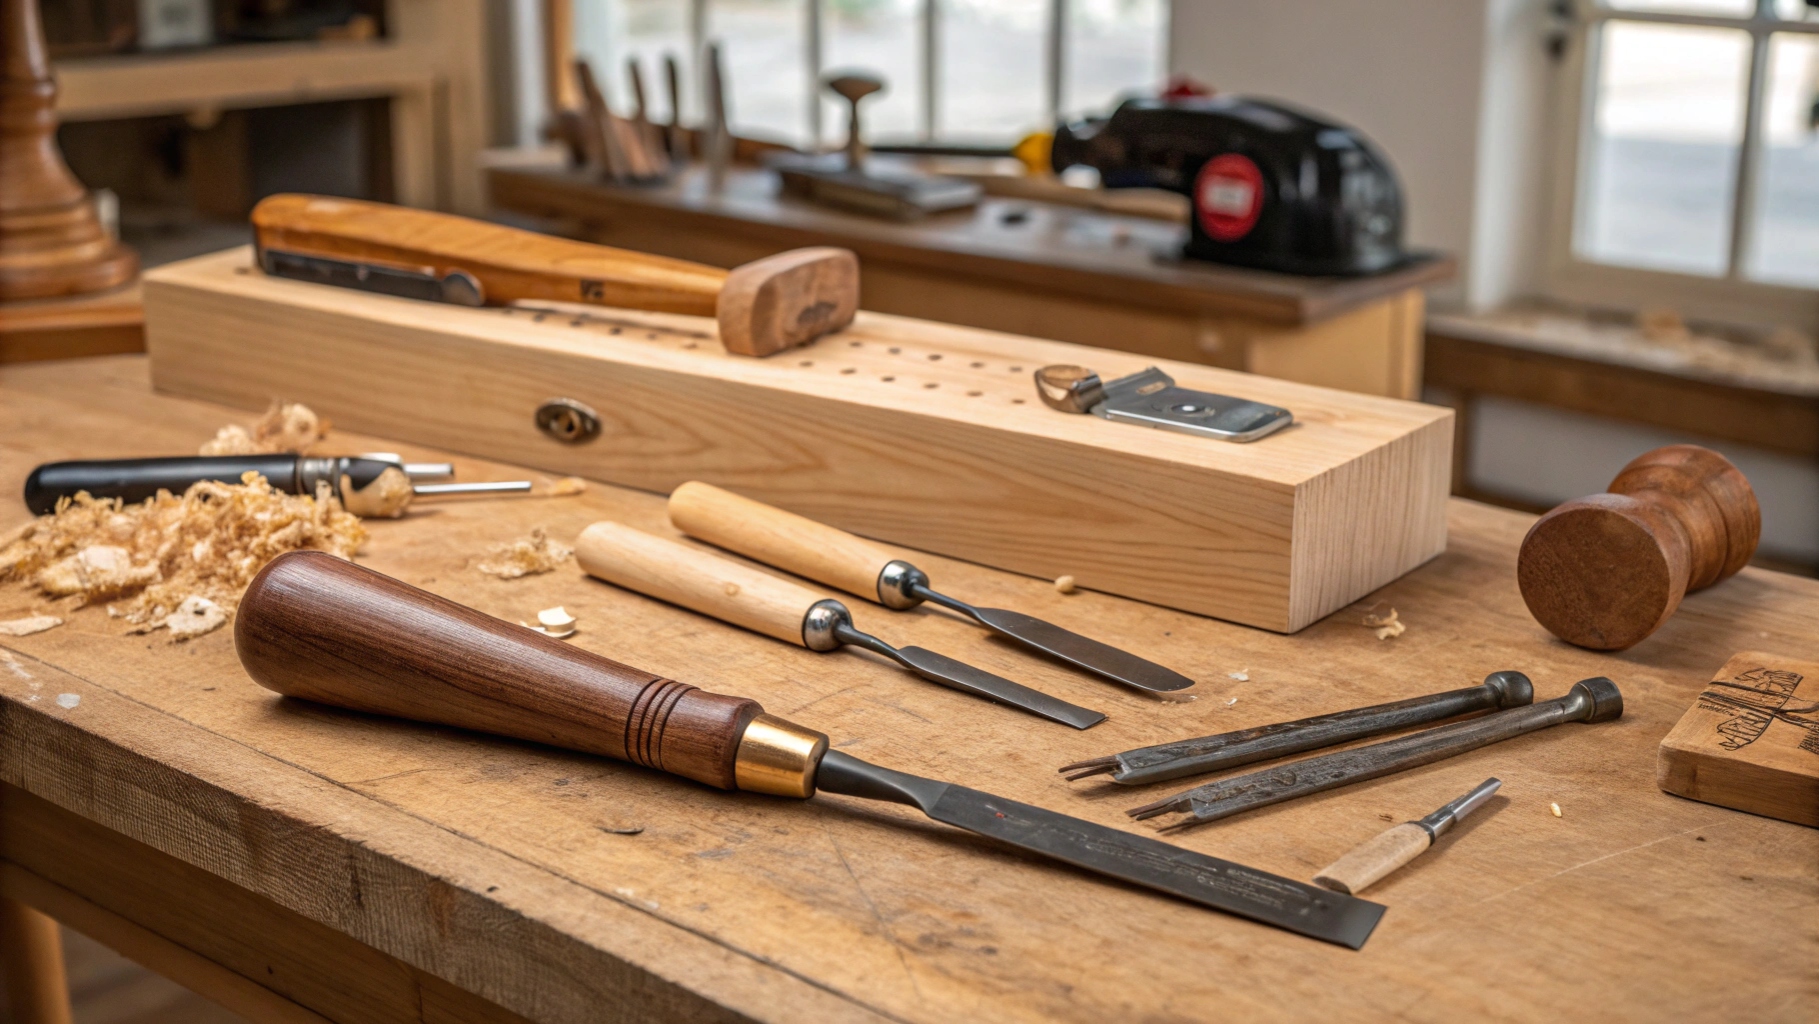
To make wooden handles, the right tools are important. Let me show you the tools needed for strong and accurate handles.
Important Hand Tools for Detailed Work
Hand tools are key for woodworking. They help with small details and give control. Some tools I often use are:
Combination Square: Great for marking straight angles like 90° or 45°. It also checks if edges are straight.
Marking Gauge: This tool draws straight lines along an edge. It helps keep measurements the same.
Sliding Bevel: Use this to copy angles from one piece to another.
Clamps: These hold the wood steady while working. Stability helps with accuracy.
Sharpening Tools: Sharp tools cut cleanly. Dull tools make rough cuts.
These tools may seem simple, but they’re very useful. For example, a marking knife makes a sharper line than a pencil. Small things like this improve your work.
Power Tools for Faster Work
Hand tools are good for details, but power tools save time. A lathe is one of my favorites. It spins the wood, making it easy to shape handles evenly. Saws and planes are also helpful. They cut and smooth wood quickly. For drilling holes, I use an auger. It makes clean and neat holes.
Power tools are fast but need care. I always check my measurements before using them. This avoids wasting wood or making mistakes.
Tools for Measuring and Marking
Measuring and marking tools are important for making handles the same size. My favorite tools are the combination square and marking gauge. They help keep every handle the same shape.
Even small mistakes can ruin a project. That’s why I use calipers and rulers for exact measurements. Companies like CS Osborne Industrial Tools focus on precision. Their tools make it easier to get professional results.
Pro Tip: Use a marking knife instead of a pencil for lines. It makes sharper and more accurate guides for cutting.
Making wooden handles needs both hand tools and power tools. With the right tools, you can make handles that work well and look great.
Safety Gear to Stay Safe and Follow Rules
When working with wood, safety is very important. Using the right safety gear protects you and keeps your workspace safe. Let me explain the basics.
First, let’s talk about Personal Protective Equipment (PPE). This gear keeps you safe from dangers like flying wood pieces, loud tools, and chemical splashes. Here’s what I always use:
Safety goggles: These protect your eyes from dust and small bits.
Gloves: They keep your hands safe from splinters and sharp edges.
Hearing protection: Machines like saws are noisy. Earplugs or earmuffs help protect your ears.
Helmets: Use these if there’s a chance of falling objects.
Pro Tip: Pick safety gear that fits well and feels good. If it’s not comfy, you might not wear it.
Before starting, I check my workspace for dangers. This helps me decide what safety gear to use. For example, I wear a respirator when using chemicals. Talking to safety experts has helped me choose the best gear that’s safe and comfortable.
Following OSHA rules is very important. It’s not just about avoiding trouble—it’s about staying safe while working. Trust me, buying good safety gear is worth it. You’ll feel more confident knowing you’re protected from harm.
Picking the Right Wood for Strong and Long-Lasting Handles
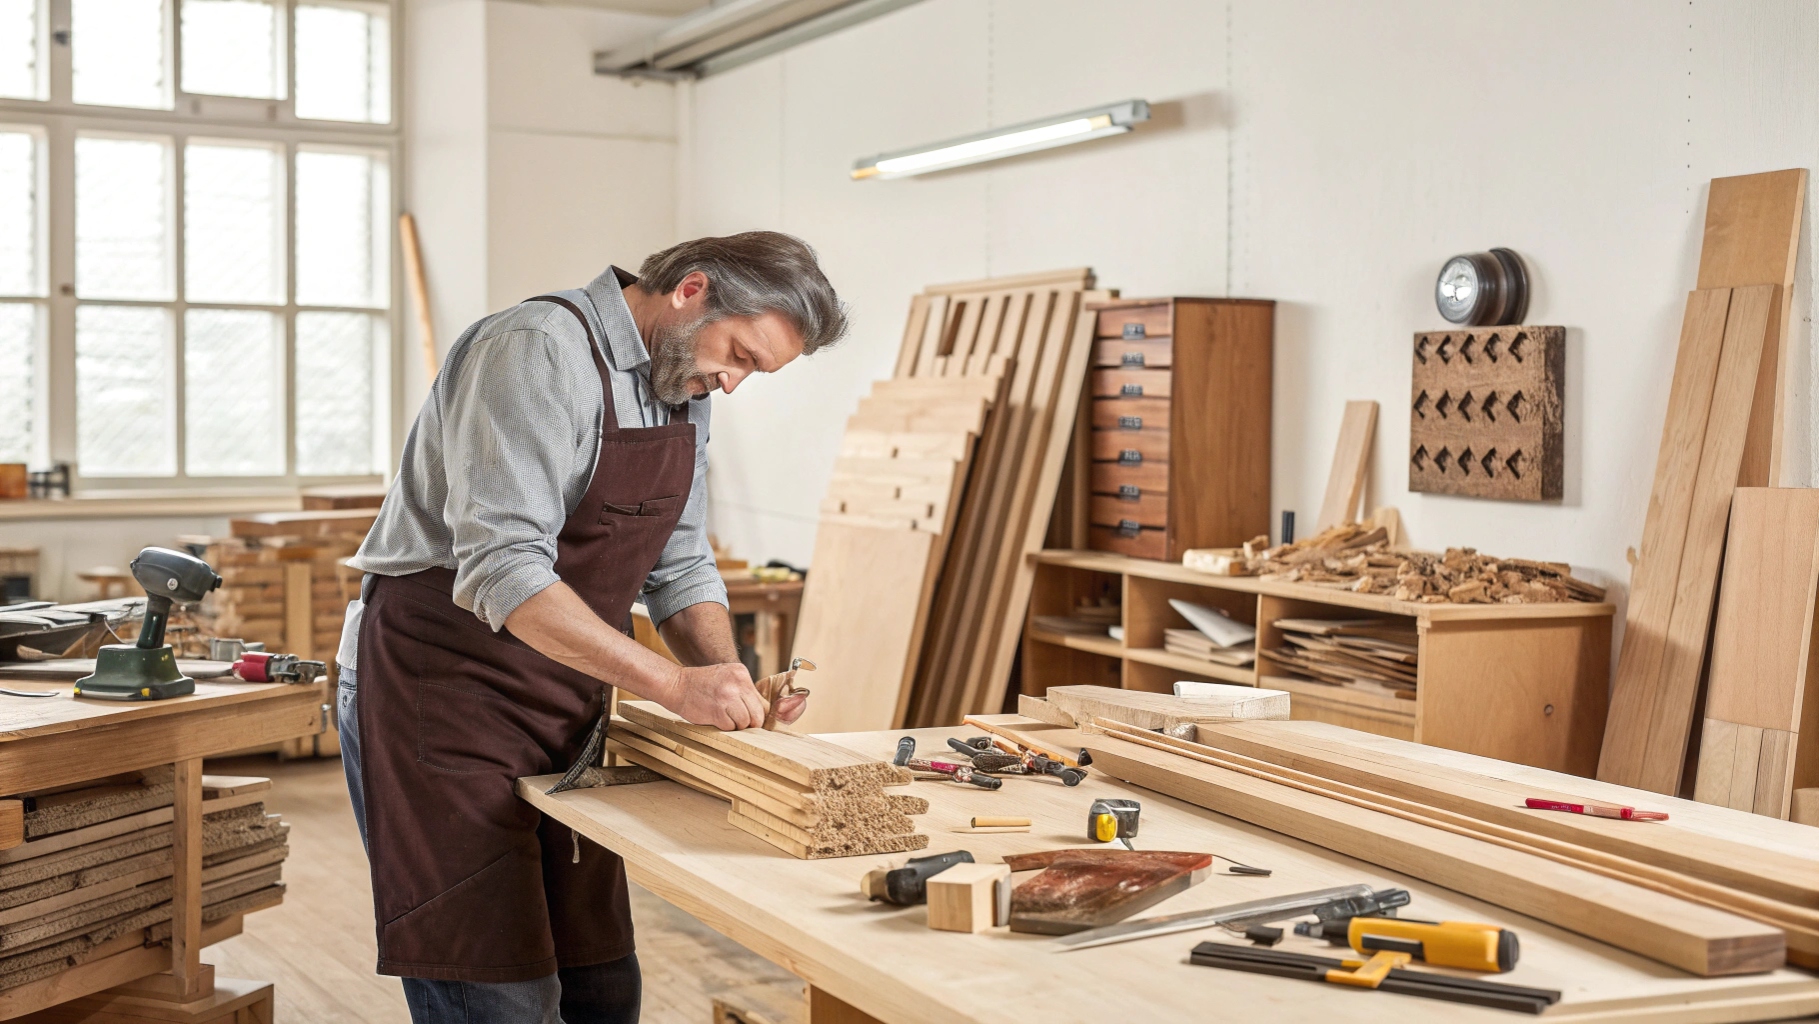
Choosing the best wood is key to making strong handles. Let me explain the important factors and top wood types for tools.
Key Features: Grain, Hardness, and Strength
Grain, hardness, and strength decide how reliable wood is. I prefer straight-grained hardwood because it’s tough and doesn’t break easily. Here’s what I’ve learned:
Grain Direction: Straight grain along the handle is best. Curved grain weakens the wood.
Hardness: Hardwoods like hickory and hornbeam are great. They’re strong and last long.
Strength: Strength depends on density and fiber direction. Vertical grain is better for long handles.
Pro Tip: Don’t use wood with diagonal grain. It splits more easily under pressure.
Best Wood Types for Tools
Not all wood works the same. Some are better for certain tools. Here’s a quick list of the best ones:
Features | |
|---|---|
Hickory | Strong and great for hammers and striking tools. |
Black Locust | Very tough and almost unbreakable. |
Hornbeam | Durable and perfect for chisels. |
Apple | Strong and good for smaller handles. |
Blackgum | Known for its amazing strength. |
Rowan | Tough and ideal for hatchets. |
Hickory is my favorite for most tools. It’s light but strong, perfect for repeated impacts.
Finding High-Quality Wood
Getting good wood is as important as picking the right type. I choose heartwood over sapwood because it lasts longer and resists decay. Imported woods like teak are great for durability, but oak heartwood is a solid local choice.
I also check growth rings. Tighter rings mean stronger wood, which is better for heavy-duty tools. If buying locally, find suppliers who sell industrial-grade wood.
Fun Fact: Red, white, and mixed hickory are equally strong. Their color doesn’t affect their quality!
By focusing on grain, hardness, and strength, and using high-quality wood, your handles will last a long time.
Step-by-Step Process for Making Wooden Handles
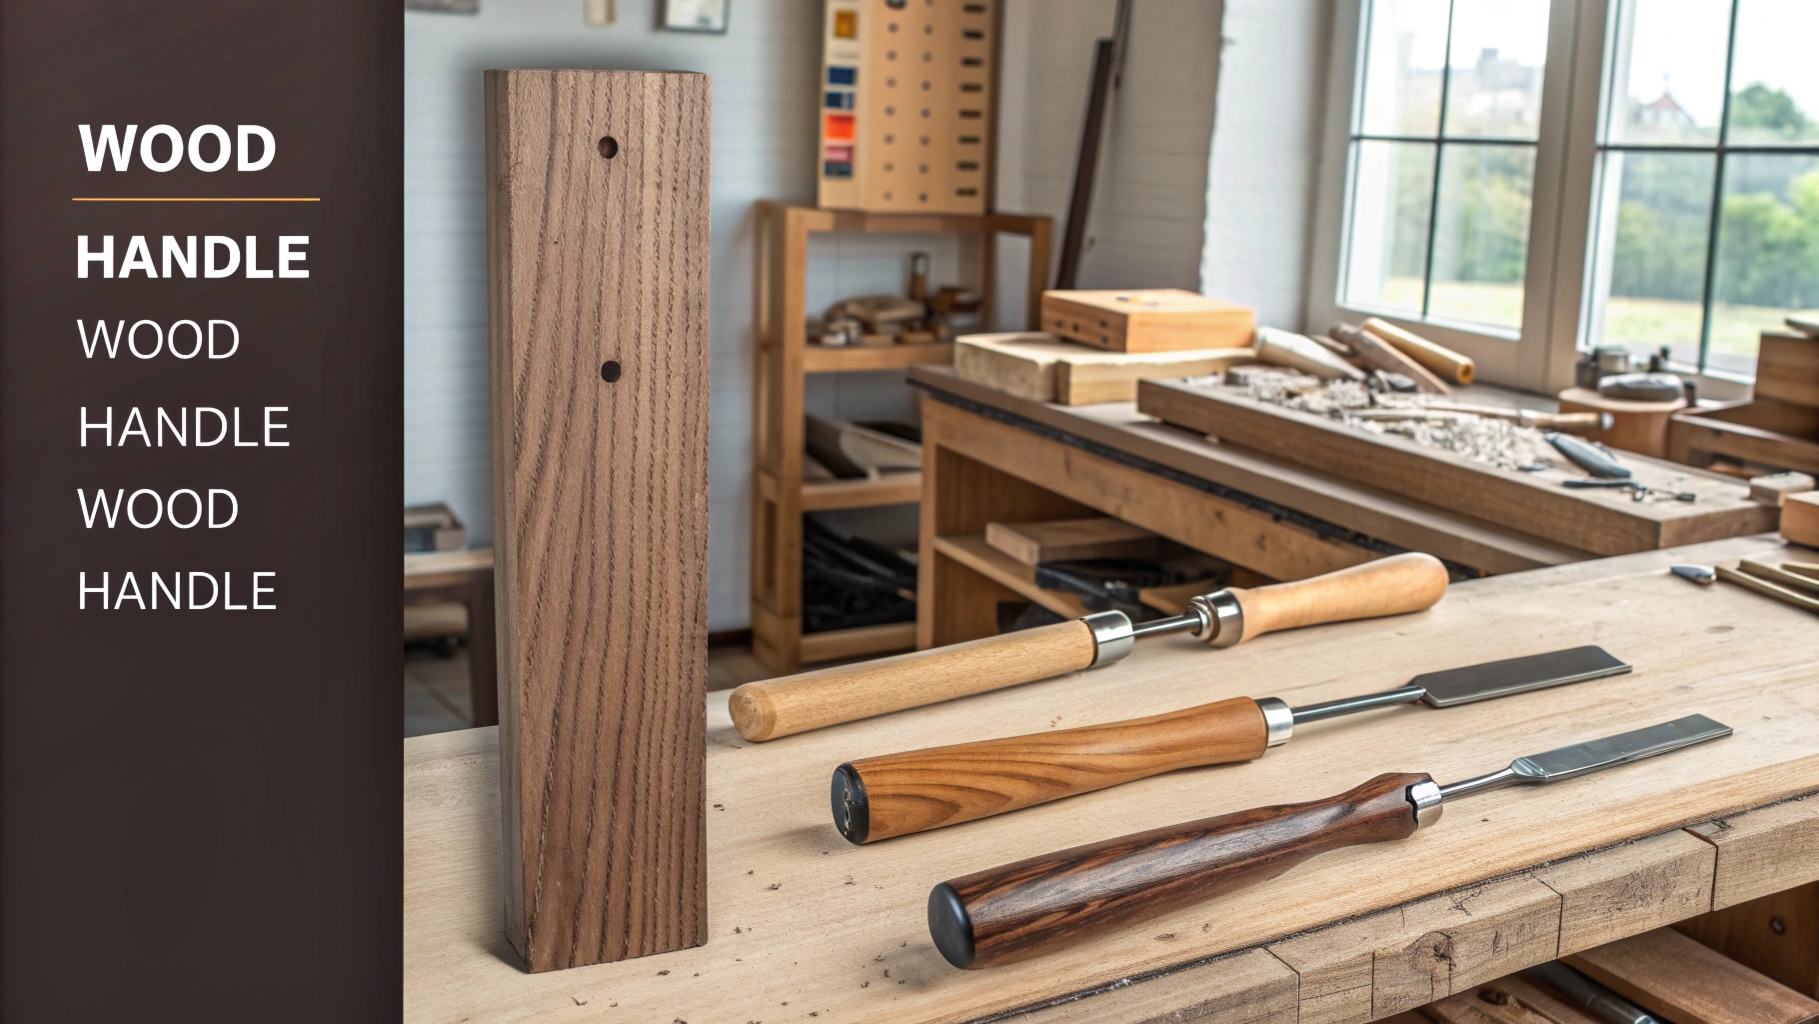
Getting the Wood Ready and Drawing the Design
Before shaping the handle, I prepare the wood first. This step is very important because it starts the whole process. I pick straight-grained hardwood like hickory or ash. These woods are strong and last long, great for axe handles.
After choosing the wood, I check it for knots or cracks. These can make the handle weak and cause issues later. Then, I draw the handle's shape directly on the wood. I use tools like a combination square and marking gauge to make straight, accurate lines. For special designs, I sometimes use advanced models. These help me plan around knots and grain changes, making the handle both useful and nice-looking.
Pro Tip: Don’t throw away scrap wood. With good skills, even leftover wood can make a great handle.
Shaping the Handle: Cutting and Smoothing Steps
Now comes the exciting part—shaping the handle. I use both hand tools and power tools for this. First, I cut the rough shape with a bandsaw or jigsaw. This gives me the basic outline. Then, I use carving tools like spokeshaves and rasps to smooth and refine the shape.
For an axe handle, I make sure the grip feels comfortable. The handle should get thinner near the end for better control. I also check the grain direction. A straight grain keeps the handle from breaking under pressure.
For detailed designs, I use sanding or filing. These steps help me create a smooth and easy-to-hold finish.
Pro Tip: Always carve in the same direction as the grain. This stops splinters and gives you better control.
Fitting the Handle to the Tool Perfectly
The last step is attaching the handle to the axe head. This needs time and careful work. I start by marking guide lines on both the handle and axe head. These lines help me match them up correctly.
Next, I remove small amounts of wood from high spots on the handle. I use a rasp or file and work slowly to avoid taking off too much. Once the axe head fits tightly, I add a wooden wedge to secure it. The wedge spreads the handle inside the axe head, making it strong and stable.
Fun Fact: Wedges are often made from the same wood as the handle. This keeps the strength and quality consistent.
By following these steps, I can make wooden handles that work well and look amazing. Whether it’s for an axe or a paintbrush, these tips will help you create professional-quality handles.
Refining and Smoothing for a Professional Finish
Once the handle is shaped, it’s time to refine and smooth it for that professional finish. This step is where the magic happens. A smooth, polished handle not only looks great but also feels comfortable in your hand. Let me walk you through how I achieve this.
I start with smoothing planes to even out the surface. These tools remove any rough spots left from carving. Once the surface feels consistent, I switch to cabinet scrapers. These are perfect for finer smoothing and help me get closer to that silky finish. For an even more refined surface, I use rushes—a hard rub with these can make a big difference.
Next, I bring out pumice-stone blocks. I use them with a bit of water to gently abrade the surface. This step creates a finer finish and preps the wood for the final touches. Sometimes, I’ll use sealskin for additional abrasion. It’s amazing how smooth the handle feels after this step. Finally, I finish with burnishing. Using a hardwood block, I polish the handle until it shines.
Here’s a quick breakdown of the steps I follow:
Process Step | Description |
|---|---|
Smoothing Planes | Initial smoothing of the wood surface. |
Cabinet Scrapers | Used for finer smoothing after planes. |
Rushes | Hard rub to further refine the surface. |
Pumice-Stone Blocks | Abrasion with water for a finer finish. |
Sealskin | Additional abrasion for smoothness. |
Burnishing | Final step with hardwood blocks for polish. |
Why go through all this effort? A well-smoothed handle offers more than just aesthetics. It preserves the wood from decay and insects. It also maintains the wood’s natural color and keeps moisture out. Plus, it adds hardness, shine, and durability. Here’s what I’ve noticed:
A polished handle resists yellowing and cracking.
It stays flexible and holds up under heavy use.
It even stands up to spills and wear over time.
Taking the time to refine and smooth the handle ensures it’s not just functional but also a joy to use. Trust me, this step is worth every minute.
Making Sure Wooden Handles Fit Securely
A strong fit is very important for wooden handles. If a handle is loose, tools like axes can become unsafe. Let me show you some simple ways to make handles strong and steady.
Using Wedges for a Tight Fit
Wedges are the best way to secure an axe handle. They push the wood inside the tool head, making it tight and firm. Wooden wedges, often made from the same wood as the handle, work best. They keep the handle strong and reliable.
Why are wedges so helpful?
They are strong enough for heavy tools like axes.
They fill gaps, keeping the handle steady under pressure.
To use a wedge, I carefully tap it into the handle slot. This spreads the wood and locks the tool head tightly. For bigger tools, metal wedges can add extra strength.
Pro Tip: Look for gaps after adding the wedge. A snug fit lasts longer.
Other Ways to Attach Handles
Not all tools need wedges. Some tools work better with other methods. For example:
Epoxy Glue: Great for small tools like chisels. It bonds the handle and tool head strongly.
Screws and Bolts: Perfect for tools like hammers that vibrate a lot.
Dowel Joints: Best for furniture or small handles. They use glue and precise holes for a tight fit.
Each method has its own benefits. Epoxy glue is quick and easy, while screws give extra security. I pick the method based on what the tool needs.
Testing for Strength and Safety
After attaching the handle, I always test it. Testing makes sure the handle is strong and safe to use. Here’s how I test:
Impact Test: I hit the tool on a hard surface to check if the handle stays tight.
Weight Test: I add weight to see if the handle bends or breaks.
Vibration Test: I use the tool repeatedly to see if the fit loosens.
These tests help me find weak spots. If the handle passes all tests, it’s ready to use.
Fun Fact: Custom handles often work better because they fit the user perfectly.
By using wedges, trying other methods, and testing carefully, I make sure every handle is strong, safe, and ready to use.
Finishing Options for Wooden Handles in Manufacturing
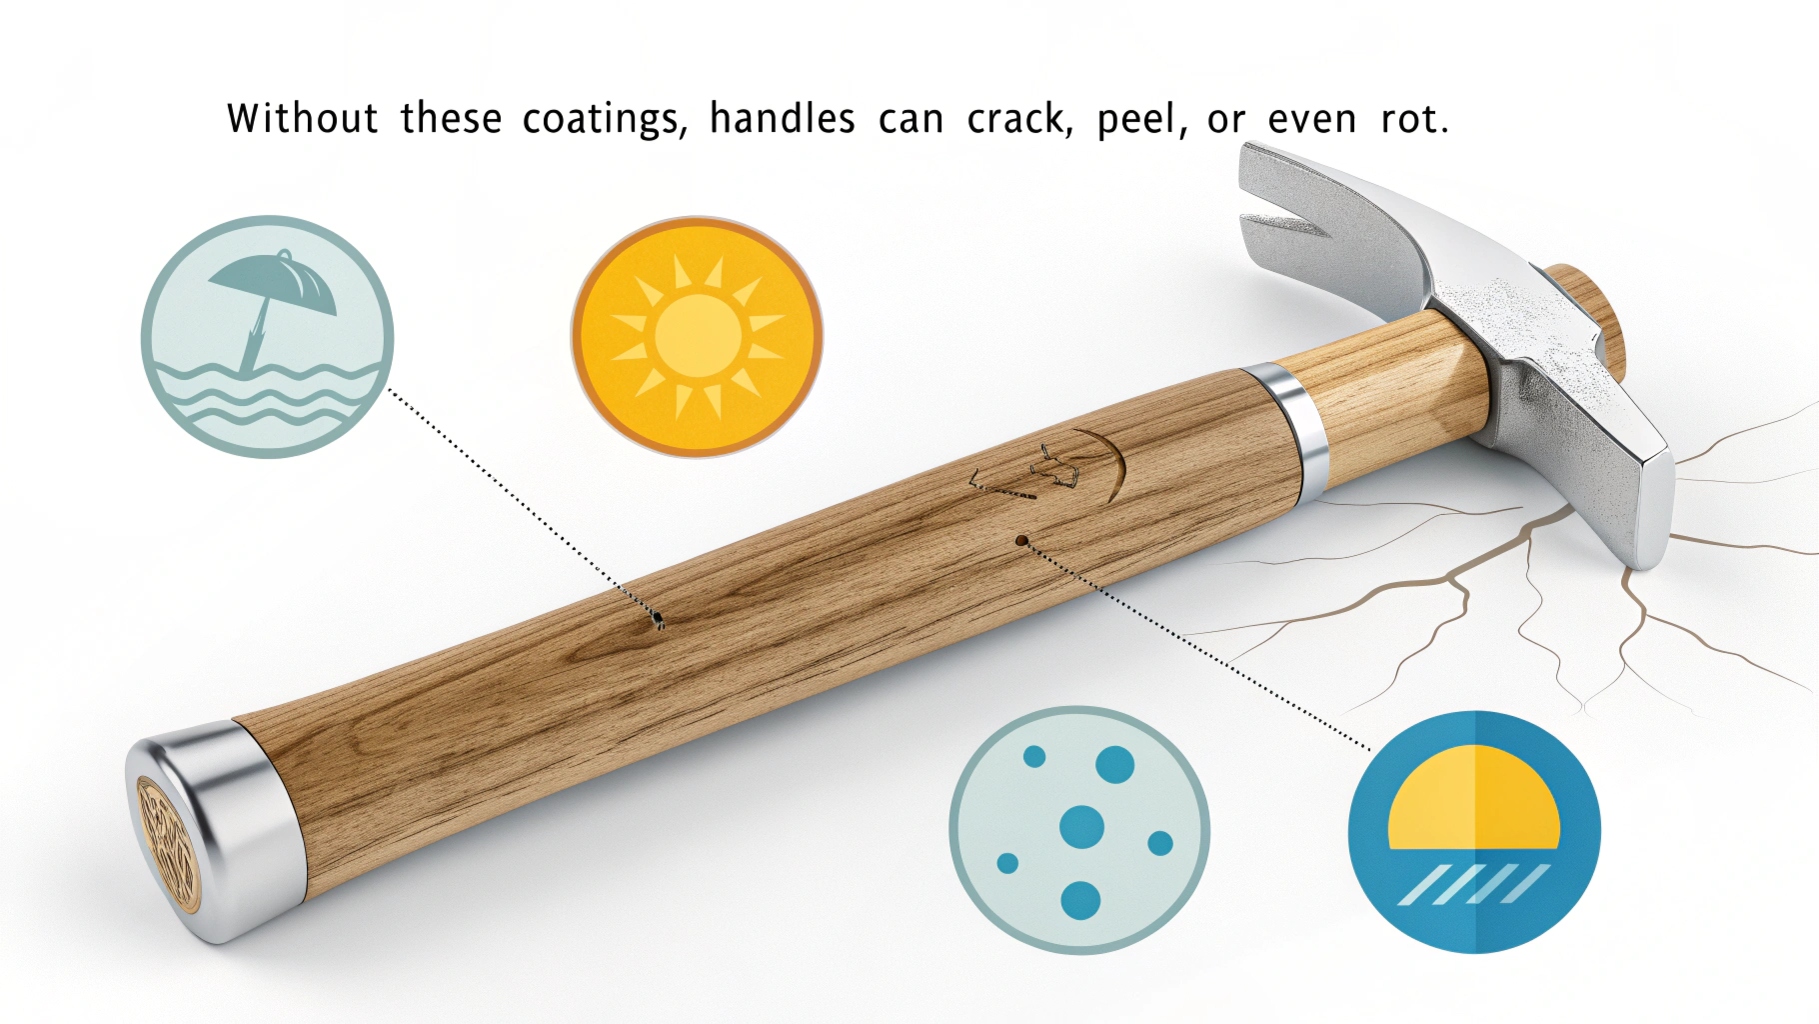
Adding Protective Coatings to Make Handles Last Longer
Protective coatings act like shields for wooden handles. They protect the wood from water, sunlight, and temperature changes. Without these coatings, handles can crack, peel, or even rot. I’ve seen outdoor furniture fall apart because it wasn’t finished properly.
To protect handles well, I suggest using epoxy sealer with marine varnish. The epoxy seals the wood, and the varnish adds a strong outer layer. This combination helps the wood handle weather changes without breaking.
Here are some common finishes to try:
Oil-based finishes for a natural look.
Varnish finishes for strong protection.
Shellac and lacquer for a shiny surface.
Water-based finishes for eco-friendly choices.
Wax finishes for a smooth texture.
Paint for bright, colorful designs.
Each finish has its own benefits. For outdoor tools, marine-grade finishes work best. They last long but need some care to stay effective.
Tip: Test the finish on a small spot first. This shows how it looks and works before using it on the whole handle.
Polishing for a Smooth and Shiny Look
Polishing makes wooden handles smooth and shiny. A polished handle feels nice and looks great. I follow simple steps to get a professional finish.
Cover the handle with the finish mixture. Repeat until the wood stops soaking it up.
Add another coat and wet-sand with 320-grit paper. This fills the wood’s grain.
Wet-sand again with 600-grit paper to remove any rough spots.
Rub the surface with brown paper to make it smoother.
Use carnauba paste wax for a glossy shine.
This process works really well. It makes the handle look better and protects it too. A polished handle lasts longer and resists damage.
Fun Fact: Polishing doesn’t just make handles pretty—it also keeps their natural color and texture over time.
Caring for Handles to Keep Them Strong
Even the best handles need care to stay in good shape. Regular maintenance helps them look nice and work well.
Here’s how I take care of handles:
Clean often: Wipe off dirt and water after using them.
Reapply finishes: Add new coatings every year or two, especially for outdoor tools.
Check for damage: Look for cracks or loose parts and fix them quickly.
A little care makes a big difference. Clean and maintained handles last longer. They stay strong, resist damage, and keep their polished look.
Pro Tip: Store tools with wooden handles in a dry, shaded place. This stops water and sunlight from ruining them.
By adding protective coatings, polishing carefully, and maintaining handles, you can keep them strong and beautiful for many years.
Making a great axe handle takes time, but it’s worth it. Each step, like picking good wood and attaching the axe head, matters. A strong handle not only makes the tool better but also safer to use. I’ve noticed how a sturdy handle turns a tool into something dependable. If you care about quality, focus on good materials and careful work. Working with expert suppliers helps your axe handles stay strong and look great. Let’s create tools that last and work well.
FAQ
What’s the best wood for making durable handles?
I always recommend hardwoods like hickory or ash. They’re strong, long-lasting, and handle stress well. Hickory is my go-to for tools like axes because it absorbs shock better than most woods.
Tip: Avoid softwoods like pine—they’re too weak for heavy-duty tools.
How do I prevent wooden handles from cracking?
Keep them dry and apply a protective finish like oil or varnish. Moisture is the biggest enemy of wood. I also store my tools in a shaded, dry spot to avoid cracking.
Pro Tip: Reapply finishes every year for extra protection.
Can I use power tools for shaping handles?
Absolutely! Power tools like lathes and bandsaws save time and make shaping easier. I still use hand tools for finer details, though. They give me more control for precision work.
Fun Fact: A lathe can create perfectly symmetrical handles in minutes!
How do I test if a handle is securely attached?
I perform three simple tests:
Impact Test: Strike the tool on a hard surface.
Weight Test: Add weight to check for bending.
Vibration Test: Use the tool repeatedly.
These tests ensure the handle won’t loosen or break.
What’s the easiest way to polish a wooden handle?
I use wet sanding with fine-grit paper (320 to 600 grit) and finish with carnauba wax. It’s quick and leaves a smooth, shiny surface. Polishing also protects the wood from wear and tear.
Emoji Tip: ✨ A polished handle isn’t just pretty—it’s practical too!


